How to setup Canonical MicroCloud in VMware vSphere using OpenTofu

MicroCloud
In my previsous post, we have deployed the Microcloud using manual setup. This post shows how to setup the Microcloud using OpenTofu/Terraform.
Github Repo for the Code: https://github.com/kkramineni/microcloud
Requirements:
My OpenTofu Code creates the following
| Hostname | IP Address | Specifications |
|---|---|---|
| micro-01 | 192.168.20.50 | 4CPU,8 GB RAM, 40GB for OS, 300GB disk for distributed storage |
| micro-02 | 192.168.20.51 | 4CPU,8 GB RAM, 40GB for OS, 300GB disk for distributed storage |
| micro-03 | 192.168.20.52 | 4CPU,8 GB RAM, 40GB for OS, 300GB disk for distributed storage |
Getting started with setup:
Ensure that the required DNS entries are created

Prepare the OpenTofu code

main.tf
 1// VMware provider details
 2provider "vsphere" {
 3  vsphere_server = "vcsa.cloudbricks.local"
 4  allow_unverified_ssl = true
 5  user = "Administrator@vsphere.local"
 6  password = "VMware1!"
 7}
 8
 9// Module wise
10
11// this module will provision 3 VMs with required configuration
12module "provision" {
13  source = "./modules/provision"
14}
15
16// this module configures the provisioned VMs (snap refresh, install lxd, microcloud, microceph, microovn)
17
18module "node1" {
19  source = "./modules/node1"
20  depends_on = [ module.provision ]
21}
22module "node2" {
23  source = "./modules/node2"
24  depends_on = [ module.node1 ]
25}
26module "node3" {
27  source = "./modules/node3"
28  depends_on = [ module.node2 ]
29}
30
31// this module automates the "Microcloud" initialisation and configuration
32module "micro_init" {
33  source = "./modules/micro_init"
34  depends_on = [ module.node3 ]
35}
- provision/main.tf
  1variable "vsphere_datacenter" {
  2  default = "Lab"
  3  description = "Datacenter"
  4}
  5
  6data "vsphere_datacenter" "dc" {
  7  name = "Lab"
  8}
  9data "vsphere_datastore" "datastore" {
 10    name = "NVMe2"
 11    datacenter_id = data.vsphere_datacenter.dc.id
 12
 13}
 14data "vsphere_virtual_machine" "template" {
 15  name  = "ubuntu2204"
 16  datacenter_id = data.vsphere_datacenter.dc.id
 17}
 18data "vsphere_network" "network" {
 19  name = "cloudbricks"
 20  datacenter_id = data.vsphere_datacenter.dc.id
 21}
 22data "vsphere_resource_pool" "pool" {
 23  name = "Resources"
 24  datacenter_id = "${data.vsphere_datacenter.dc.id}"
 25}
 26
 27
 28resource "vsphere_virtual_machine" "vm-01" {
 29  name = "micro-01"
 30  folder = "Microcloud"
 31  num_cpus = 4
 32  num_cores_per_socket = 4
 33  memory = 8192
 34  nested_hv_enabled = true
 35
 36  guest_id = data.vsphere_virtual_machine.template.guest_id
 37  scsi_type = data.vsphere_virtual_machine.template.scsi_type
 38  firmware = data.vsphere_virtual_machine.template.firmware
 39  //datacenter_id = data.vsphere_datacenter.dc.id
 40  resource_pool_id = data.vsphere_resource_pool.pool.id
 41  datastore_id = data.vsphere_datastore.datastore.id
 42
 43  network_interface {
 44    network_id = data.vsphere_network.network.id
 45    adapter_type = "vmxnet3"
 46  }
 47  disk {
 48    label = "disk0"
 49    thin_provisioned = true
 50    size = data.vsphere_virtual_machine.template.disks.0.size
 51    unit_number = 0
 52
 53  }
 54  disk {
 55    label = "disk1"
 56    thin_provisioned = true
 57    size = "300"
 58    unit_number = 1
 59  }
 60
 61
 62  clone {
 63    template_uuid = data.vsphere_virtual_machine.template.id
 64    customize {
 65      linux_options {
 66        host_name = "micro-01"
 67        domain = "cloudbricks.local"
 68      }
 69      network_interface {
 70        ipv4_address = "192.168.20.50"
 71        ipv4_netmask = "24"
 72      }
 73      ipv4_gateway = "192.168.20.254"
 74      dns_server_list = ["192.168.0.5"]
 75      dns_suffix_list = ["cloudbricks.local"]
 76    }
 77  }
 78
 79
 80}
 81
 82resource "vsphere_virtual_machine" "vm-02" {
 83  name = "micro-02"
 84  folder = "Microcloud"
 85  num_cpus = 4
 86  num_cores_per_socket = 4
 87  memory = 8192
 88  nested_hv_enabled = true
 89
 90  guest_id = data.vsphere_virtual_machine.template.guest_id
 91  scsi_type = data.vsphere_virtual_machine.template.scsi_type
 92  firmware = data.vsphere_virtual_machine.template.firmware
 93  //datacenter_id = data.vsphere_datacenter.dc.id
 94  resource_pool_id = data.vsphere_resource_pool.pool.id
 95  datastore_id = data.vsphere_datastore.datastore.id
 96
 97  network_interface {
 98    network_id = data.vsphere_network.network.id
 99    adapter_type = "vmxnet3"
100  }
101  disk {
102    label = "disk0"
103    thin_provisioned = true
104    size = data.vsphere_virtual_machine.template.disks.0.size
105    unit_number = 0
106
107  }
108  disk {
109    label = "disk1"
110    thin_provisioned = true
111    size = "300"
112    unit_number = 1
113
114  }
115
116  clone {
117    template_uuid = data.vsphere_virtual_machine.template.id
118    customize {
119      linux_options {
120        host_name = "micro-02"
121        domain = "cloudbricks.local"
122      }
123      network_interface {
124        ipv4_address = "192.168.20.51"
125        ipv4_netmask = "24"
126      }
127      ipv4_gateway = "192.168.20.254"
128      dns_server_list = ["192.168.0.5"]
129      dns_suffix_list = ["cloudbricks.local"]
130    }
131  }
132
133
134}
135
136resource "vsphere_virtual_machine" "vm-03" {
137  name = "micro-03"
138  folder = "Microcloud"
139  num_cpus = 4
140  num_cores_per_socket = 4
141  memory = 8192
142  nested_hv_enabled = true
143
144  guest_id = data.vsphere_virtual_machine.template.guest_id
145  scsi_type = data.vsphere_virtual_machine.template.scsi_type
146  firmware = data.vsphere_virtual_machine.template.firmware
147  //datacenter_id = data.vsphere_datacenter.dc.id
148  resource_pool_id = data.vsphere_resource_pool.pool.id
149  datastore_id = data.vsphere_datastore.datastore.id
150
151  network_interface {
152    network_id = data.vsphere_network.network.id
153    adapter_type = "vmxnet3"
154  }
155  disk {
156    label = "disk0"
157    thin_provisioned = true
158    size = data.vsphere_virtual_machine.template.disks.0.size
159    unit_number = 0
160
161  }
162  disk {
163    label = "disk1"
164    thin_provisioned = true
165    size = "300"
166    unit_number = 1
167  }
168
169  clone {
170    template_uuid = data.vsphere_virtual_machine.template.id
171    customize {
172      linux_options {
173        host_name = "micro-03"
174        domain = "cloudbricks.local"
175      }
176      network_interface {
177        ipv4_address = "192.168.20.52"
178        ipv4_netmask = "24"
179      }
180      ipv4_gateway = "192.168.20.254"
181      dns_server_list = ["192.168.0.5"]
182      dns_suffix_list = ["cloudbricks.local"]
183    }
184  }
185
186
187}
- node1/main.tf
 1resource "null_resource" "micro-01" {
 2    connection {
 3      user = "kishore" // relace with your username
 4      password = "VMware1!" //replace with your password
 5      host = "micro-01.cloudbricks.local" //replace with your hostname
 6    }
 7    provisioner "remote-exec" {
 8      inline = [
 9        "sudo apt-get update",
10        "sudo snap refresh",
11        "sudo snap install lxd microceph microcloud microovn --cohort=\"+\"",
12        "sudo snap refresh lxd --channel=latest/stable"
13       ]
14    }
15}
- node2/main.tf
 1resource "null_resource" "micro-02" {
 2    connection {
 3      user = "kishore" // relace with your username
 4      password = "VMware1!" //replace with your password
 5      host = "micro-02.cloudbricks.local" //replace with your hostname
 6    }
 7    provisioner "remote-exec" {
 8      inline = [
 9        "sudo apt-get update",
10        "sudo snap refresh",
11        "sudo snap install lxd microceph microcloud microovn --cohort=\"+\"",
12        "sudo snap refresh lxd --channel=latest/stable"
13       ]
14    }
15}
- node3/main.tf
 1resource "null_resource" "micro-03" {
 2    connection {
 3      user = "kishore" // relace with your username
 4      password = "VMware1!" //replace with your password
 5      host = "micro-03.cloudbricks.local" //replace with your hostname
 6    }
 7    provisioner "remote-exec" {
 8      inline = [
 9        "sudo apt-get update",
10        "sudo snap refresh",
11        "sudo snap install lxd microceph microcloud microovn --cohort=\"+\"",
12        "sudo snap refresh lxd --channel=latest/stable"
13       ]
14    }
15}
- micro_init/main.tf
 1resource "null_resource" "Microcloud-init" {
 2
 3    connection {
 4      user = "kishore"
 5      password = "VMware1!"
 6      host = "micro-01.cloudbricks.local"
 7    }
 8
 9    provisioner "file" {
10      source = "/opt/code/tofu/microcloud/modules/micro_init/preseed.yaml"
11      destination = "/tmp/preseed.yaml"
12    }
13
14    provisioner "remote-exec" {
15      inline = [
16        "cat /tmp/preseed.yaml | sudo microcloud init --preseed",
17        "sudo snap set lxd ui.enable=true",
18        "sudo systemctl reload snap.lxd.daemon"
19       ]
20    }
21
22}
- micro_init/preseed.yaml
 1lookup_subnet: 192.168.20.50/24
 2systems:
 3- name: micro-01
 4  storage:
 5    ceph:
 6      - path: /dev/sdb
 7        wipe: true
 8- name: micro-02
 9  storage:
10    ceph:
11      - path: /dev/sdb
12        wipe: true
13- name: micro-03
14  storage:
15    ceph:
16      - path: /dev/sdb
17        wipe: true
Once the Code is ready with folder structure and files.
Complete the following steps to provision and initialise the MicroCloud:
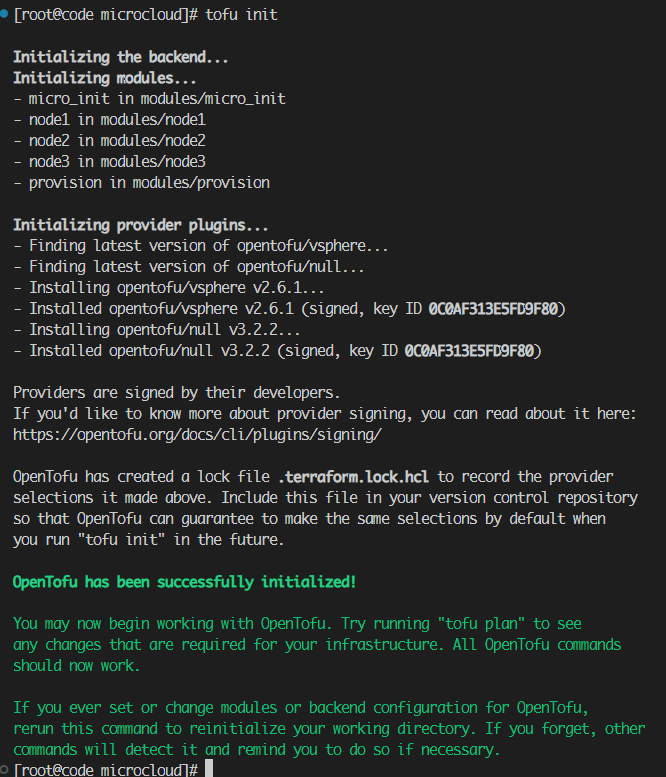
- From the server, where Terraform/OpenTofu is installed:
1tofu init

- tofu plan
1tofu plan

- tofu apply and enter yes, when prompted or tofu apply --auto-approve
1tofu apply --auto-approve


- After the initialisation is complete, run the fowlling commands to confirm the setup.
"in micro-01, login with your credentials and run the following"
1lxc cluster list
2lxc storage list
3lxc network list
4lxc profile show default
Web UI is enabled part of config:
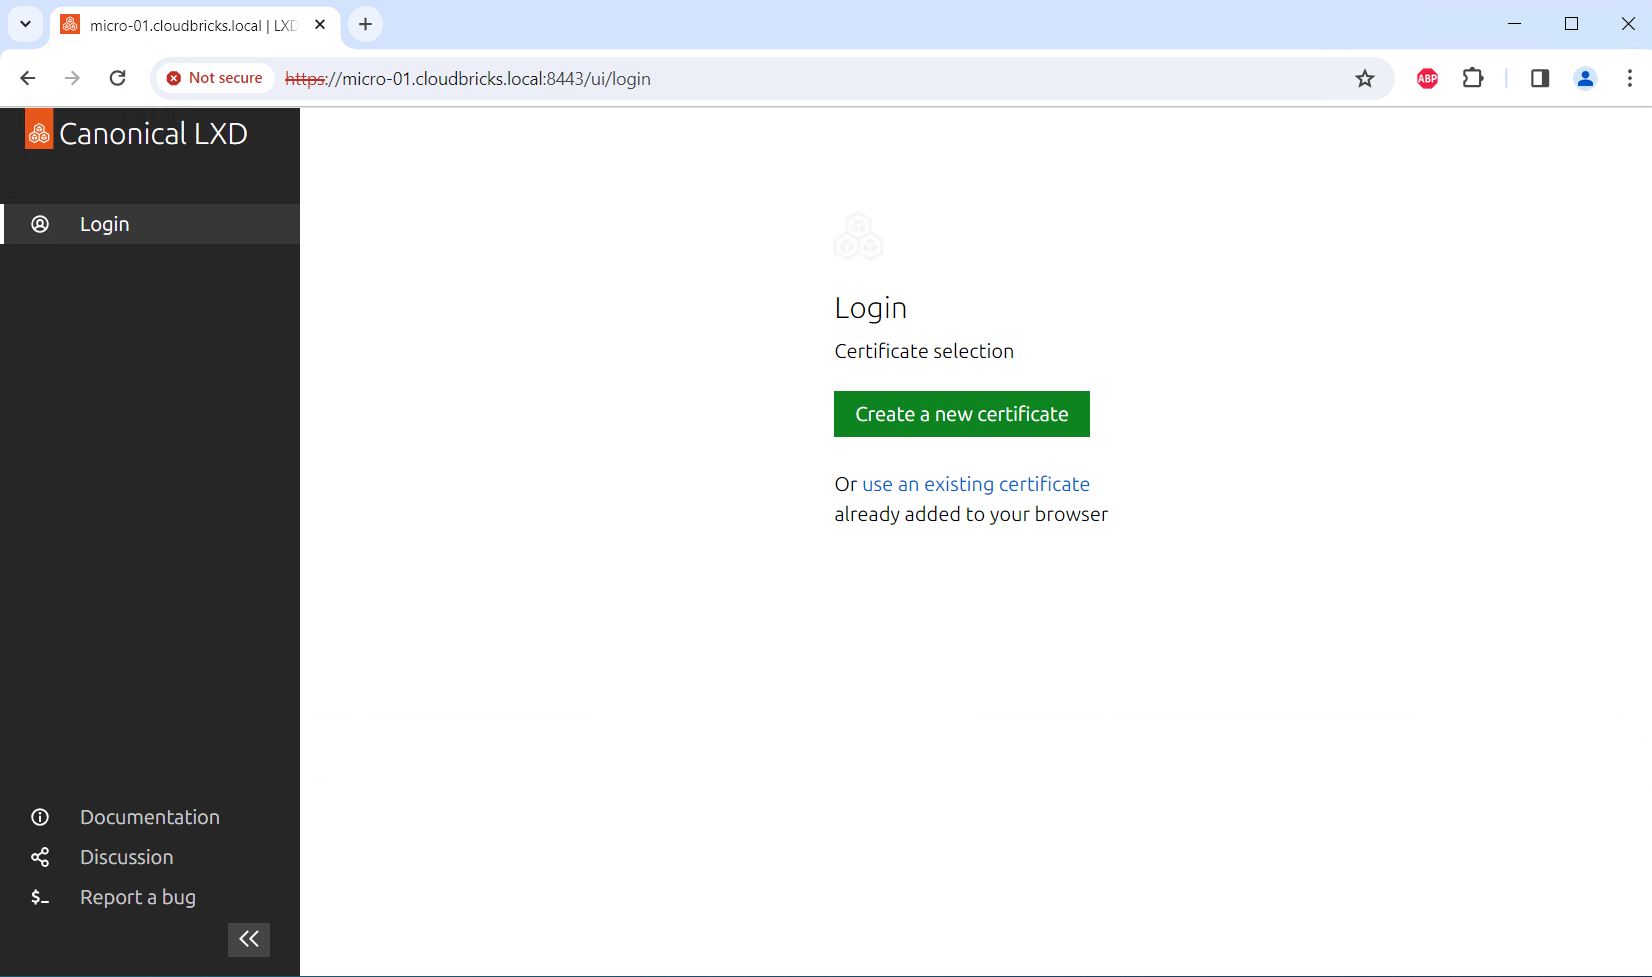
- Access the UI in your browser by entering the server address (for example, https://micro-01.cloudbricks.local:8443).

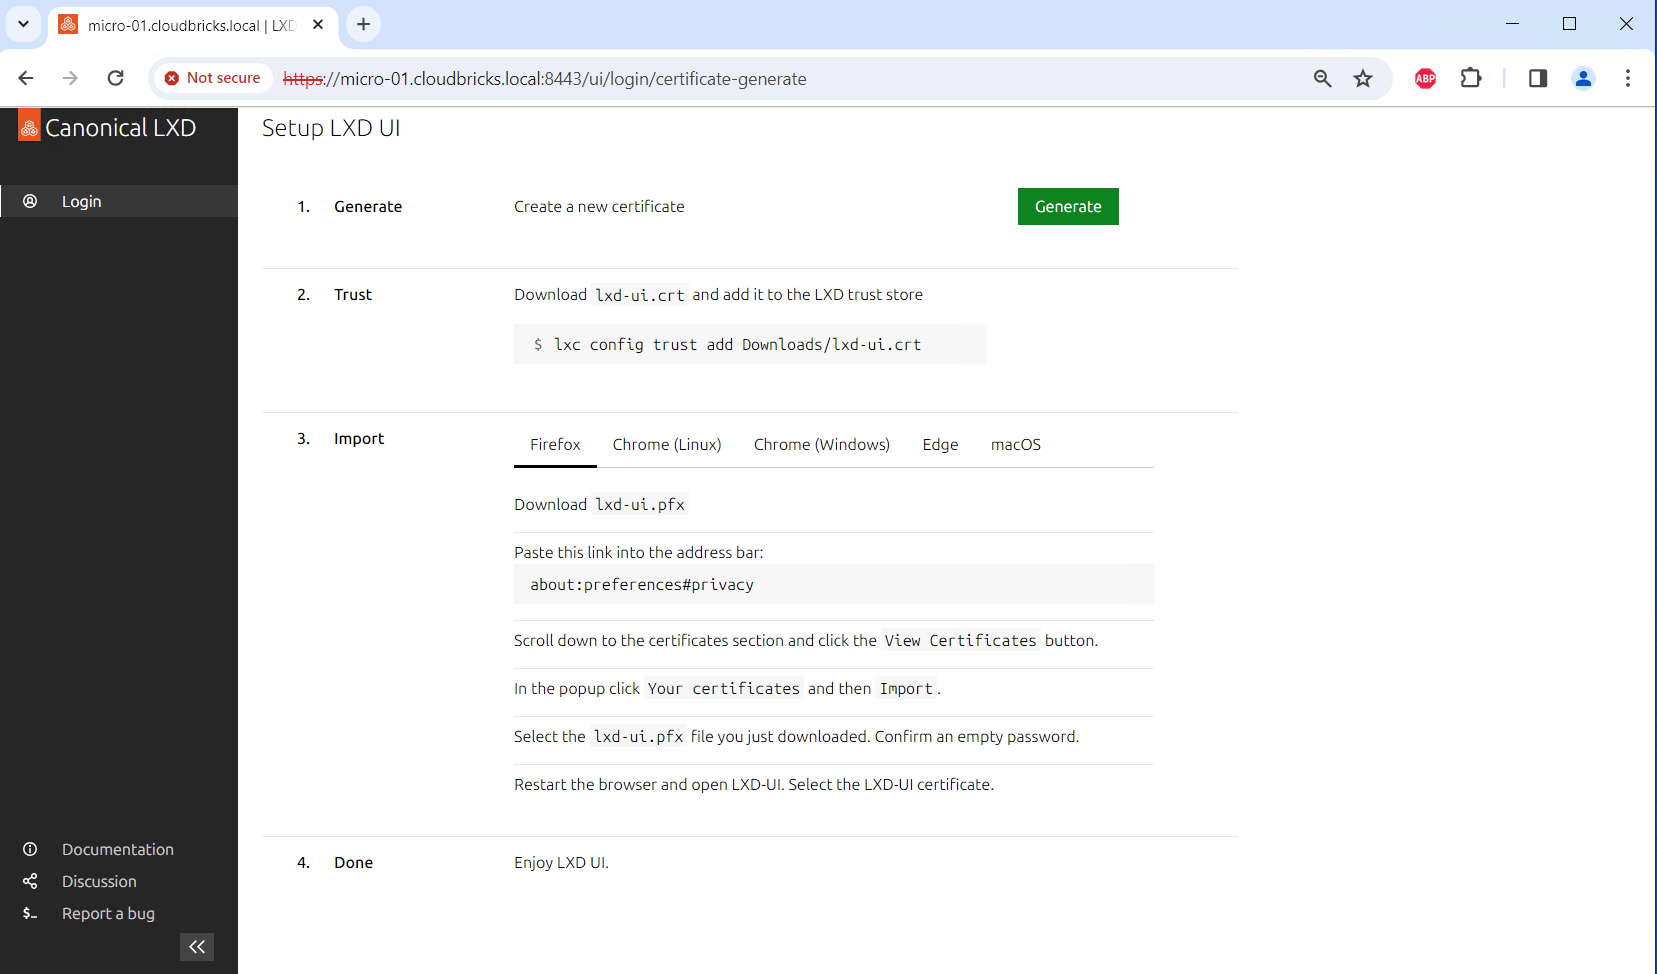
- Set up the certificates that are required for the UI client to authenticate with the LXD server by following the steps presented in the UI. These steps include creating a set of certificates, adding the private key to your browser, and adding the public key to the server’s trust store.

- After setting up the certificates, you can start creating instances, editing profiles, etc.