
How to setup microstck openstack
Microstack
stack allows you to deploy your own fully functional cloud in minutes.
It’s a snap package that can automatically configure LXD, Ceph, and OVN across a set of servers. It relies on mDNS to automatically detect other servers on the network, making it possible to set up a complete cluster by running a single command on one of the machines.
MicroCloud creates a small footprint cluster of compute nodes with distributed storage and secure networking, optimized for repeatable, reliable remote deployments. MicroCloud is aimed at edge computing, and anyone in need of a small-scale private cloud.
Requirements:
MicroCloud requires a minimum of three machines.
Networking requirements:
For networking, MicroCloud requires a dedicated network interface and an uplink network that is an actual L2 subnet. See Networking for more information.
The IP addresses of the machines must not change after installation, so DHCP is not configured for these servers
Software requirements:
MicroCloud requires snapd version 2.59 or newer.
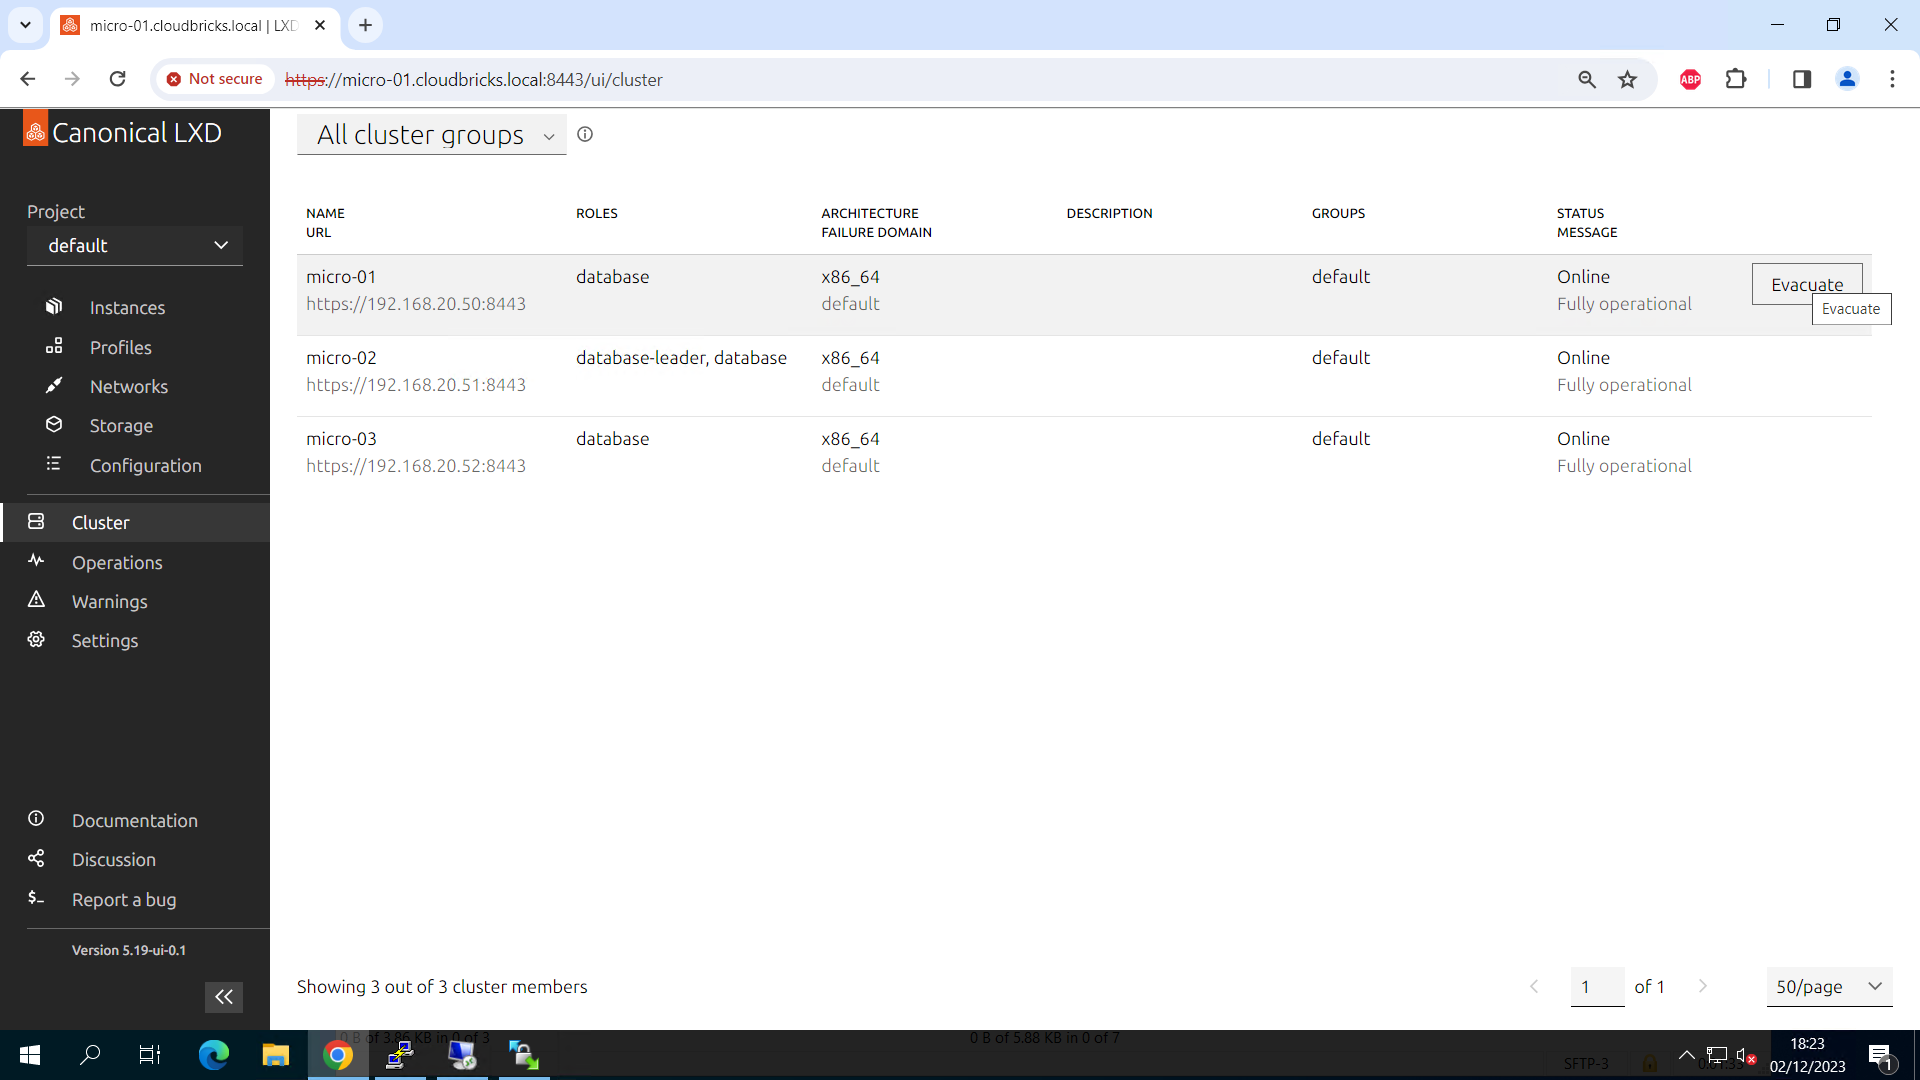
| Hostname | IP Address | Specifications |
|---|---|---|
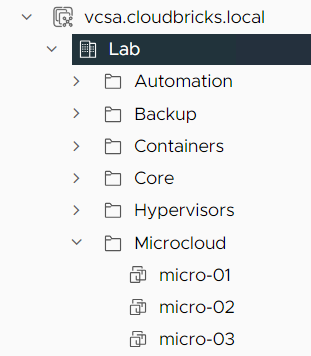
| micro-01 | 192.168.20.50 | 4CPU,8 GB RAM, 40GB for OS, 300GB disk for distributed storage |
| micro-02 | 192.168.20.51 | 4CPU,8 GB RAM, 40GB for OS, 300GB disk for distributed storage |
| micro-03 | 192.168.20.52 | 4CPU,8 GB RAM, 40GB for OS, 300GB disk for distributed storage |
Getting started with setup:
- Ensure that the required DNS entries are created

- Create the Virtual Machines manually or using Packer template and clone using Terraform/OpenTofu. I have used the OpenTofu code, which will create 3 VMs with the required configuration
- Login to micro-01, micro-02 and mirco-03 and run the following commands.
sudo snap refresh
sudo snap install lxd microceph microcloud microovn --cohort="+"
sudo snap refresh lxd --channel=latest/stable
sudo snap refresh - updates the Ubuntu snap to the latest version
sudo snap install lxd microceph microcloud microovn –cohort="+" - installs the required microcloud packages
sudo snap refresh lxd –channel=latest/stable - updates the LXD to the latest version
Getting started with initialization:
Complete the following steps to initialise MicroCloud:
- On micro-01, enter the following command:
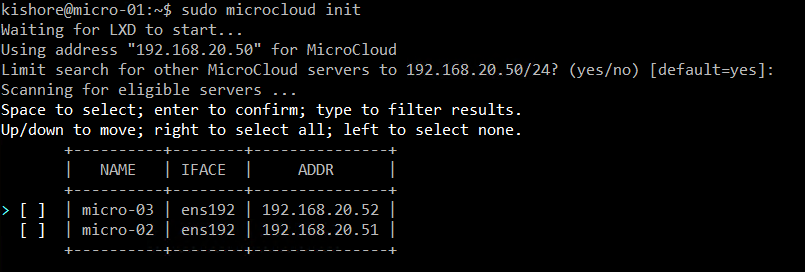
sudo microcloud init
The initialisation process bootstraps the MicroCloud cluster. this initialisation is on one of the machines, and it configures the required services on all machines.
Accept the default (yes), MicroCloud will automatically detect machines in the local subnet

Select the machines that you want to add to the MicroCloud cluster.
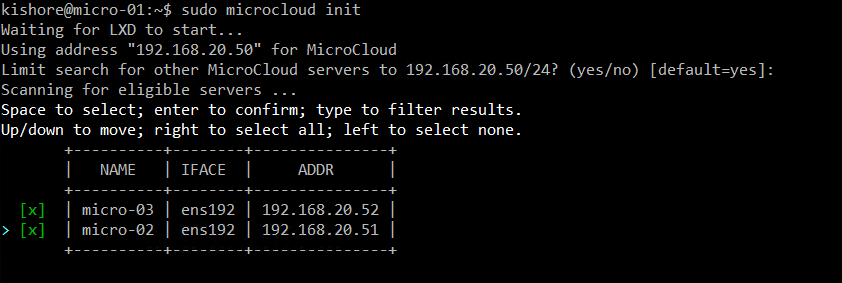
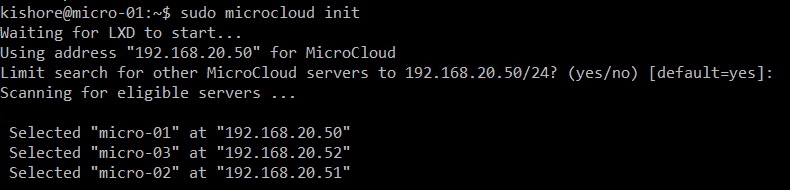
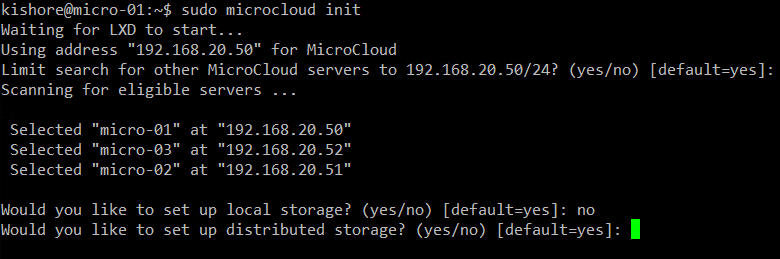
Select No for set up local storage. Press Enter to continue with distributed storage
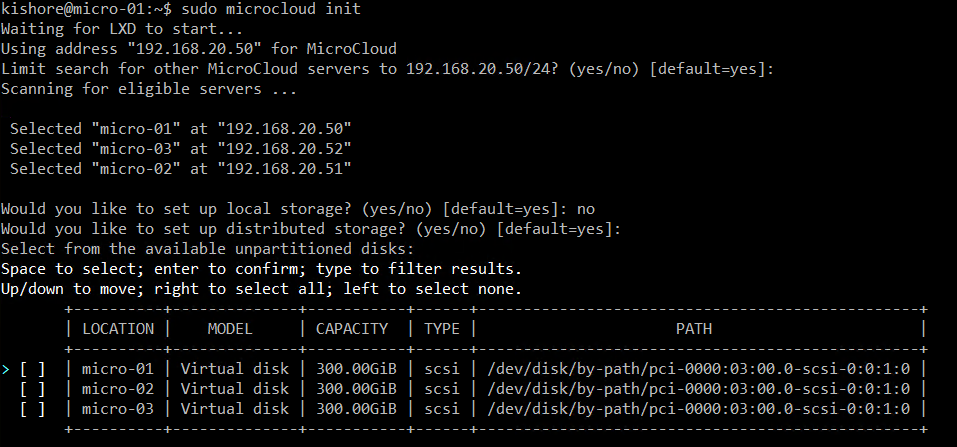
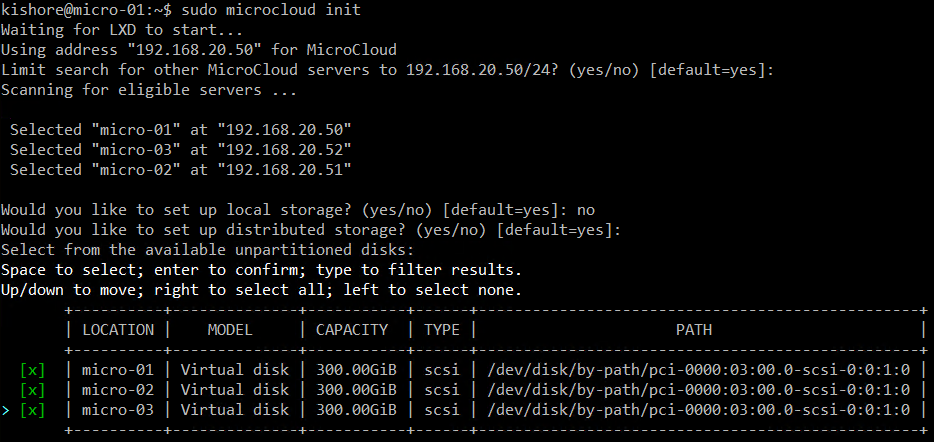
Select the disks for Storage
Continue with skipping distributed networking
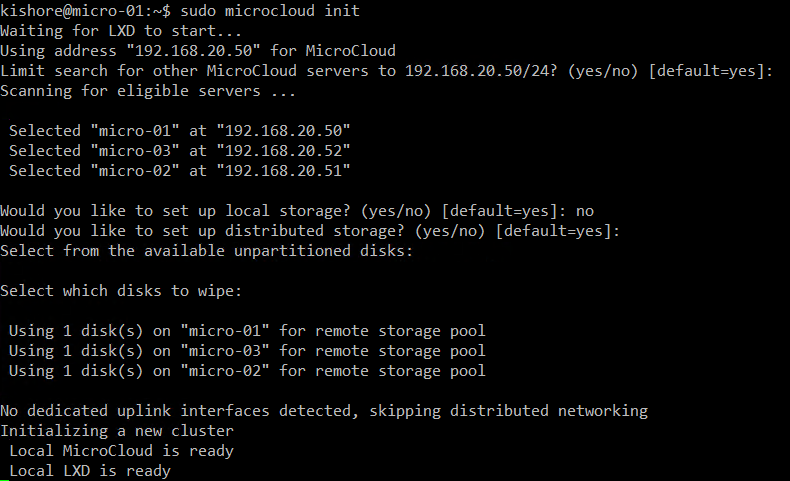
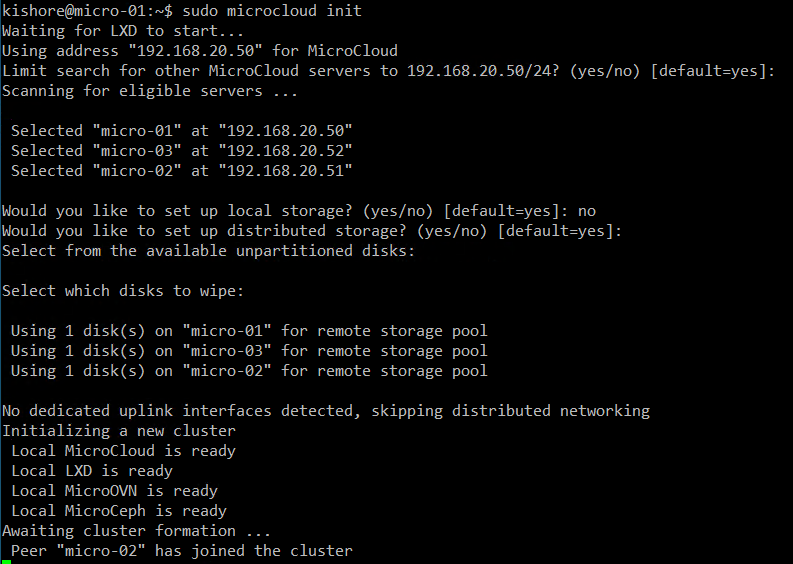
MicroCloud now starts to bootstrap the cluster. Monitor the output to see whether all steps complete successfully. See Bootstrapping process for more information
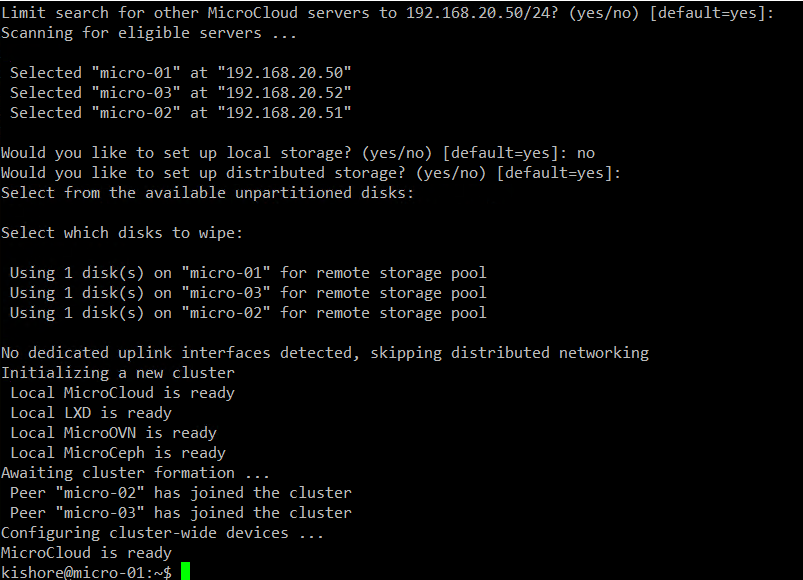
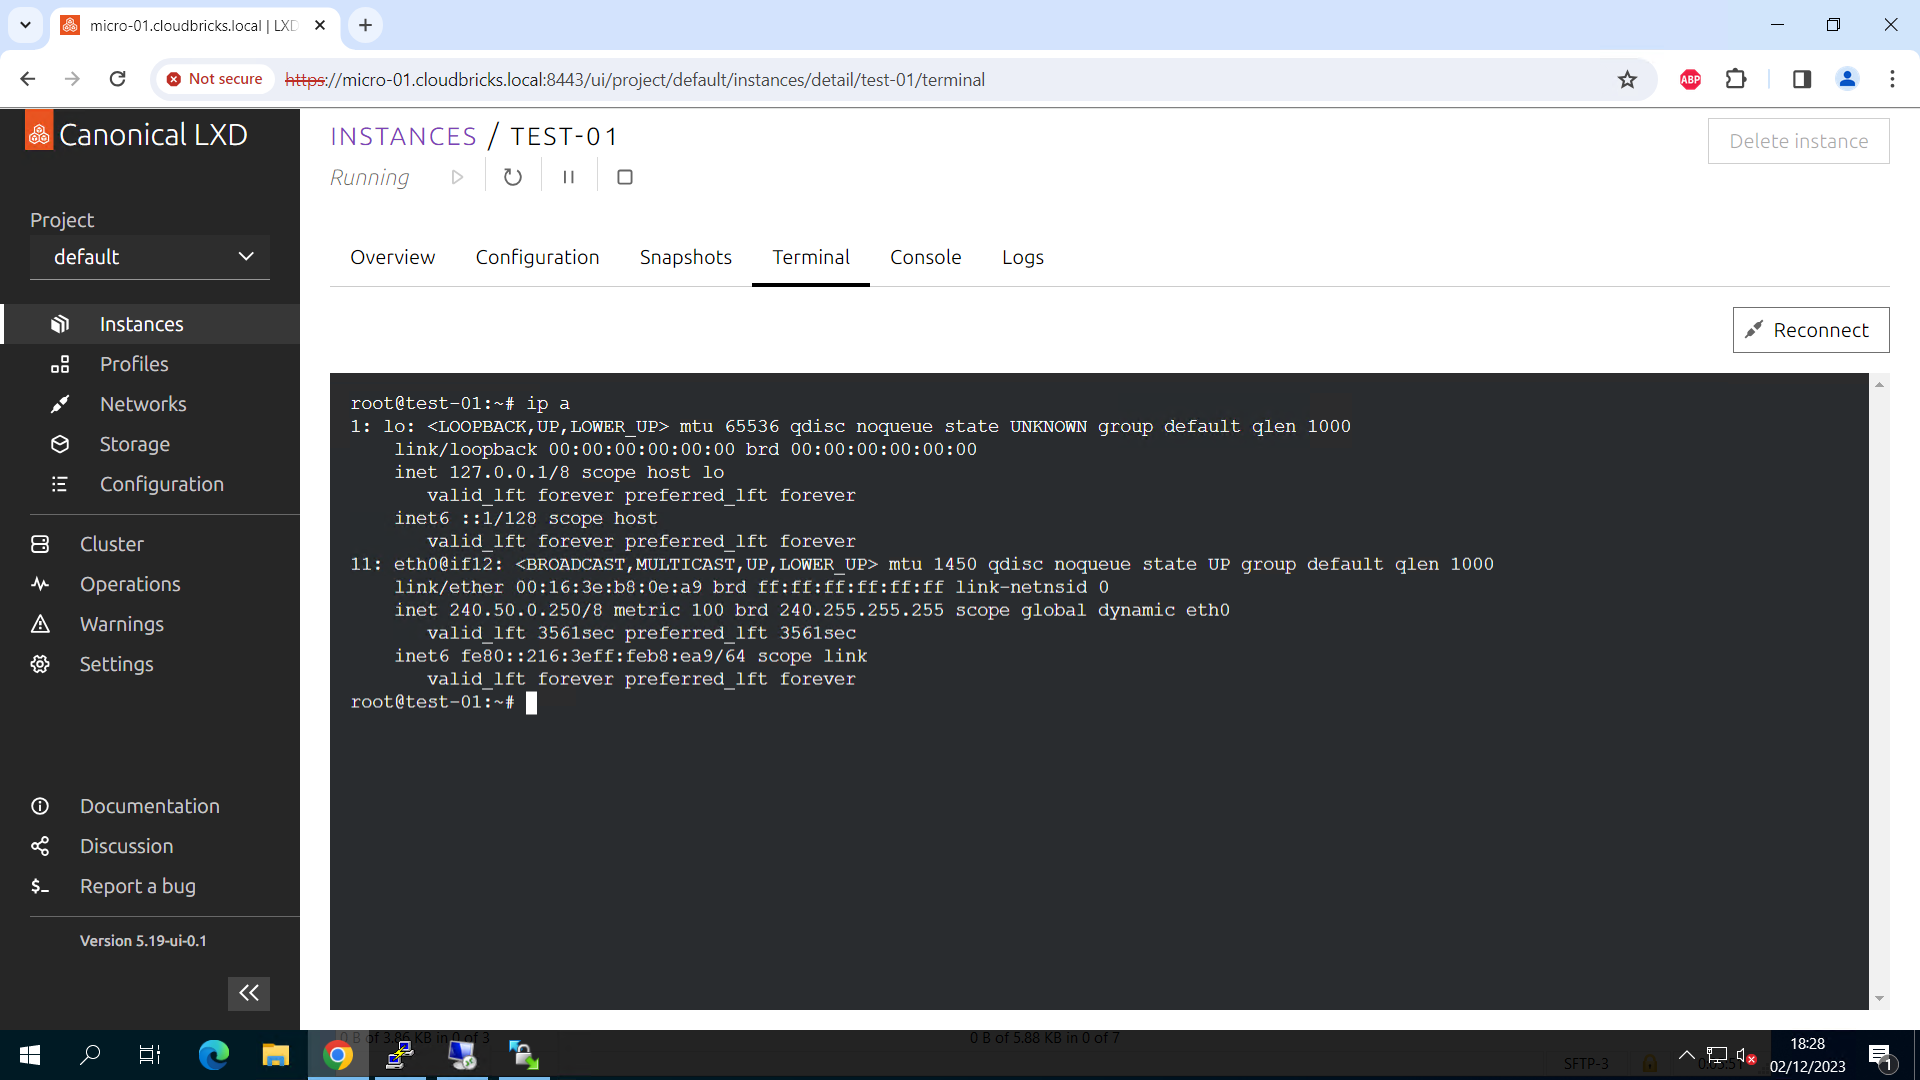
After the initialisation is complete, run the fowlling commands to confirm the setup.
lxc cluster list
lxc storage list
lxc network list
lxc profile show default
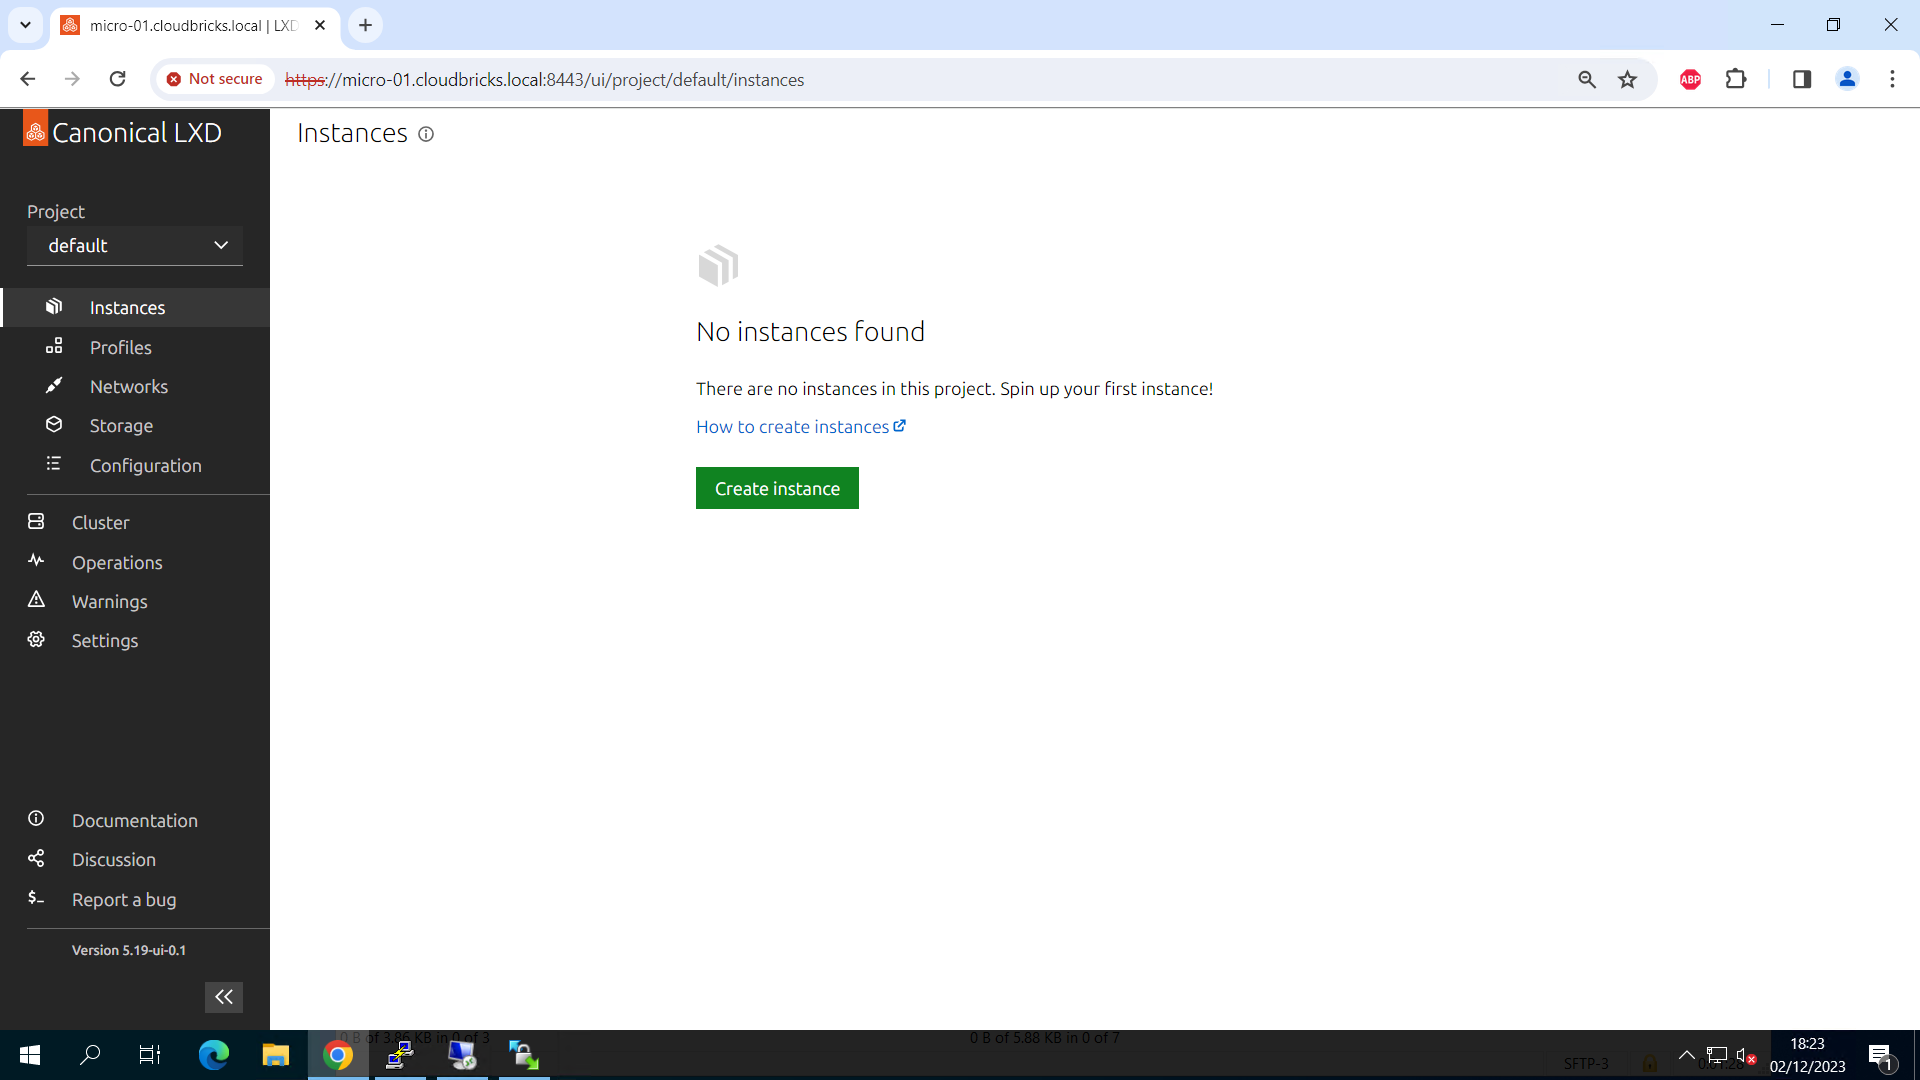
Enable Web UI for LXD and Manage the Microcloud:
- Enable the UI in the snap ( in micro-01):
sudo snap set lxd ui.enable=true
sudo systemctl reload snap.lxd.daemon
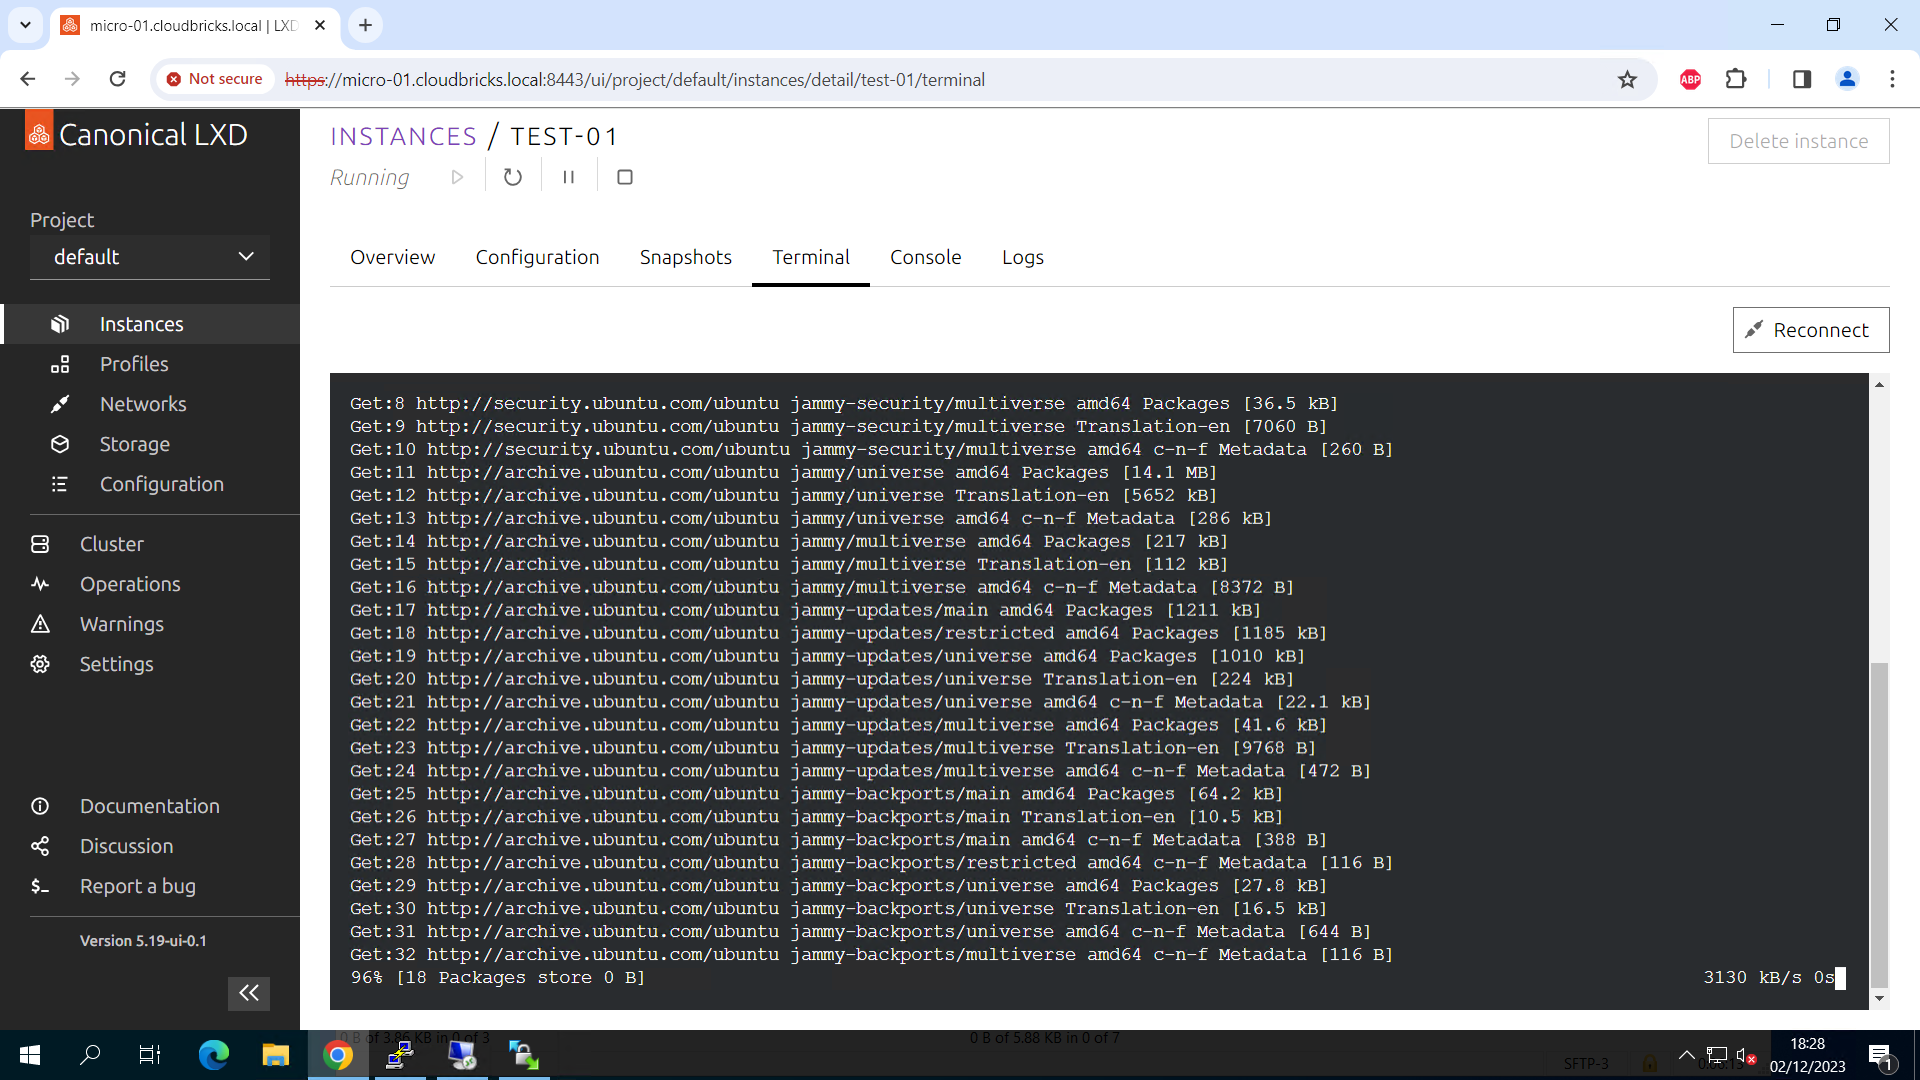
 2. Access the UI in your browser by entering the server address (for example, https://micro-01.cloudbricks.local:8443).
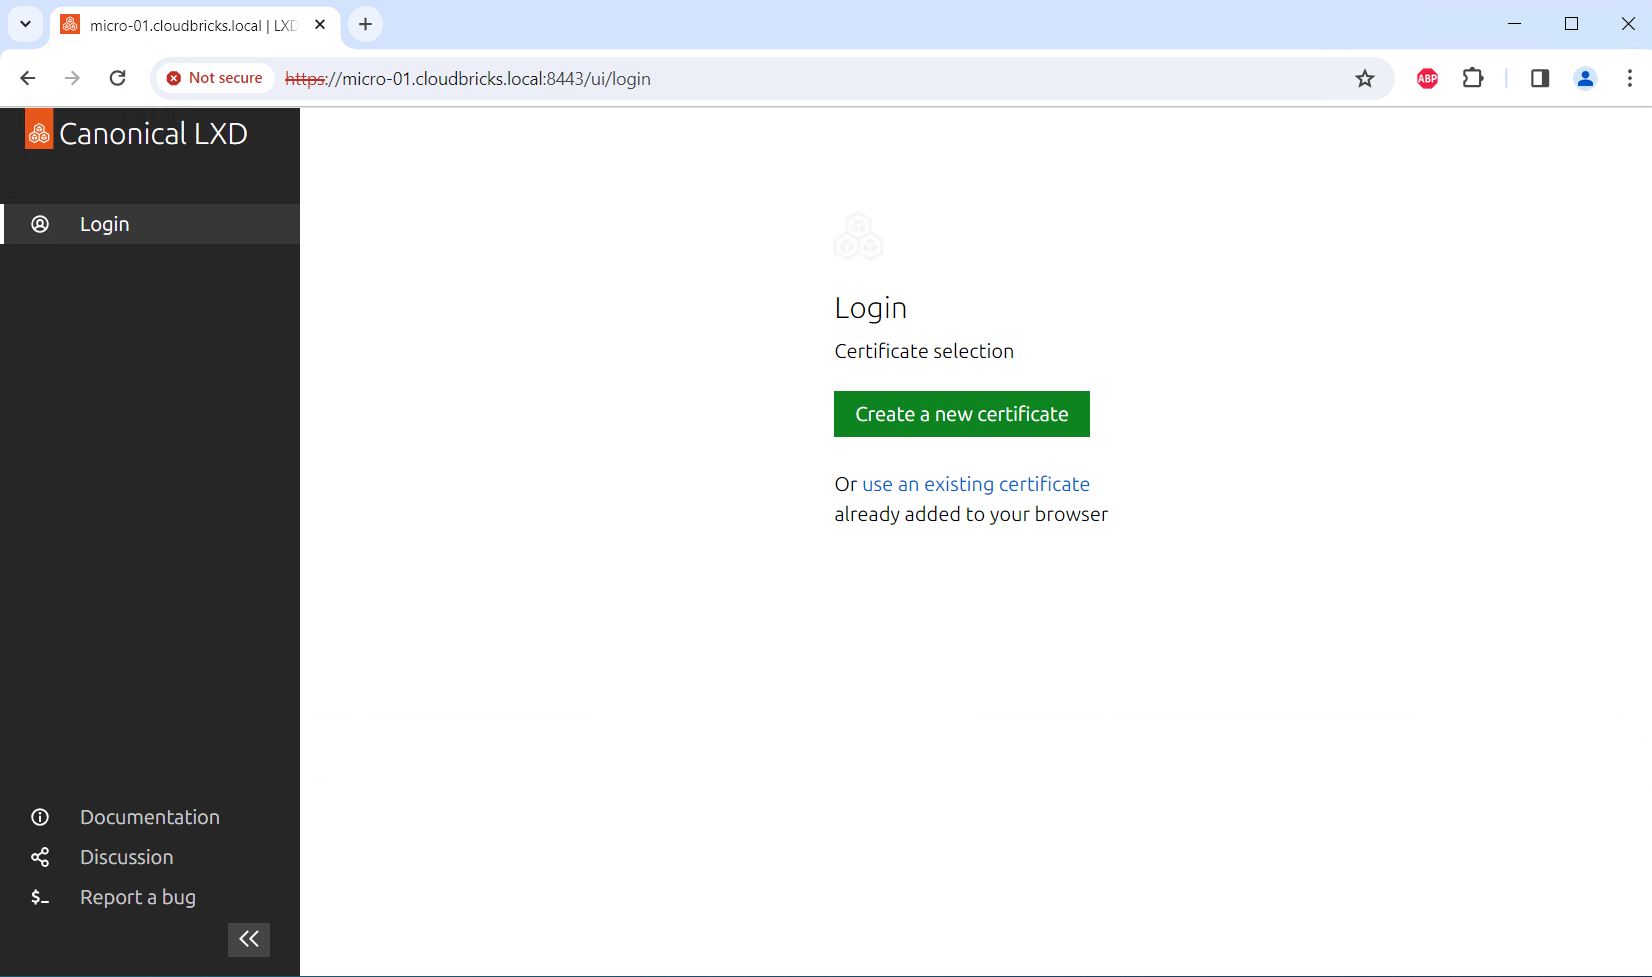 3. Set up the certificates that are required for the UI client to authenticate with the LXD server by following the steps presented in the UI. These steps include creating a set of certificates, adding the private key to your browser, and adding the public key to the server’s trust store.
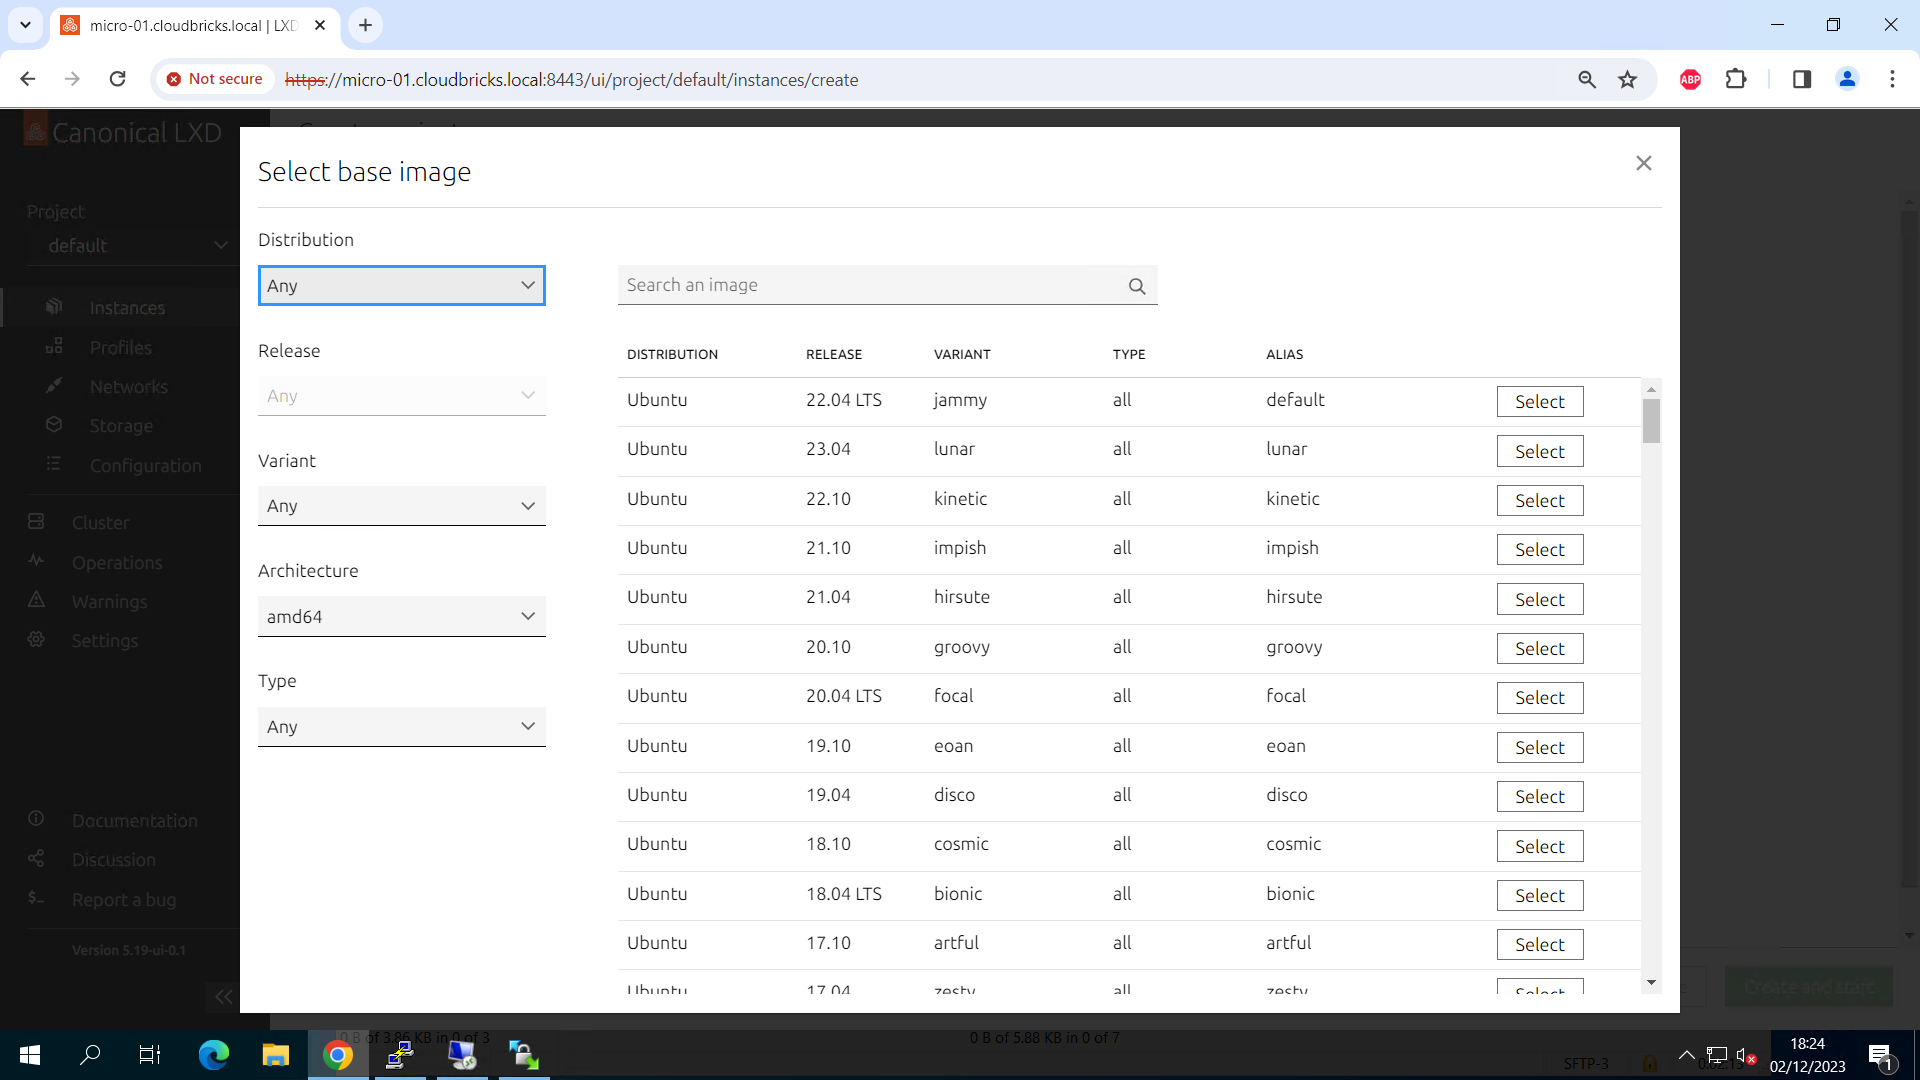
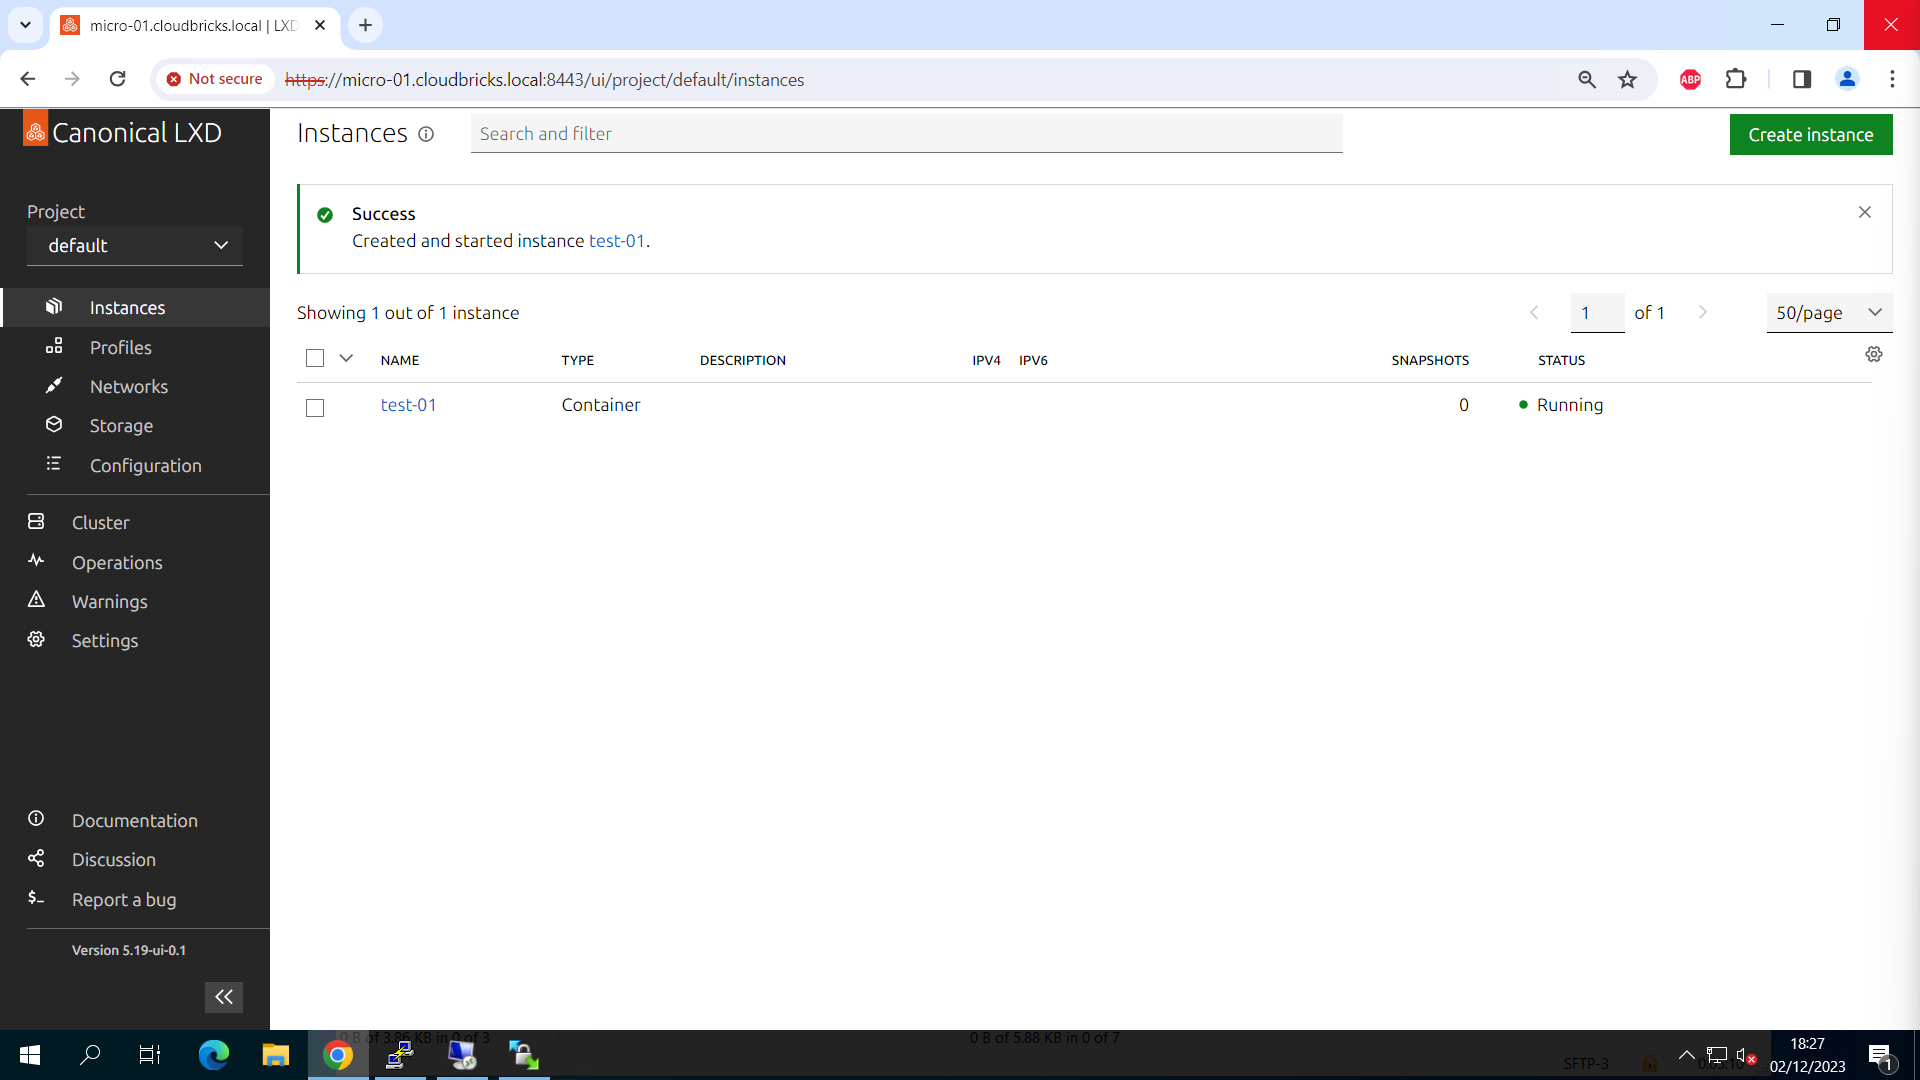
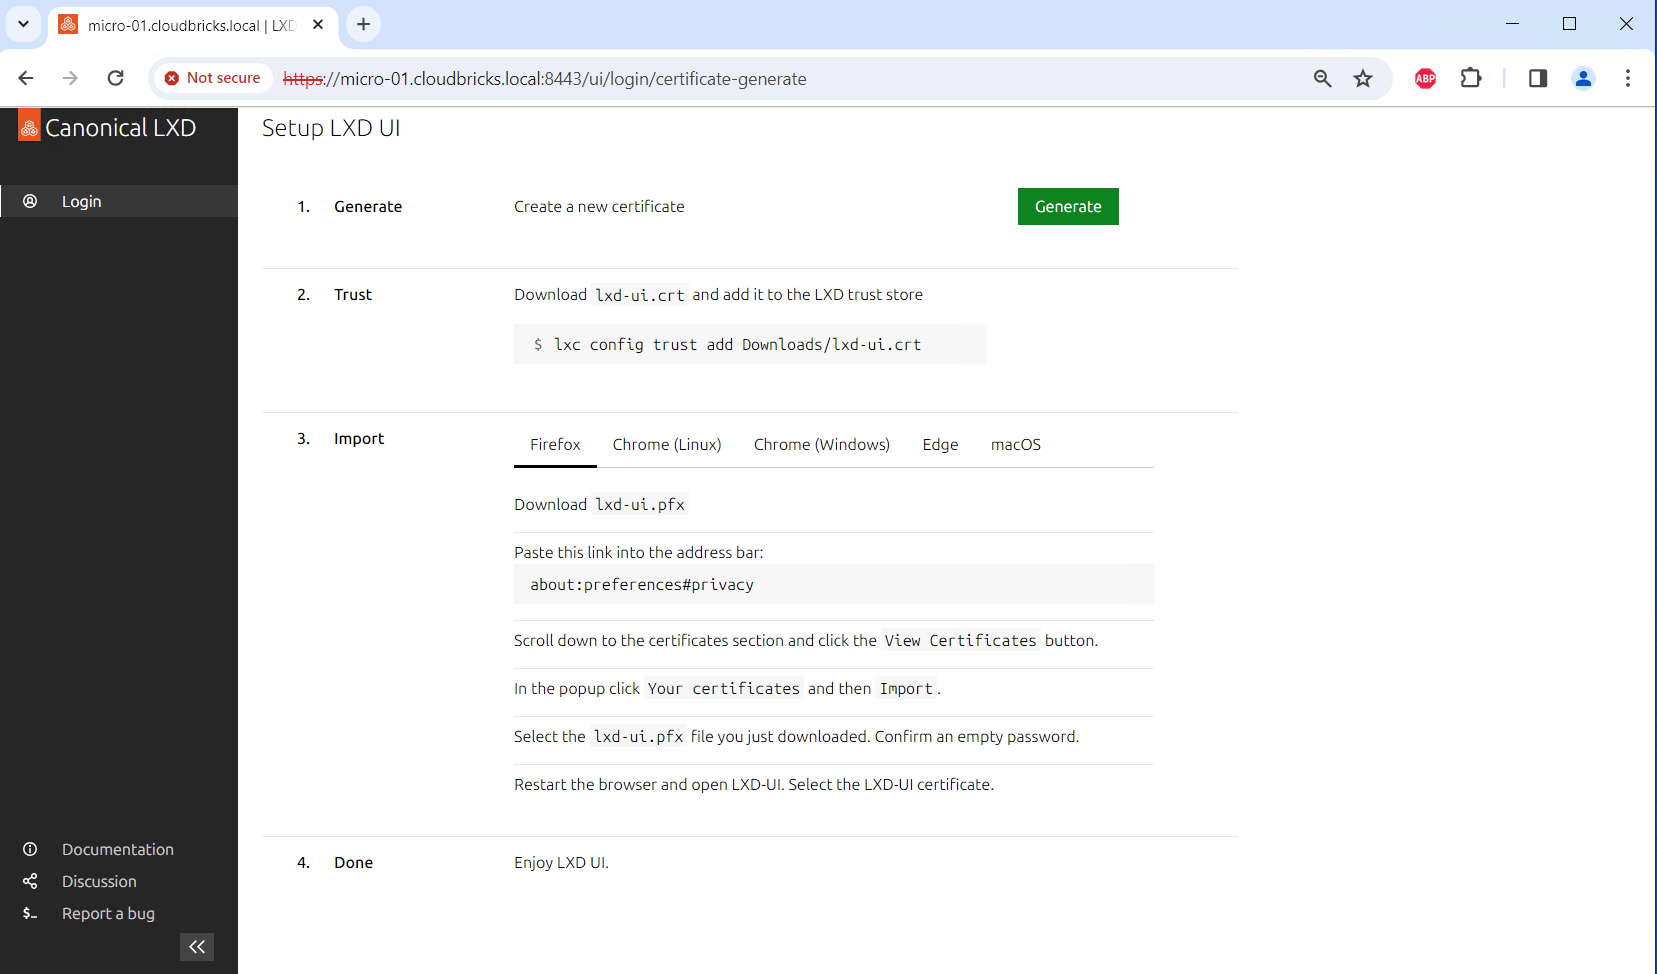 4. After setting up the certificates, you can start creating instances, editing profiles, or configuring your server