

How to Run RustFS (S3-Compatible Object Storage) on Linux
Install and configure RustFS as an S3-compatible object store on Ubuntu 24.04, set credentials, create buckets, upload/download objects, verify integrity, and use the RustFS console.
What You’ll Accomplish
This post walks you through deploying RustFS, a high-performance, S3-compatible distributed object storage system written in Rust, on a clean Ubuntu 24.04 server. By the end you’ll have RustFS running as a systemd service, be able to manage buckets and objects via the web console, and verify S3 API behaviour using the mc (MinIO Client) CLI.
This is a single-node, single-disk (SNSD) deployment — simple and reproducible for a home lab or proof-of-concept. RustFS is released under Apache 2.0, making it a drop-in alternative for many S3-compatible workloads without the AGPL licensing constraints found in some alternatives.
Prerequisites
- A clean Ubuntu 24.04 server (VM or physical). For this test, we used a linked clone on VMware Workstation.
- Outbound internet access to download the RustFS binary and the
mcCLI. sudoprivileges on the server.- Ports
9000(S3 API) and9001(Web Console) accessible from your client/browser.
Note: For production, follow RustFS pre-installation checklists and consider SNMD/MNMD for redundancy.
1. Download and Install RustFS
Download the latest statically linked Linux x86_64 build from the RustFS releases. As of this writing, the latest release is RustFS 1.0.1.
curl -fsSL https://dl.rustfs.com/artifacts/rustfs/release/rustfs-linux-x86_64-musl-latest.zip -o /tmp/rustfs.zip
cd /tmp && unzip -o rustfs.zip
chmod +x rustfs
sudo mv rustfs /usr/local/bin/
Verify the binary is installed and the version is correct:
rustfs --version
Expected output (version/build varies slightly by release):
rustfs 1.0.1
build time   : 2026-10-03 02:33:36 +00:00
build profile: release
build os     : linux-x86_64
rust version : rustc 1.99.0 (b940084d7 2026-09-28)
...
2. Configure Credentials and Storage
RustFS reads its configuration from /etc/default/rustfs. Generate strong, random credentials (never use default demo credentials in anything exposed to a network).
AK="rf$(openssl rand -hex 6)"
SK="$(openssl rand -hex 16)"
echo "ACCESS_KEY=$AK"
echo "SECRET_KEY=$SK"
Create the config file:
sudo tee /etc/default/rustfs > /dev/null <<EOF
RUSTFS_ACCESS_KEY=$AK
RUSTFS_SECRET_KEY=$SK
RUSTFS_VOLUMES="/data/rustfs0"
RUSTFS_ADDRESS=":9000"
RUSTFS_CONSOLE_ENABLE=true
RUSTFS_CONSOLE_ADDRESS=":9001"
RUSTFS_OBS_LOGGER_LEVEL=error
RUSTFS_OBS_LOG_DIRECTORY="/var/log/rustfs/"
EOF
Create the required directories:
sudo mkdir -p /data/rustfs0 /var/log/rustfs /opt/tls
sudo chmod -R 750 /data/rustfs0 /var/log/rustfs
3. Create a systemd Service
Create the service unit at /etc/systemd/system/rustfs.service. We omit writing stdout/stderr to the same rolling log file as RustFS (to avoid the log-sink conflict we observed during verification — sending logs to journald is cleaner).
sudo tee /etc/systemd/system/rustfs.service > /dev/null <<'UNIT'
[Unit]
Description=RustFS Object Storage Server
Documentation=https://rustfs.com/docs/
After=network-online.target
Wants=network-online.target

[Service]
Type=notify
NotifyAccess=main
User=root
Group=root

WorkingDirectory=/usr/local
EnvironmentFile=-/etc/default/rustfs
ExecStart=/usr/local/bin/rustfs $RUSTFS_VOLUMES

LimitNOFILE=1048576
LimitNPROC=32768
TasksMax=infinity

Restart=always
RestartSec=10s

OOMScoreAdjust=-1000
SendSIGKILL=no

TimeoutStartSec=120s
TimeoutStopSec=30s

NoNewPrivileges=true
ProtectHome=true
PrivateTmp=true
PrivateDevices=true
ProtectClock=true
ProtectKernelTunables=true
ProtectKernelModules=true
ProtectControlGroups=true
RestrictSUIDSGID=true
RestrictRealtime=true

[Install]
WantedBy=multi-user.target
UNIT
Reload systemd and start RustFS:
sudo systemctl daemon-reload
sudo systemctl enable --now rustfs
Check the service status and open ports (9000 and 9001):
systemctl status rustfs --no-pager | head -5
sudo ss -ntpl | grep -E ':(9000|9001)'
Expected (trimmed):
● rustfs.service - RustFS Object Storage Server
     Active: active (running) since ...
rustfs 2069 11 *:9000 *:* LISTEN
rustfs 2069 12 *:9001 *:* LISTEN
At this point RustFS is up and ready. You can access the web console at http://<your-server-ip>:9001.
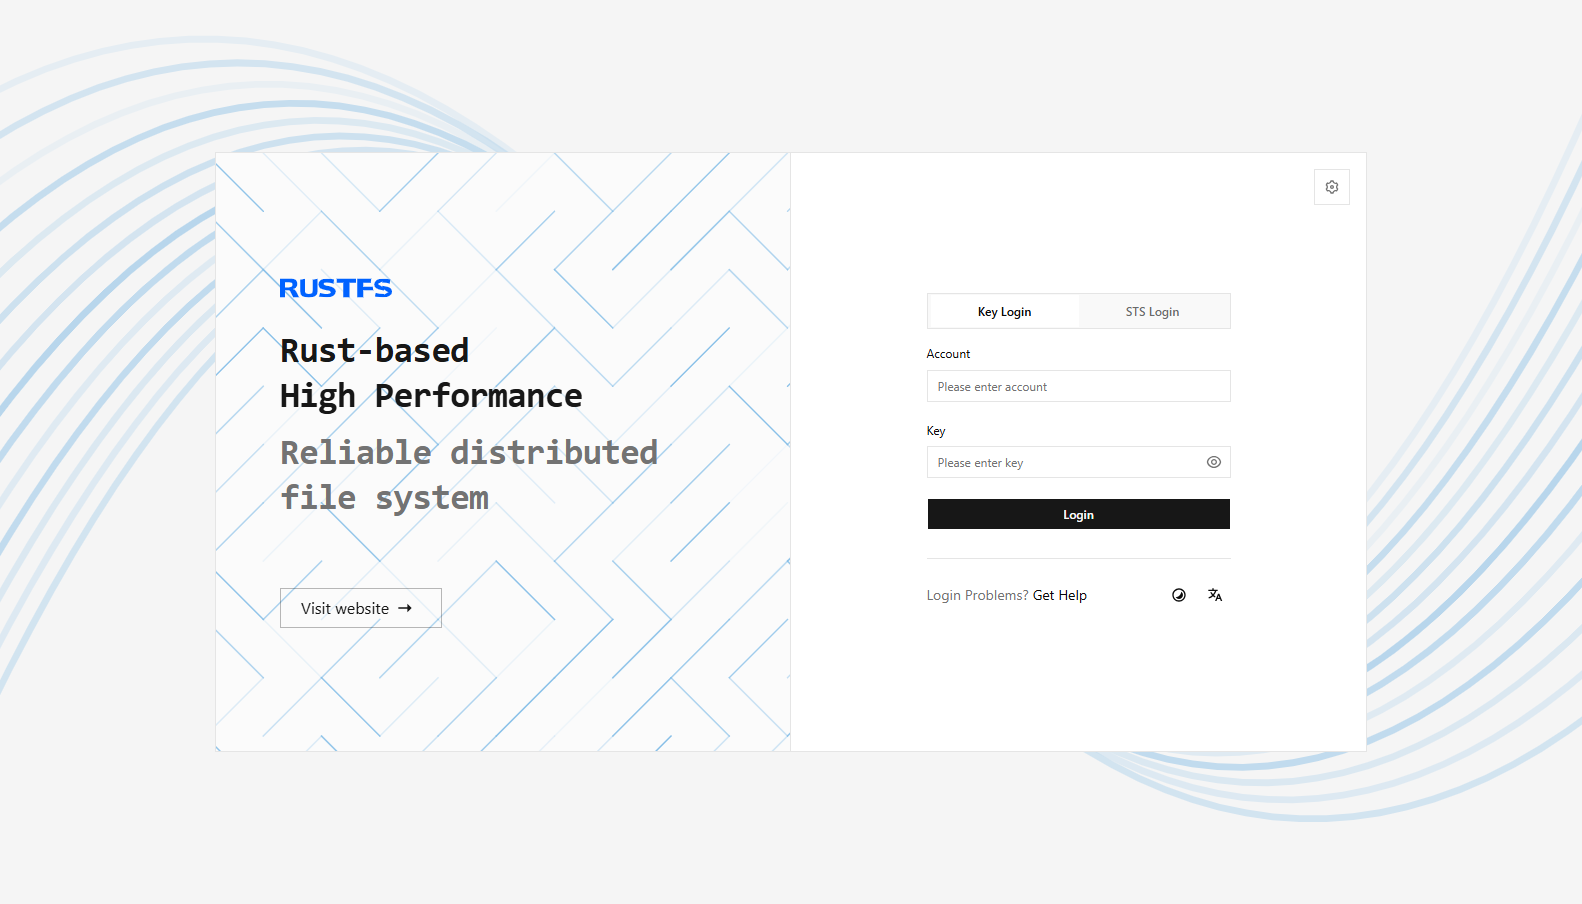
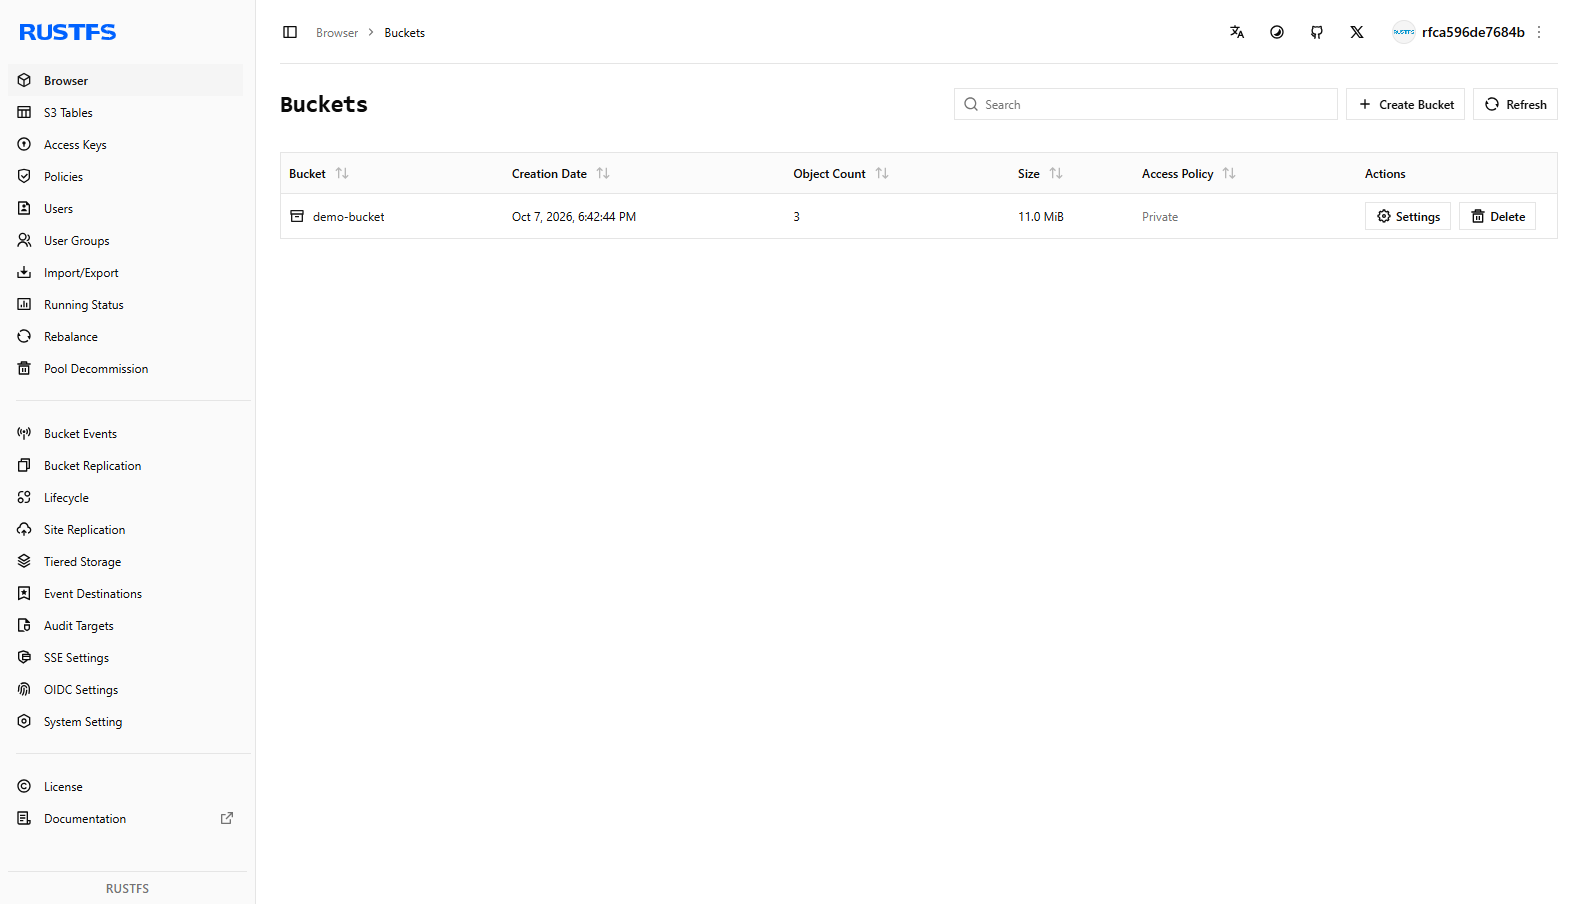
Log in with the RUSTFS_ACCESS_KEY and RUSTFS_SECRET_KEY you just generated. After a successful login, the browser lands on the Buckets view of the RustFS console.
4. Create a Bucket and Upload Objects via the Console
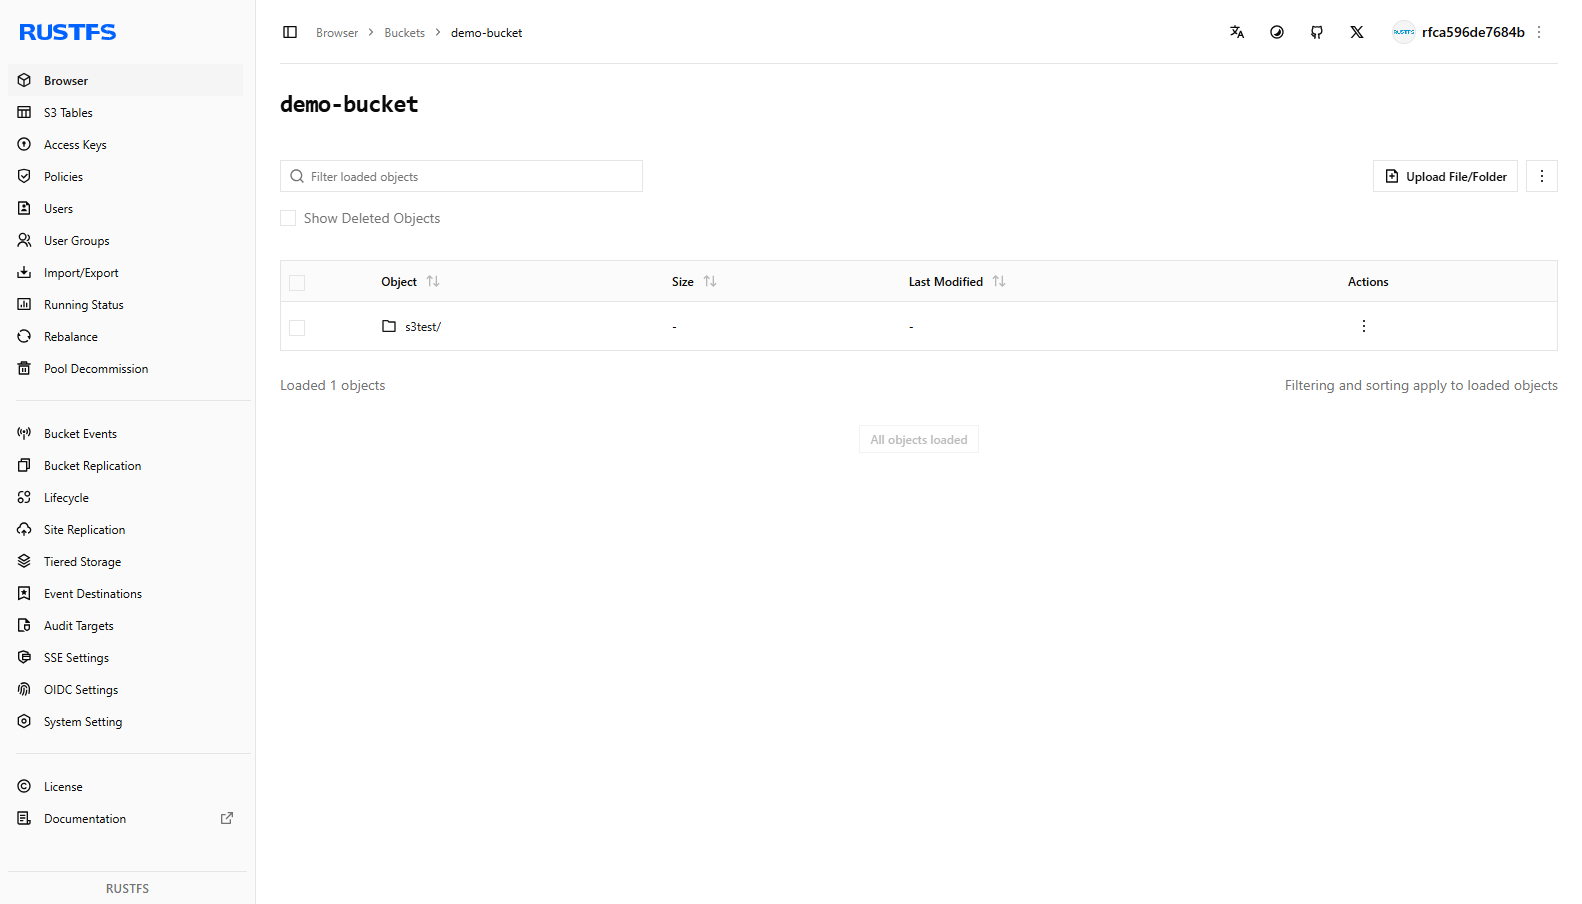
From the console, create a bucket (e.g. demo-bucket). Once created, open the bucket and upload test objects (or folders). RustFS stores objects as files under your volume (/data/rustfs0/ in this setup) and presents them through the S3 API and console.
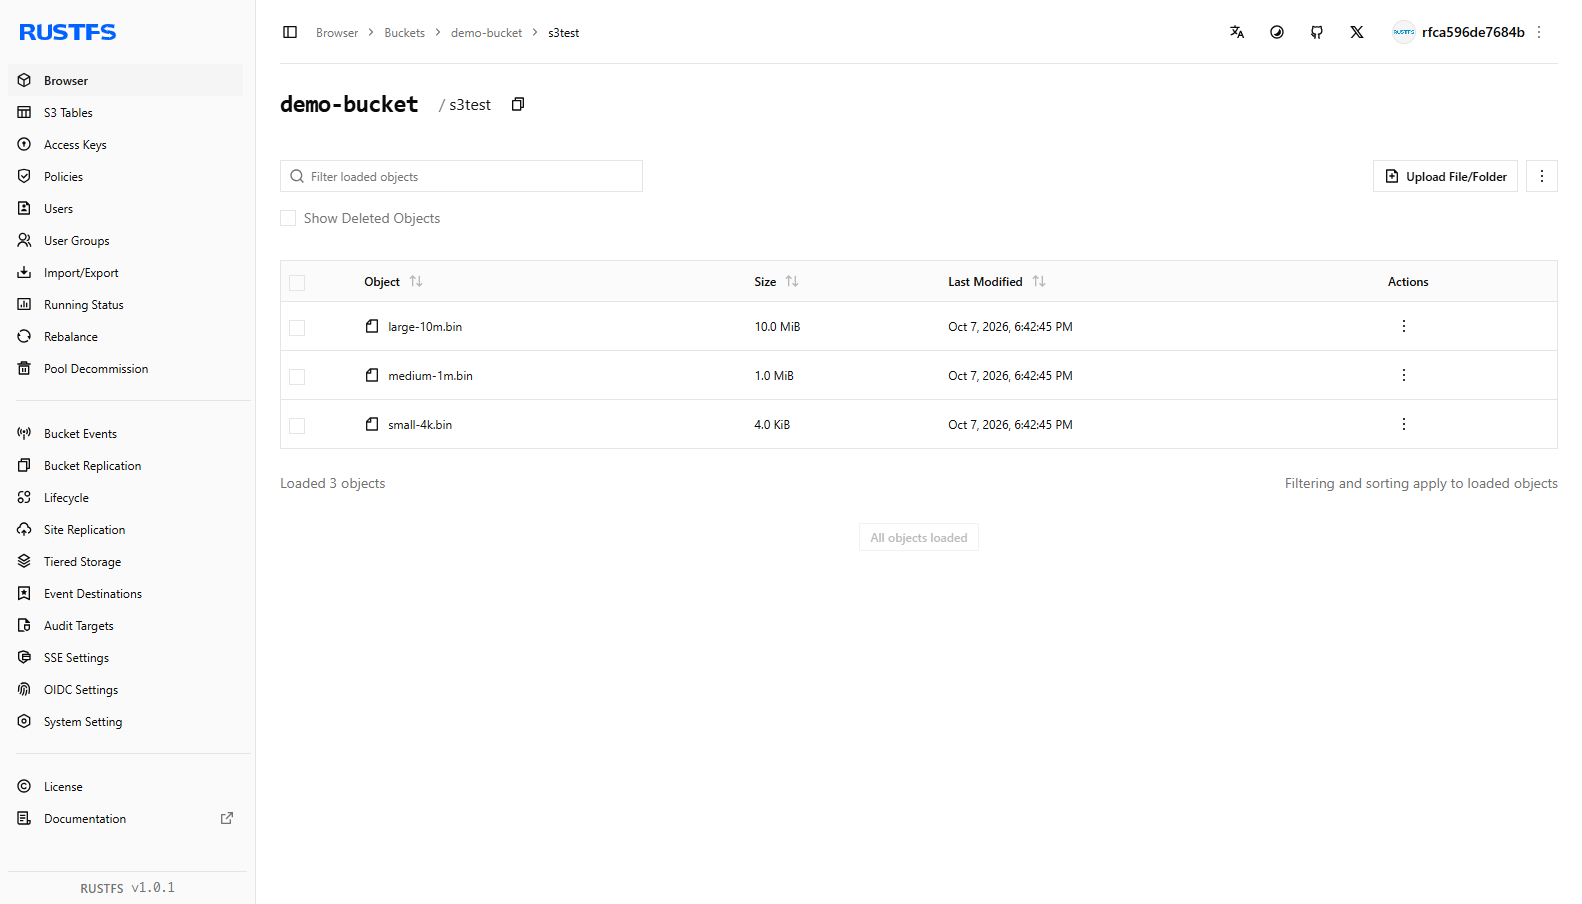
Drilling into a prefix shows the individual objects with size and last-modified timestamps — exactly what you’d expect from an S3-compatible object store.
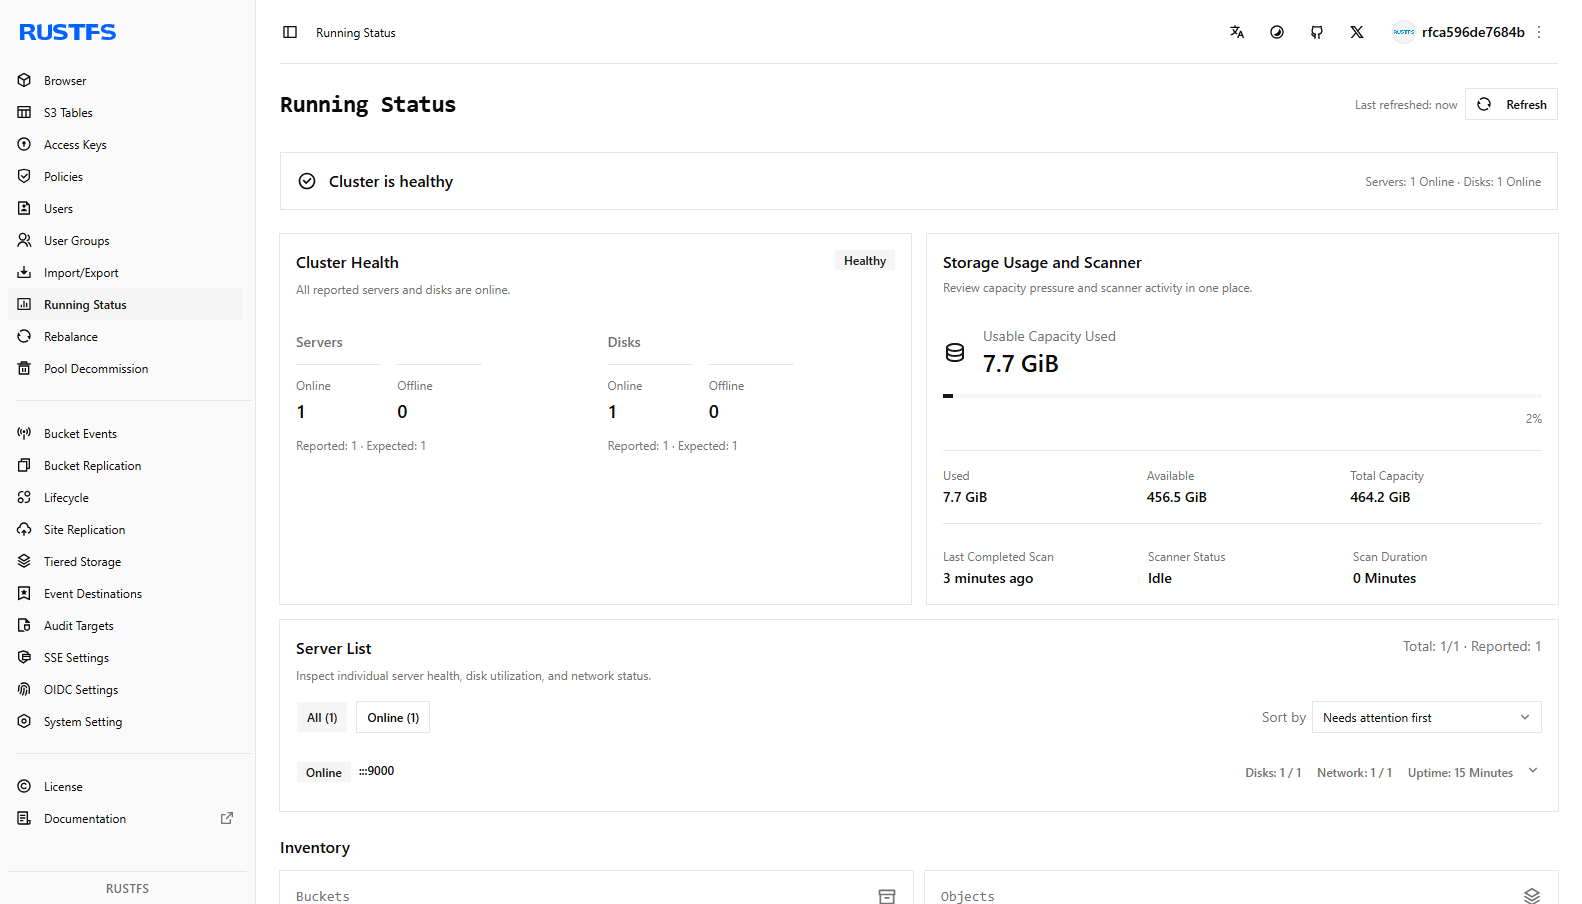
The Running Status page provides a quick health check (servers/disks online). For a single-node SNSD deployment, you’ll see 1 server and 1 disk reported as online.
5. Test with mc (MinIO Client) for S3 Compatibility
The mc CLI works with any S3-compatible endpoint. Download the Linux x86_64 binary (note: GitHub asset names include the release tag; use the correct asset for your platform):
curl -fsSL -L "https://github.com/minio/mc/releases/download/RELEASE.2025-08-13T08-35-41Z/mc.linux-amd64.RELEASE.2025-08-13T08-35-41Z" -o /tmp/mc
chmod +x /tmp/mc
sudo mv /tmp/mc /usr/local/bin/mc
mc --version
Set up an alias
Point mc at your local RustFS instance using the credentials from /etc/default/rustfs (or the ones you echoed earlier).
mc alias set rustfs http://127.0.0.1:9000 "$RUSTFS_ACCESS_KEY" "$RUSTFS_SECRET_KEY"
mc alias list rustfs
Create a bucket and upload test data
mc mb rustfs/demo-cli
mkdir -p /tmp/s3test && head -c 4096 /dev/urandom > /tmp/s3test/small-4k.bin
mc cp --recursive /tmp/s3test/ rustfs/demo-cli/
mc ls --recursive rustfs/demo-cli/
Verify integrity (round-trip)
Download the objects back and confirm checksums match:
mc cp --recursive rustfs/demo-cli/ /tmp/s3verify/
md5sum /tmp/s3test/small-4k.bin /tmp/s3verify/s3test/small-4k.bin
Expected: identical MD5 hashes for source and round-tripped object.
Test a presigned download URL
Generate a short-lived presigned URL and fetch it with curl to confirm RustFS correctly signs S3 requests:
URL="$(mc share download rustfs/demo-cli/s3test/small-4k.bin | grep -oE 'http://[^ ]+' | head -1)"
curl -fsSL -o /tmp/presigned.bin "$URL"
md5sum /tmp/s3test/small-4k.bin /tmp/presigned.bin
Both hashes match — confirming RustFS’s S3 presigned URL implementation works correctly.
6. Stop, Start, and Logs
Useful operational commands:
# Restart RustFS
sudo systemctl restart rustfs

# Check recent logs (journald)
sudo journalctl -u rustfs --no-pager -n 20

# Follow logs live
sudo journalctl -u rustfs -f
Data lives under the configured volume (/data/rustfs0/). Backing up that path (and your /etc/default/rustfs credentials) is sufficient for a single-node deployment.
Wrap-Up
You now have a working RustFS instance: SNSD on Ubuntu 24.04, secured with unique credentials, accessible via the web console on port 9001, and S3-compatible on port 9000. The upload/download round-trip with matching checksums confirms the deployment is correct and behaving as expected.
To try more advanced topologies (erasure coding across multiple disks/nodes), refer to the official RustFS Linux installation docs.
What to try next: enable TLS, restrict firewall rules to known IPs, or explore bucket lifecycle/policies in the console.