Deploy Harvester HCI in VMware vSphere
![]()
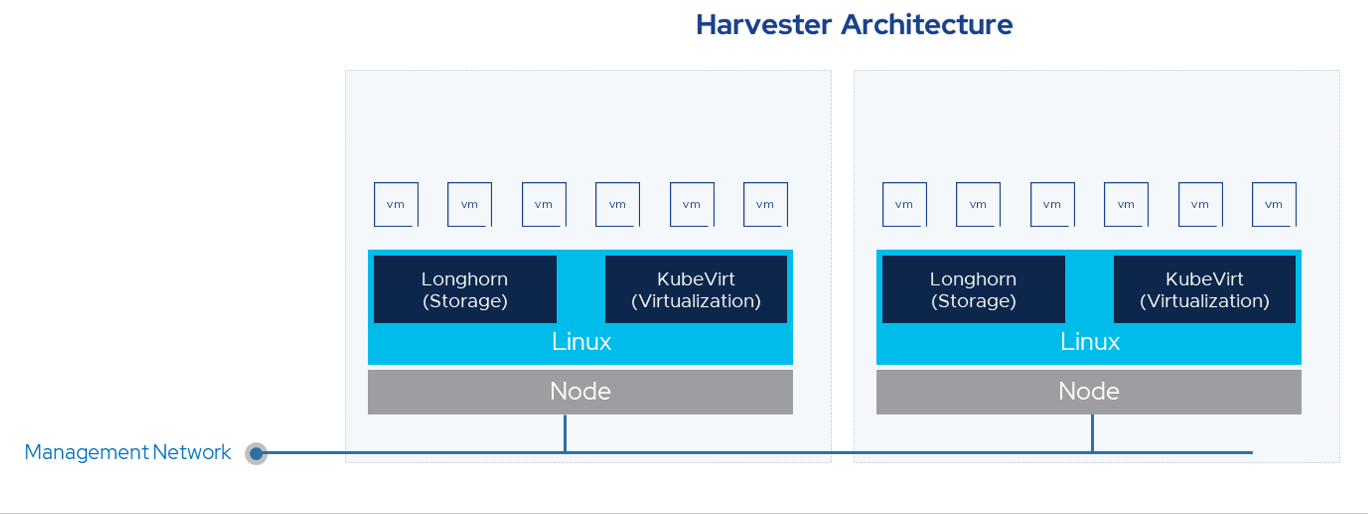
Harvester
Harvester is a modern Hyperconverged infrastructure (HCI) solution built for bare metal servers using enterprise-grade open source technologies including Kubernetes, KubeVirt and Longhorn.
This allows you to run both containers and VMs in your cluster. This will reduce operation overhead and provide consistency. This is all tried and tested technology combined to provide an open-source solution in this space.
Requirements:
The follwing are the system requirements for Harvester Nodes
| Type | Requirement |
|---|---|
| CPU | 8 Cores minimum |
| Memory | 32GB minimum |
| Disk | 250GB minimum |
| Network | 1Gbps minimum |
Installation:
- Ensure that the required DNS entries are created. I'm using Static IP Address here

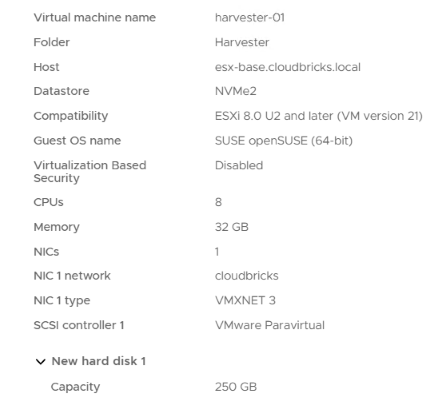
- Create the Virtual Machines manually with the required configuration. selected the fowlloing:
- Guest OS Type: SUSE OpenSUSE
- 8vCPU, hardware virtualzation is enabled
- 32GB RAM
- 250GB Disk
- VMXNet3 Adapter
- Guest OS Type: SUSE OpenSUSE
- 8vCPU, hardware virtualzation is enabled
- 32GB RAM
- 250GB Disk
- VMXNet3 Adapter
- Mount the Harvester ISO file and boot the server by selecting the Harvester Installer option.
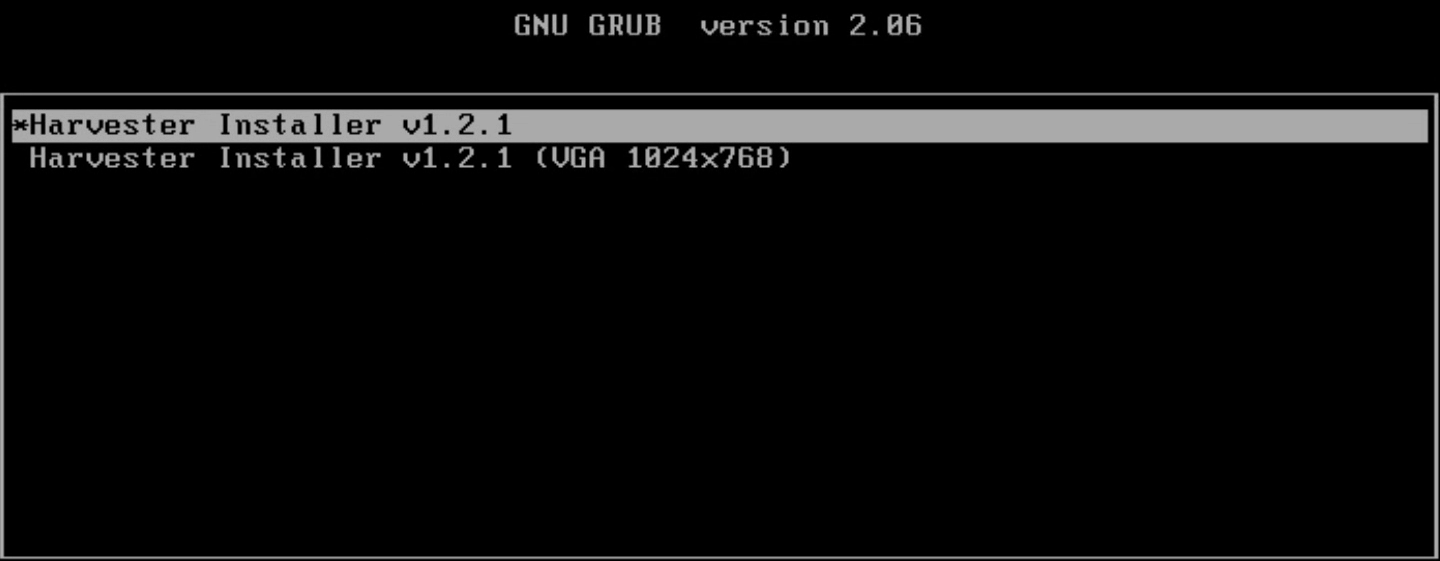
- Use the arrow keys to choose an installation mode. By default, the first node will be the management node of the cluster.

"Create a new Harvester cluster": Use this to create a new cluster
"Join an existing Harvester cluster": Use this to join the node to the exising cluster. We need Cluster token and VIP of the cluster to join the other Nodes
"Install Harvester binaries only": If you choose this option, additional setup is required after the first bootup.
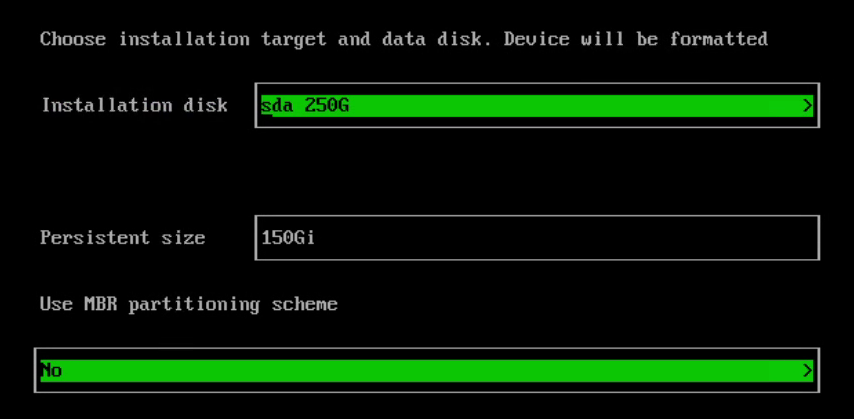
- Select the installation disk, in my case i am choosing the 250GB disk.By default, Harvester uses GUID Partition Table (GPT) partitioning schema for both UEFI and BIOS.
- configure the hostname
harvester-01.cloudbricks.local
- configure the network interface
Select ens192(this may change in your setup) as interface. Bond Mode as active-backup and IPv4 method as Static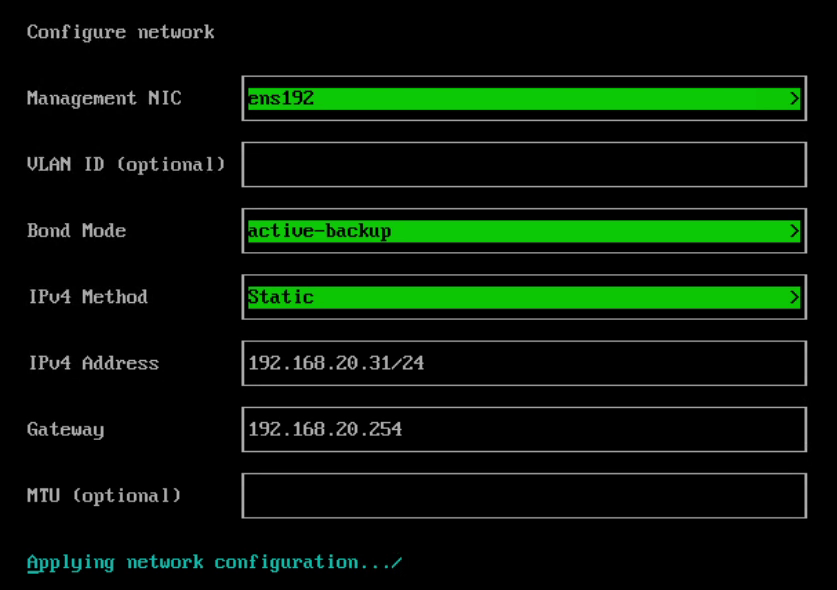
- configure the DNS
192.168.0.5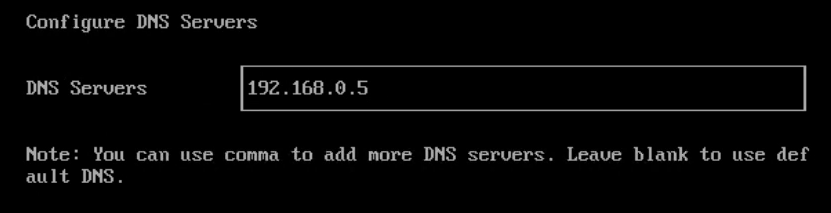
- configure the Virtual IP. Selct mde as Static and VIP as
192.168.20.30
- configure the Cluster Token
mytoken
- configure the password to access the node
myPassword
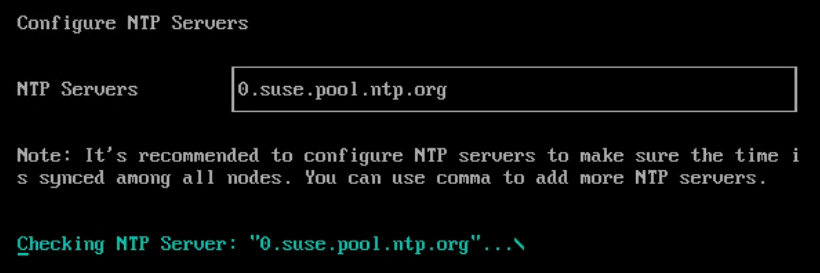
- levae the defaults and continue with the next screens.
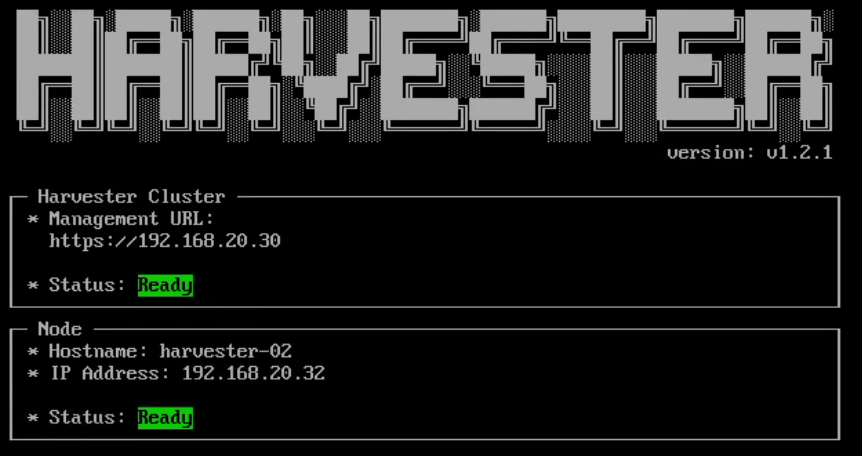
- Once the installation is complete, node restarts. After the restart, the Harvester console displays the management URL and status. The default URL of the web interface is
https://virtualIP.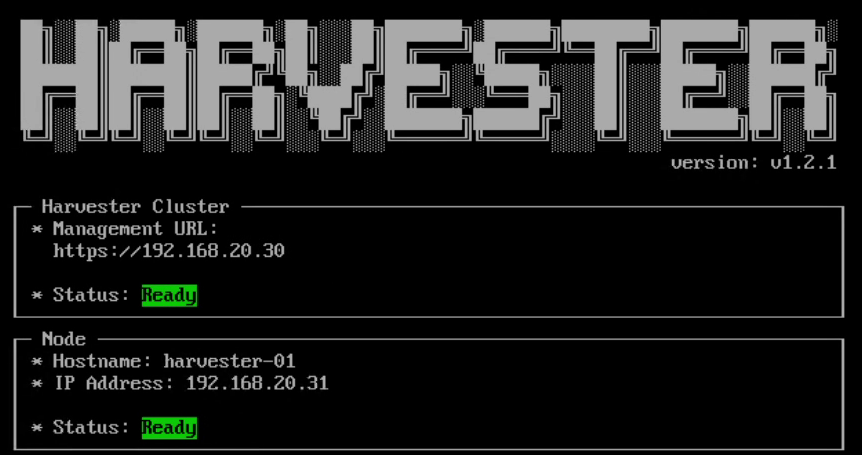
- You will be prompted to set the password for the default
adminuser when logging in for the first time.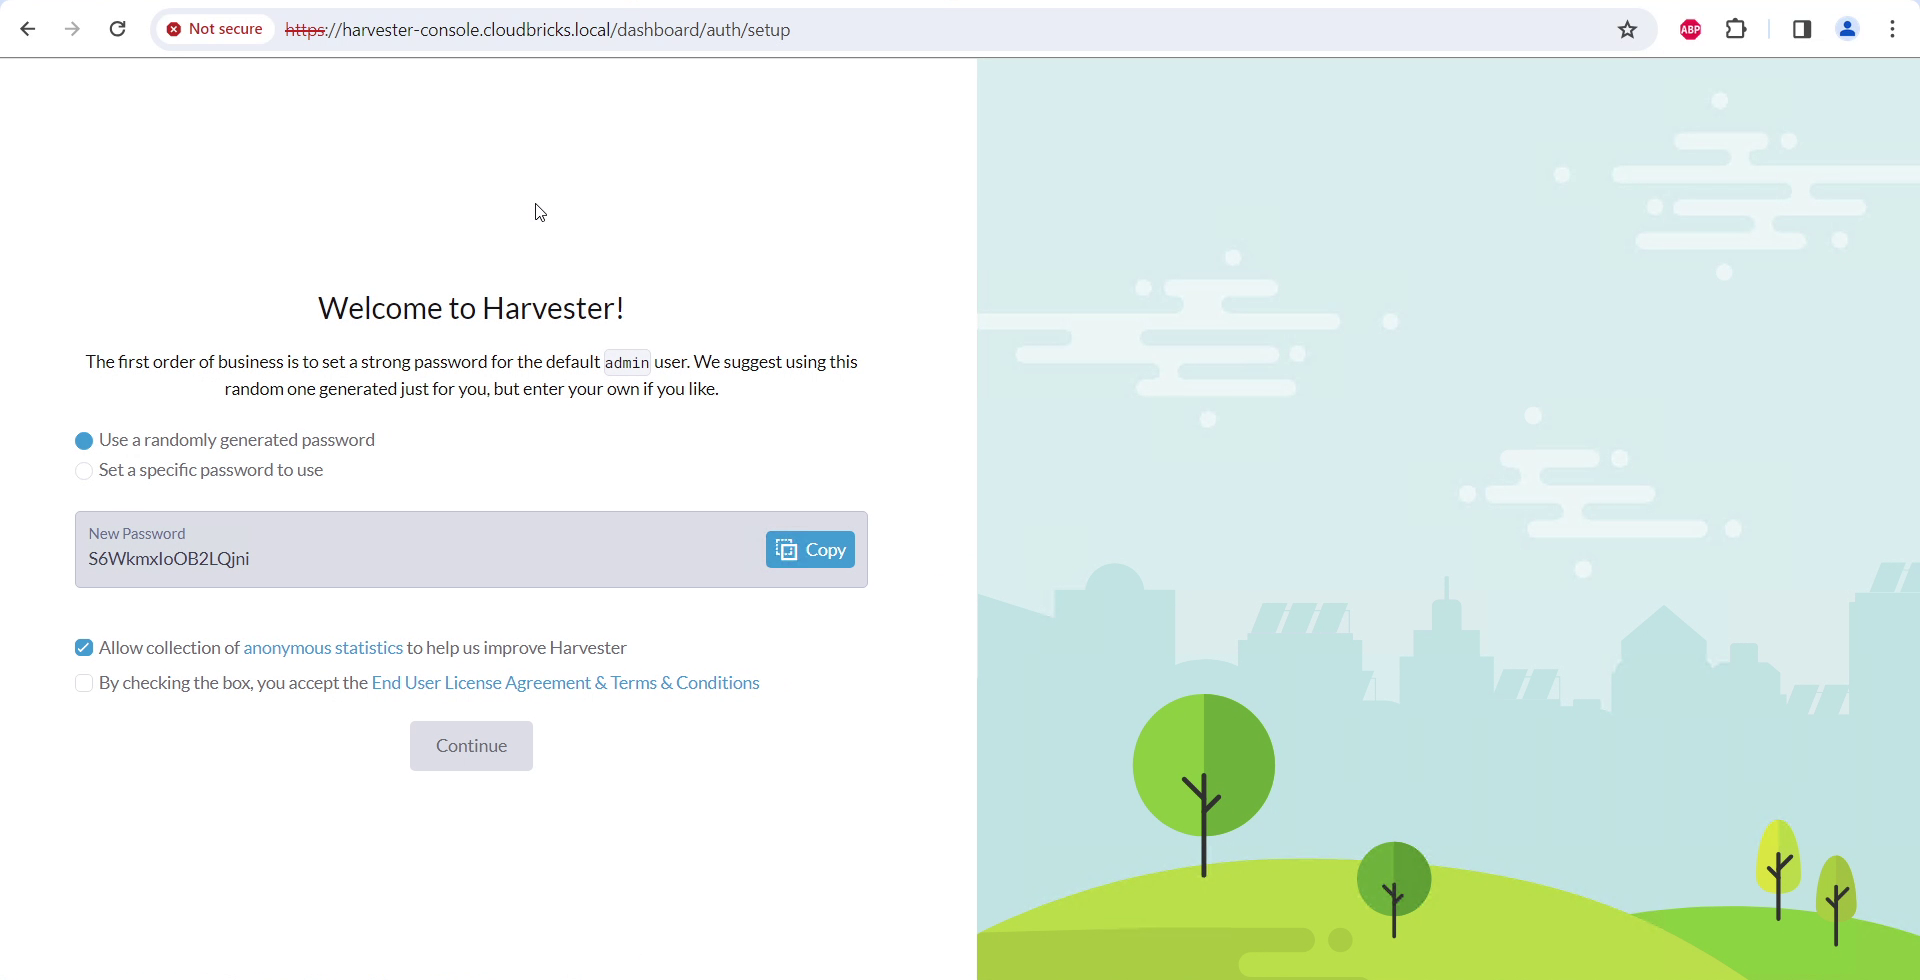
Adding additional Nodes:
Complete the following steps to add additional nodes to the exisint cluster:
Mount the Harvester ISO file and boot the server by selecting the Harvester Installer option.
Use the arrow keys to choose an installation mode. Select
Join an existing Harvester cluster
Select the installation disk, in my case i am choosing the 250GB disk.By default, Harvester uses GUID Partition Table (GPT) partitioning schema for both UEFI and BIOS.
configure the hostname
harvester-02.cloudbricks.local
configure the network interface
Select ens192(this may change in your setup) as interface. Bond Mode as active-backup and IPv4 method as Static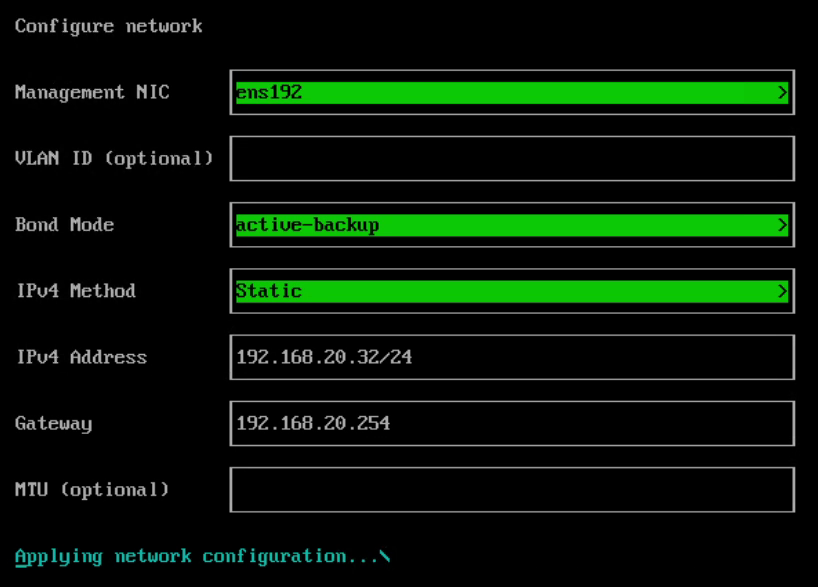
configure the DNS
192.168.0.5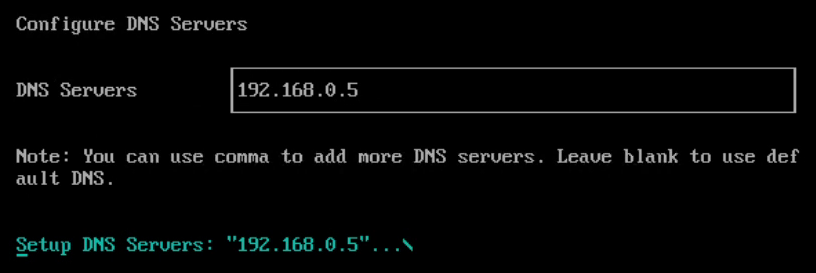
configure the Management address. Here we need to enter the VIP
192.168.20.30
configure the Cluster Token
mytokenconfigure the password to access the node
myPassword
levae the defaults and continue with the next screens.Once the installation is complete, node restarts.
login to the Management URL using VIP
192.168.20.30or DNS nameharvester-console.cloudbricks.local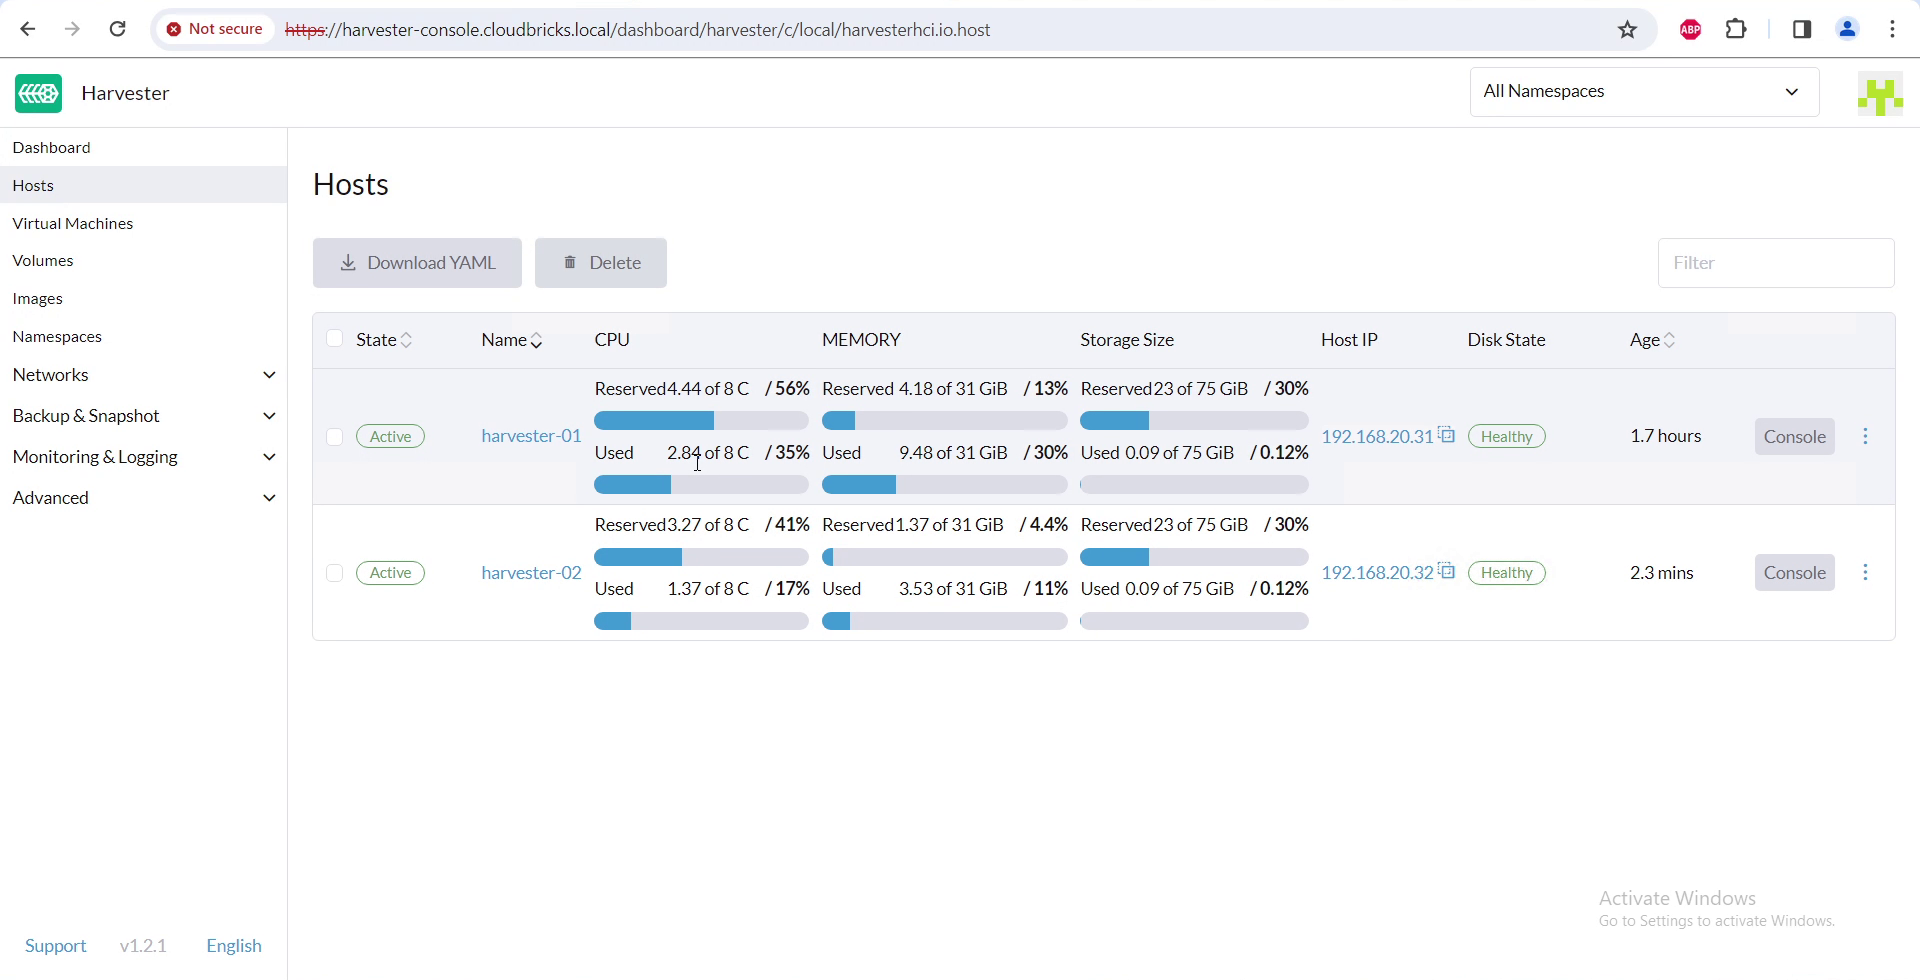
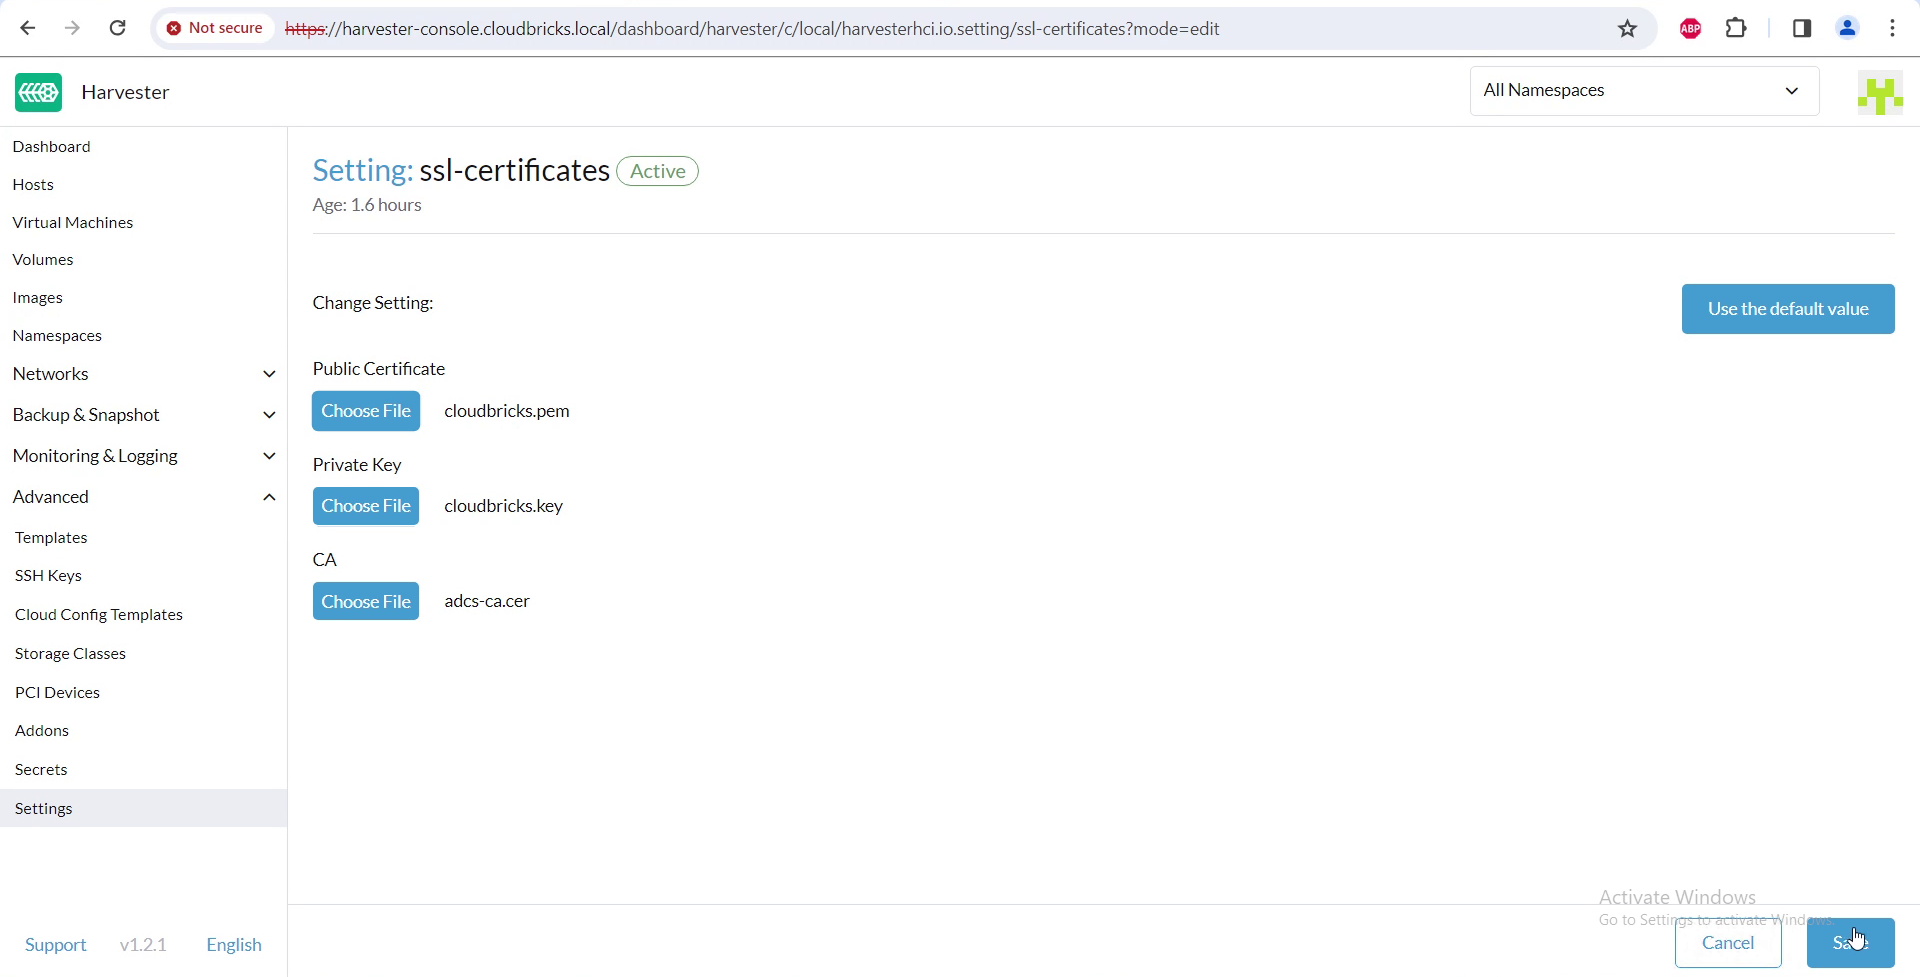
Expand advanced and under settings go to ssl-certificates. Replace them with you ADCS generated SSL certificates.
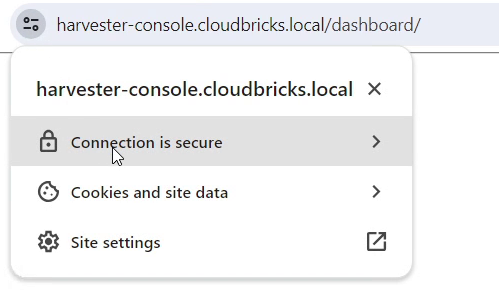
Post successful restart of services (which will be automatic), close the browser and access the management URL again. It should show as connection is secure
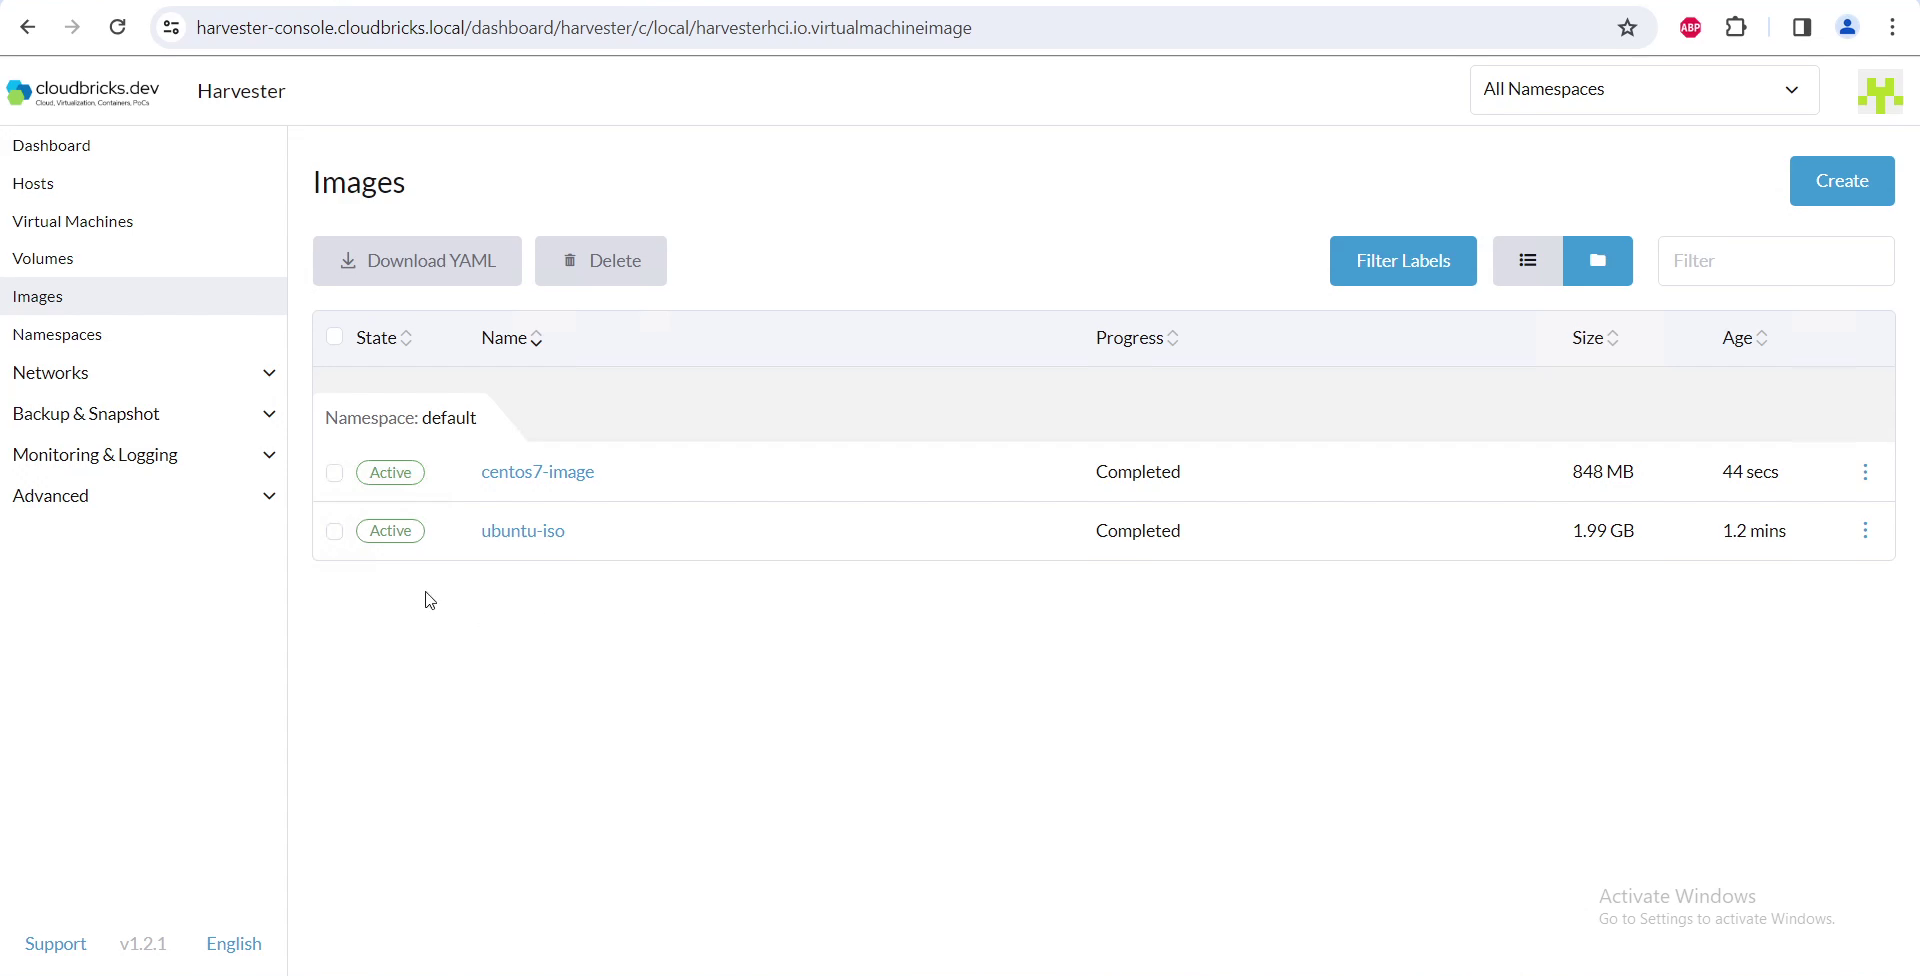
Navigate to images in the left side menu and create image. I have uploaded two images (one RAW and one ISO) using file or URL method
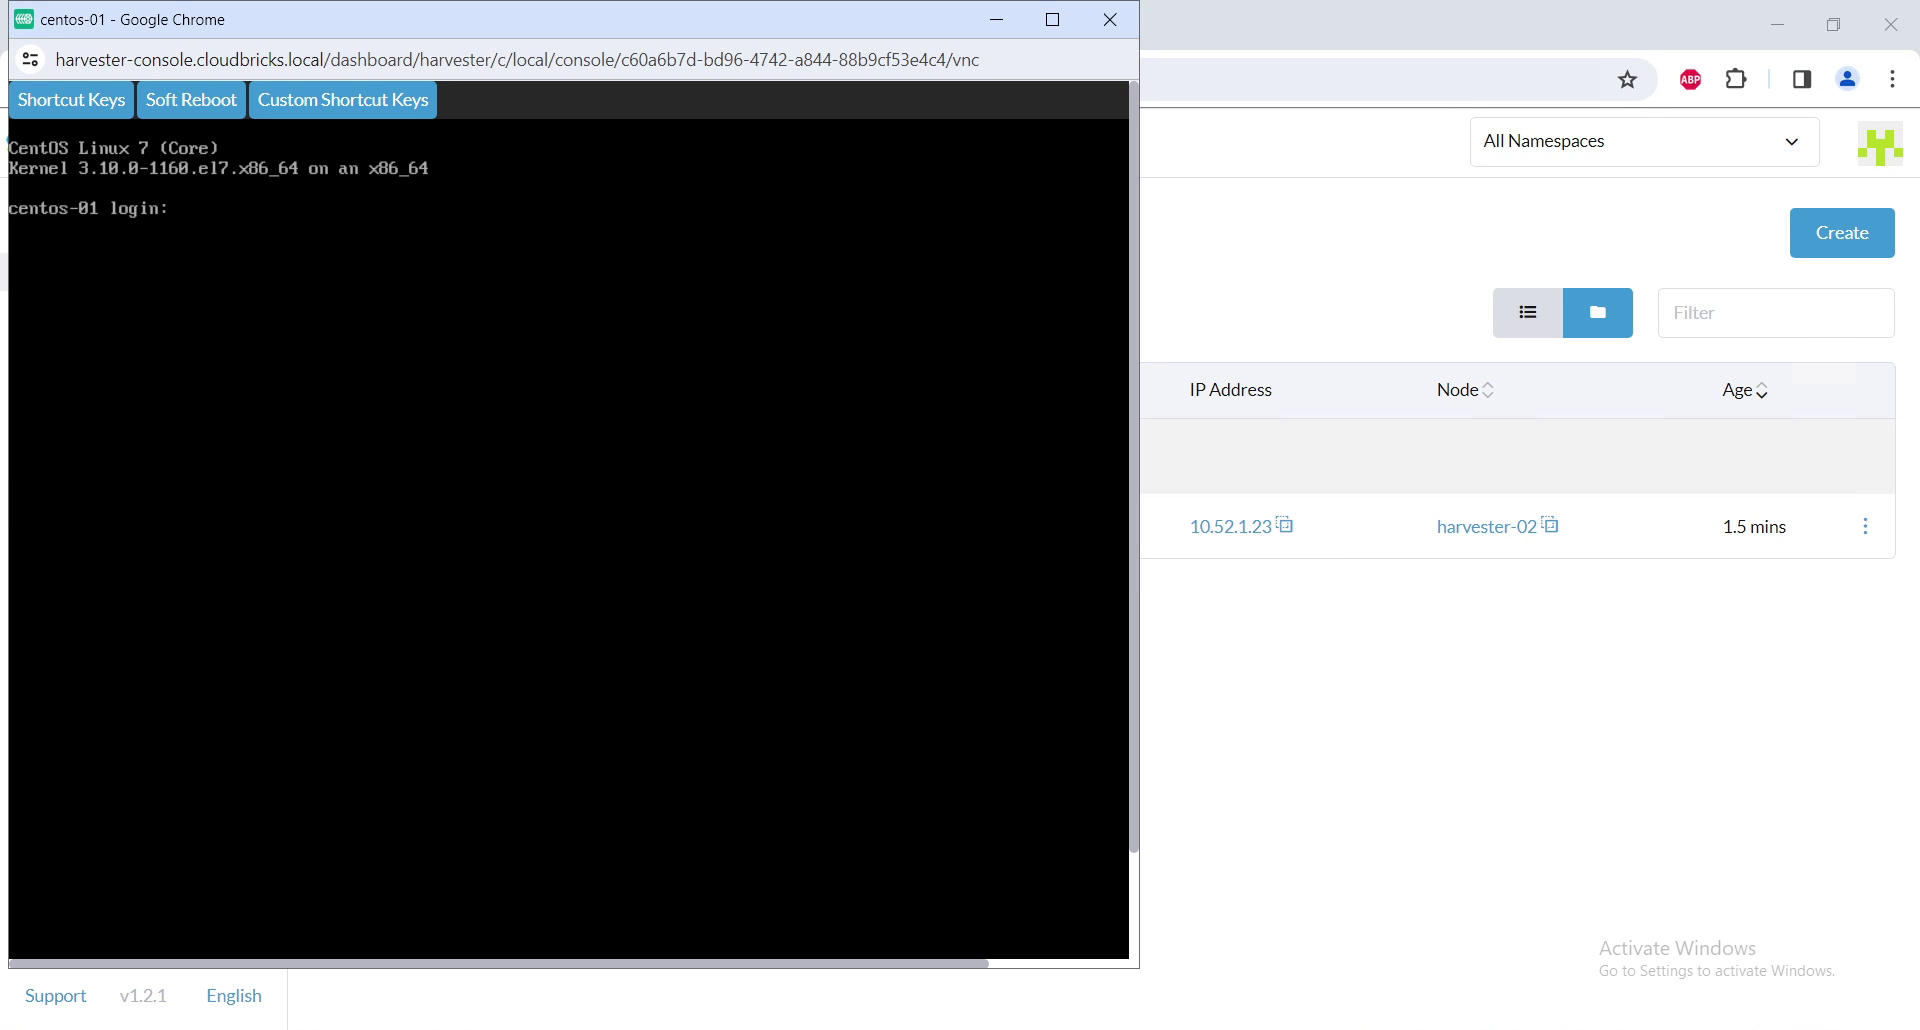
Create the VM using the uploaded images for test.
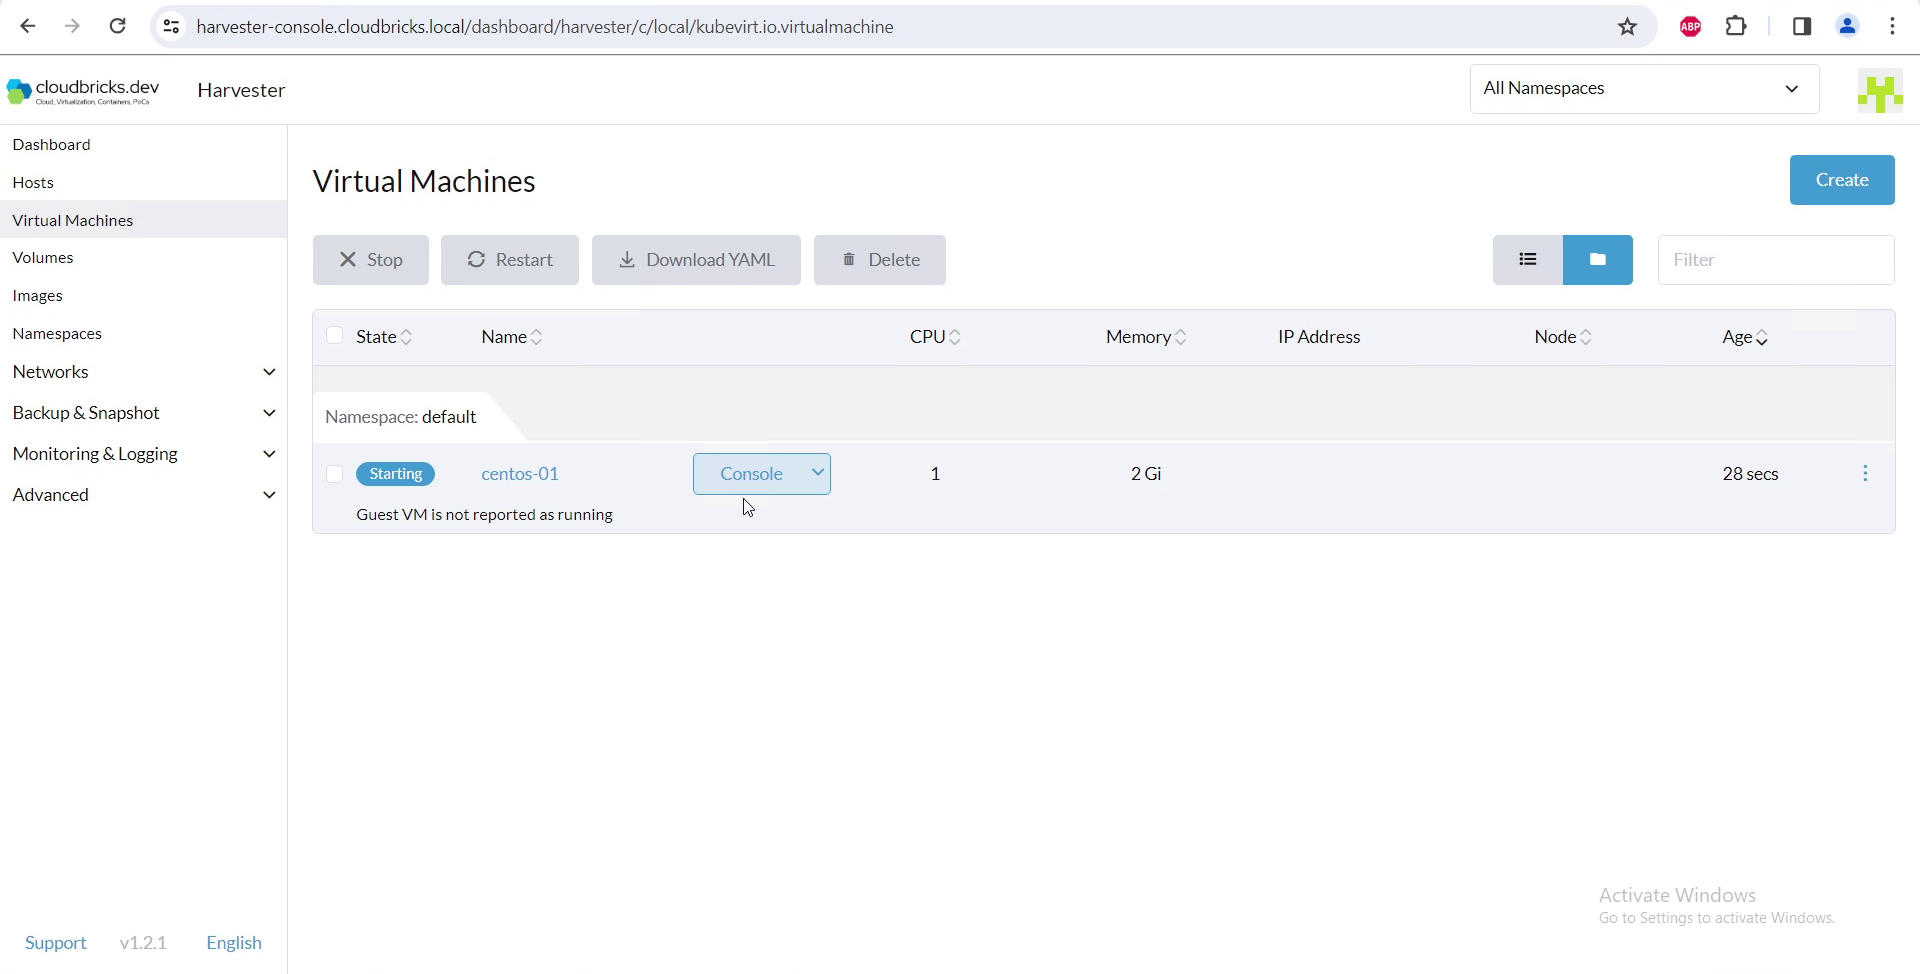
check the console