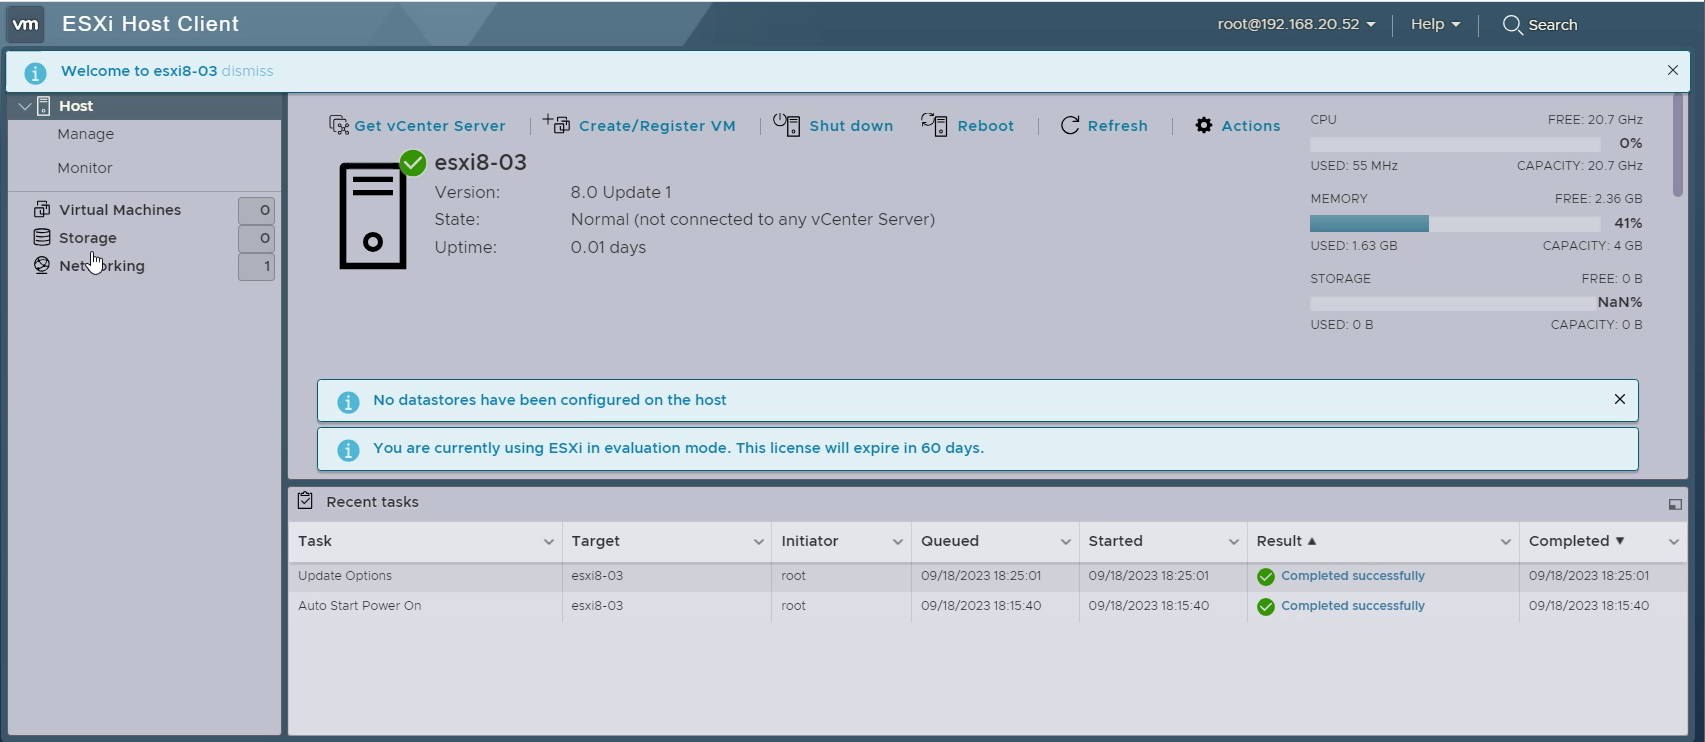
How to Install VMware ESXi - Nested Lab
This post is part of VMware vShere How to hands-on training that focuses on installing, configuring, and managing VMware vSphere 8, which includes VMware ESXi8 and VMware vCenter8. This course prepares you to administer a vSphere infrastructure for an organization of any size.
Step1: Create VM
In VMware workstation,
Go to File -> Select New Virtual Mahine to create a VM

Select the custom(Advanced) anc click next. Leave the Typical (recommended) configuration option, if you choose not to play around.

Choose I will install operating system later and click Next

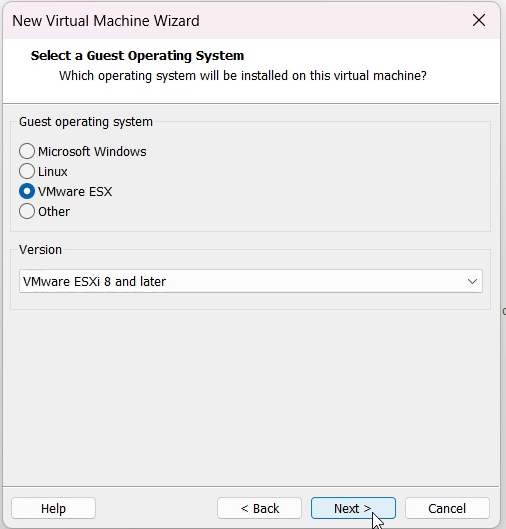
Set the Guest OS as VMware ESX. Open the dropdown menu and choose VMware ESXi 8 and later. Click Next to proceed. and click Next
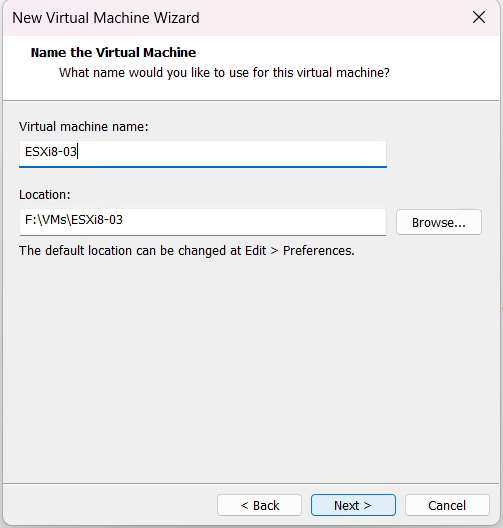
Provide the guest OS name (as you like) and installation location. Click Next to continue.
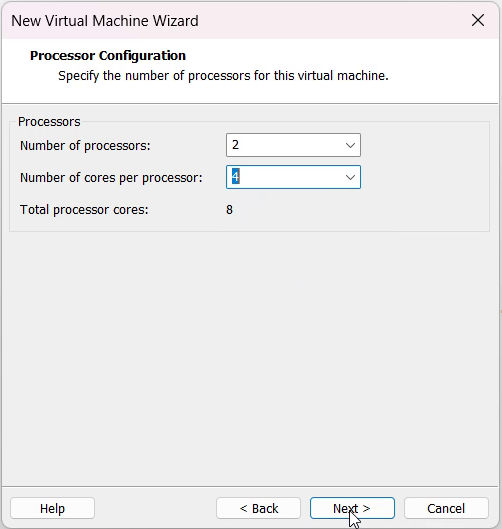
Specify the number of processors and number of processor cores.
Specify the memory size click Next to proceed.
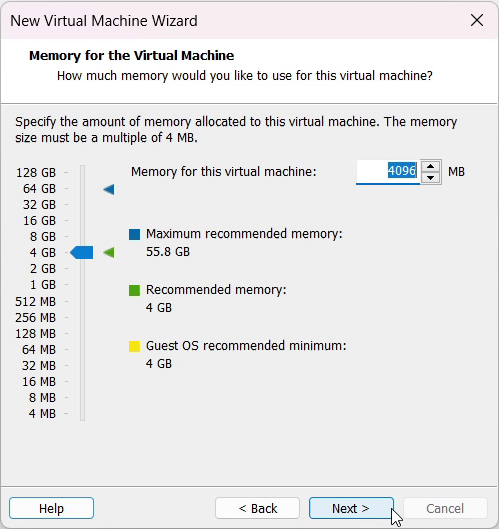
Specify the network type as do not use a network connection.
Select paravirtualized SCSI as I/O Controller type and click Next to proceed.
Select the Disk Type click Next to proceed. I have selected SCSI.
Select create a new virtual disk
Select Store virtual disk as single file and modify the disk size as 10GB. and click on Next
Click the Customize Hardware button, add new Network adapter. Repeat the same four times to add 4 Network adapters. change to LAN Segment
select the ESXi ISO Image. Click on Next and Finish
Power on the VM and boot
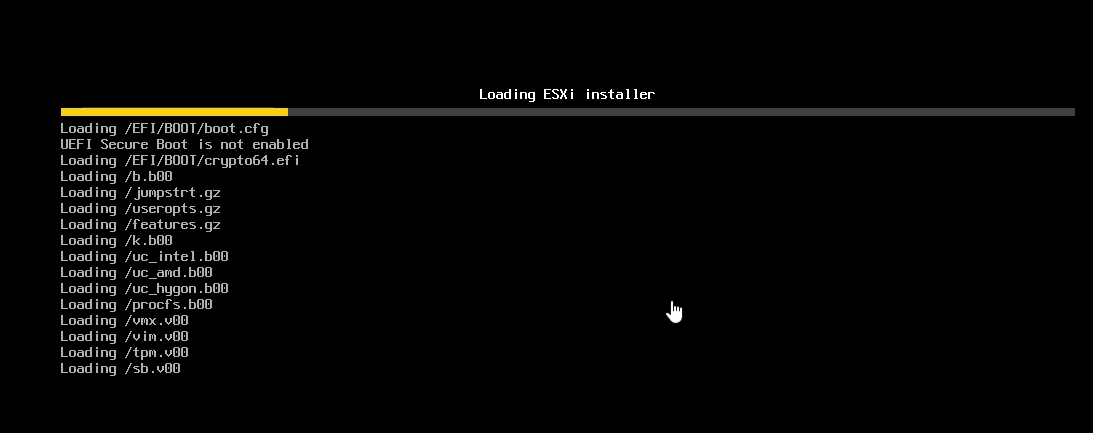
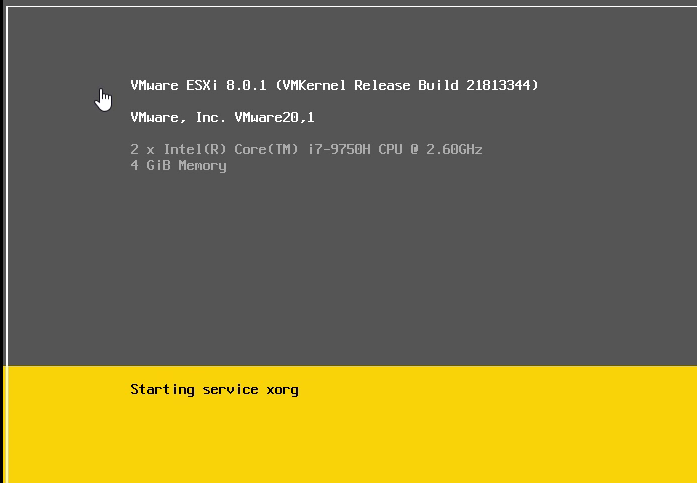
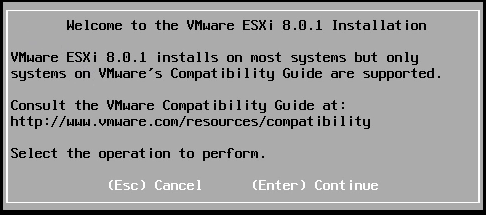
Press Enter to continue with the Installation
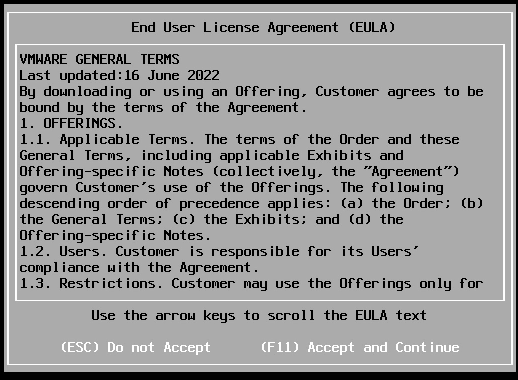
Press F11 to Accept and continue
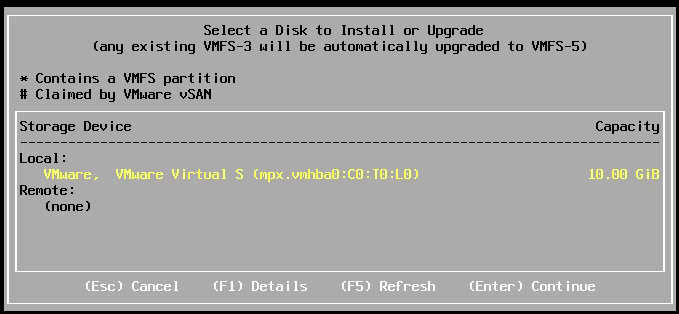
Choose the Local Disk and Press Enter
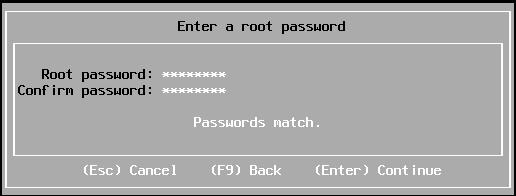
Enter the root password and press Enter
Installation progress

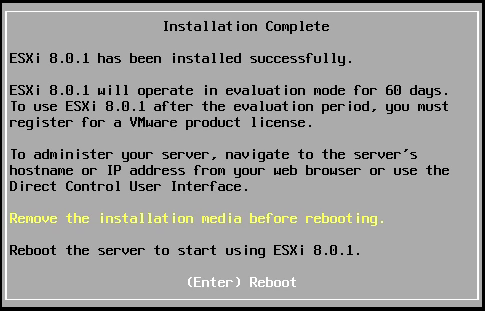
Press enter to reboot and complete the installation
Press F2 and configure the IP address, as required
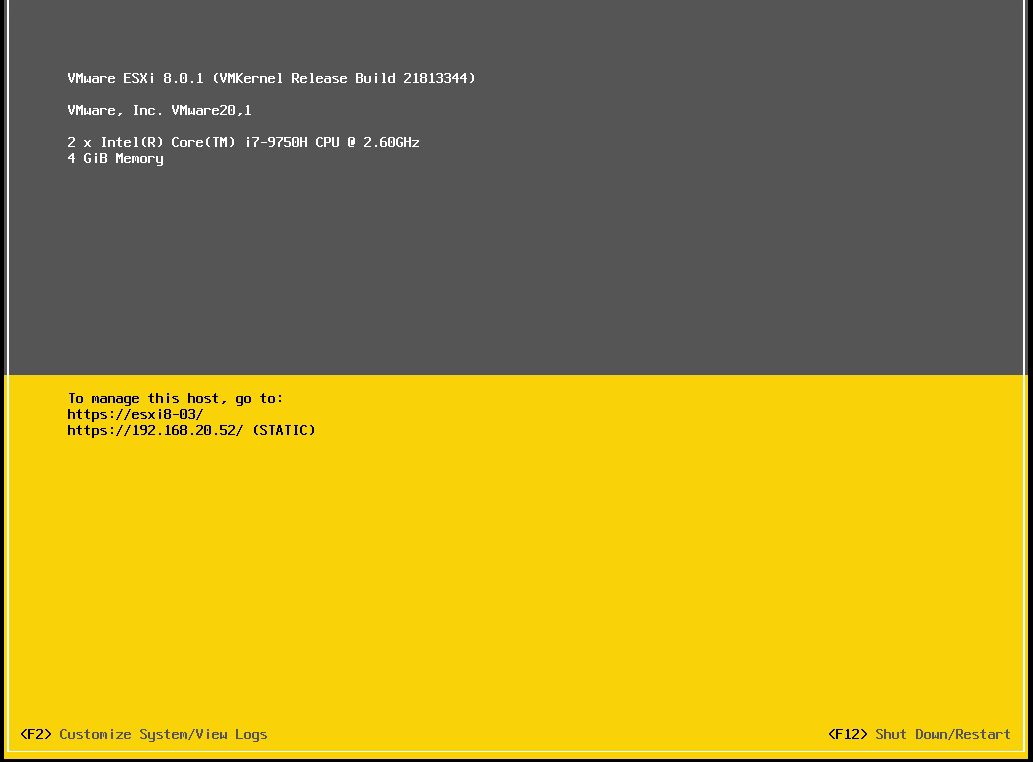
access the IP address of ESXI and login with root and password
