How to Install VMware VCSA - Nested Lab
This post is part of VMware vShere How to hands-on training that focuses on installing, configuring, and managing VMware vSphere 8, which includes VMware VCSA8 and VMware vCenter8. This course prepares you to administer a vSphere infrastructure for an organization of any size.
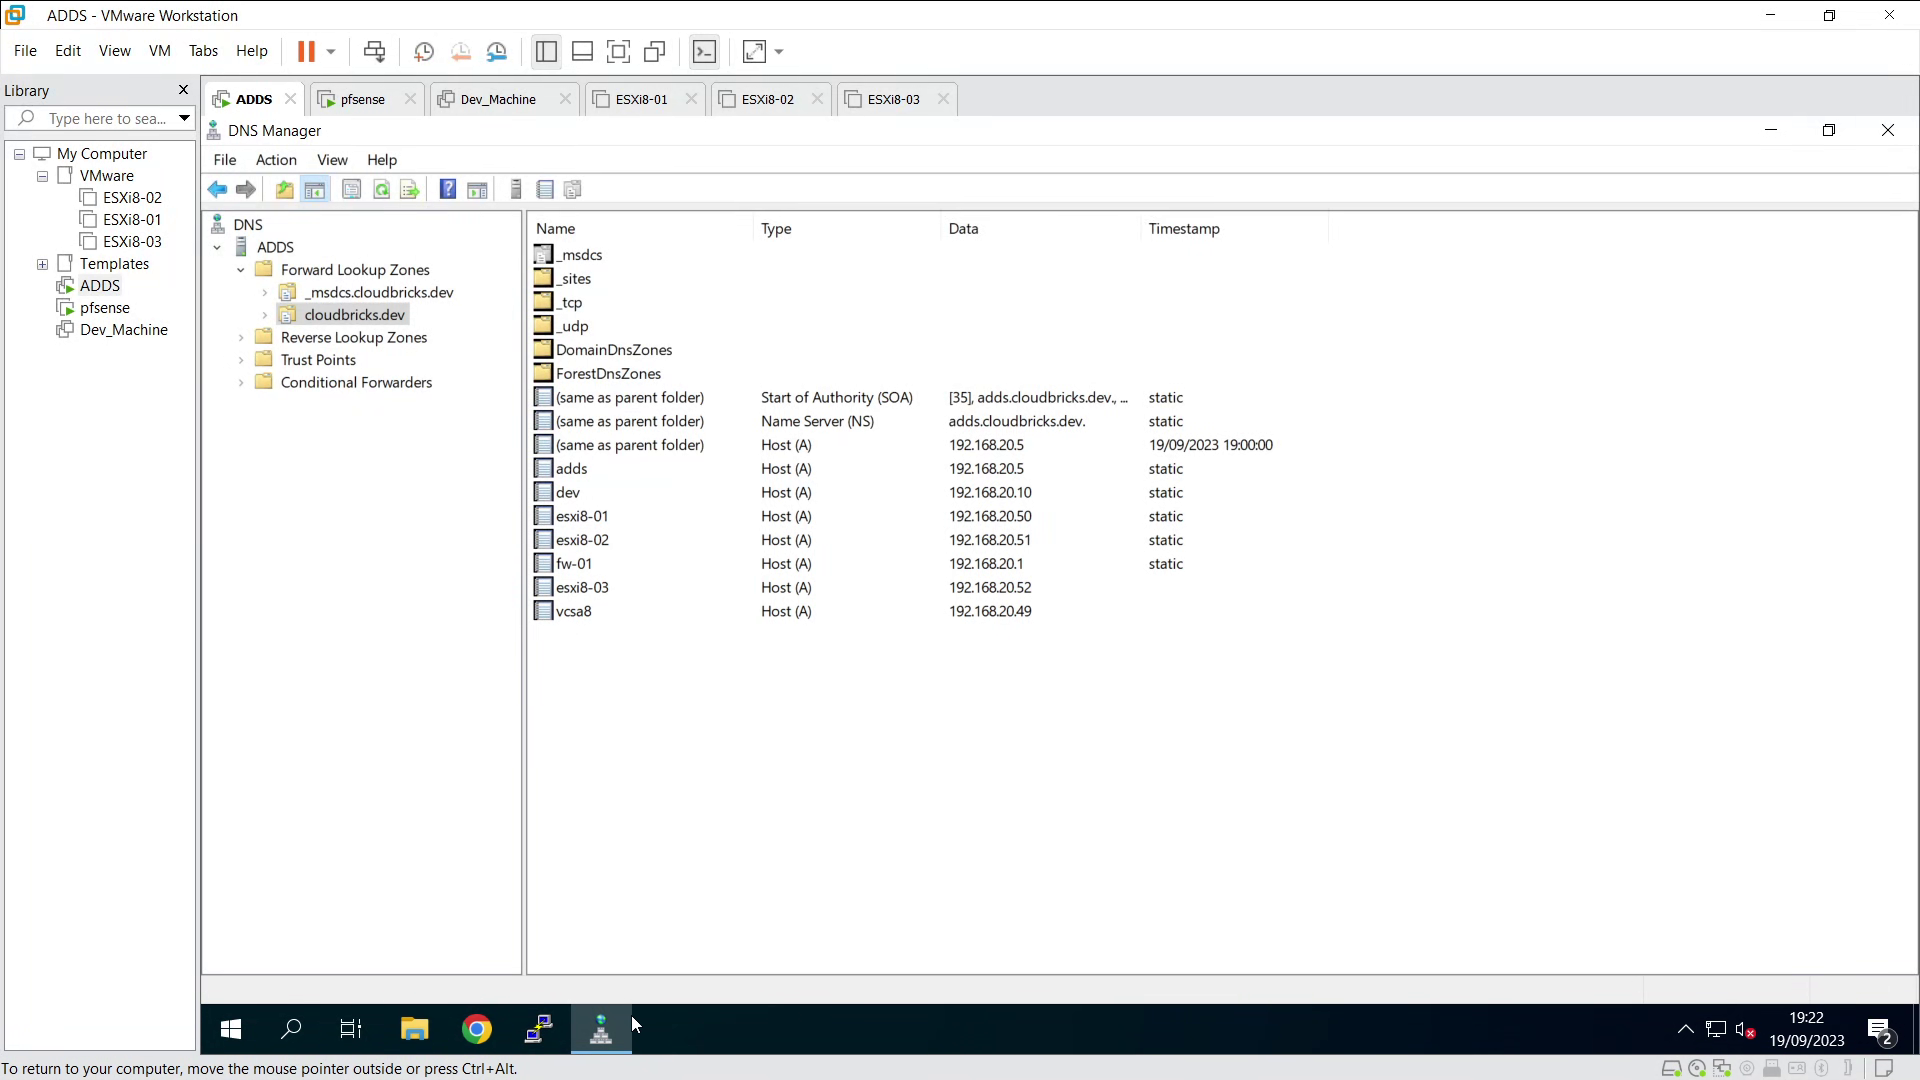
Ensure the DNS entry is available in DNS Server
Step1: Import VCSA OVF
In Windows, mount the VCSA ISO, go to Mount drive ( In my case its G: ). go to vcsa folder and double-click on VCSA OVF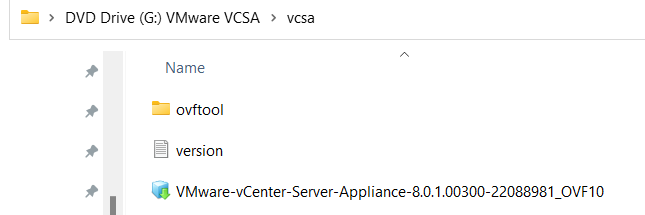
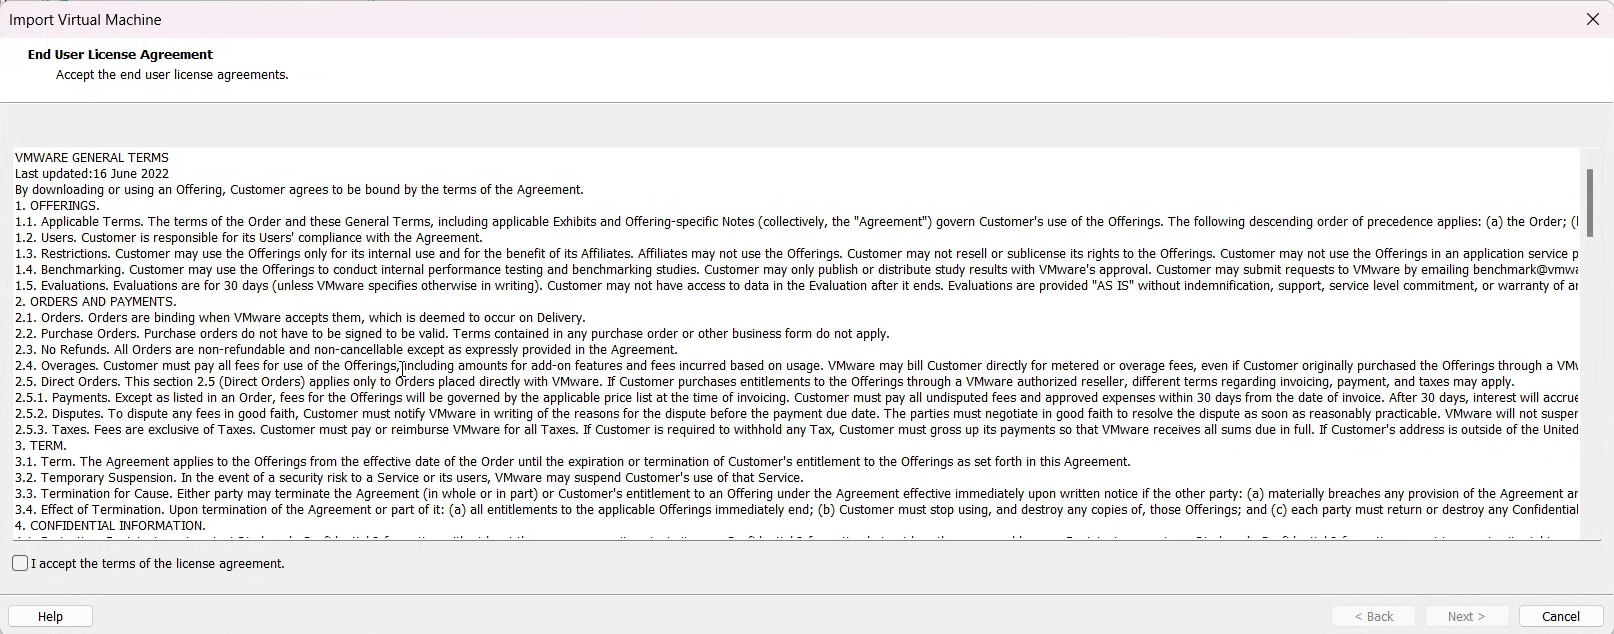
- Click on I accept the terms of license agreement
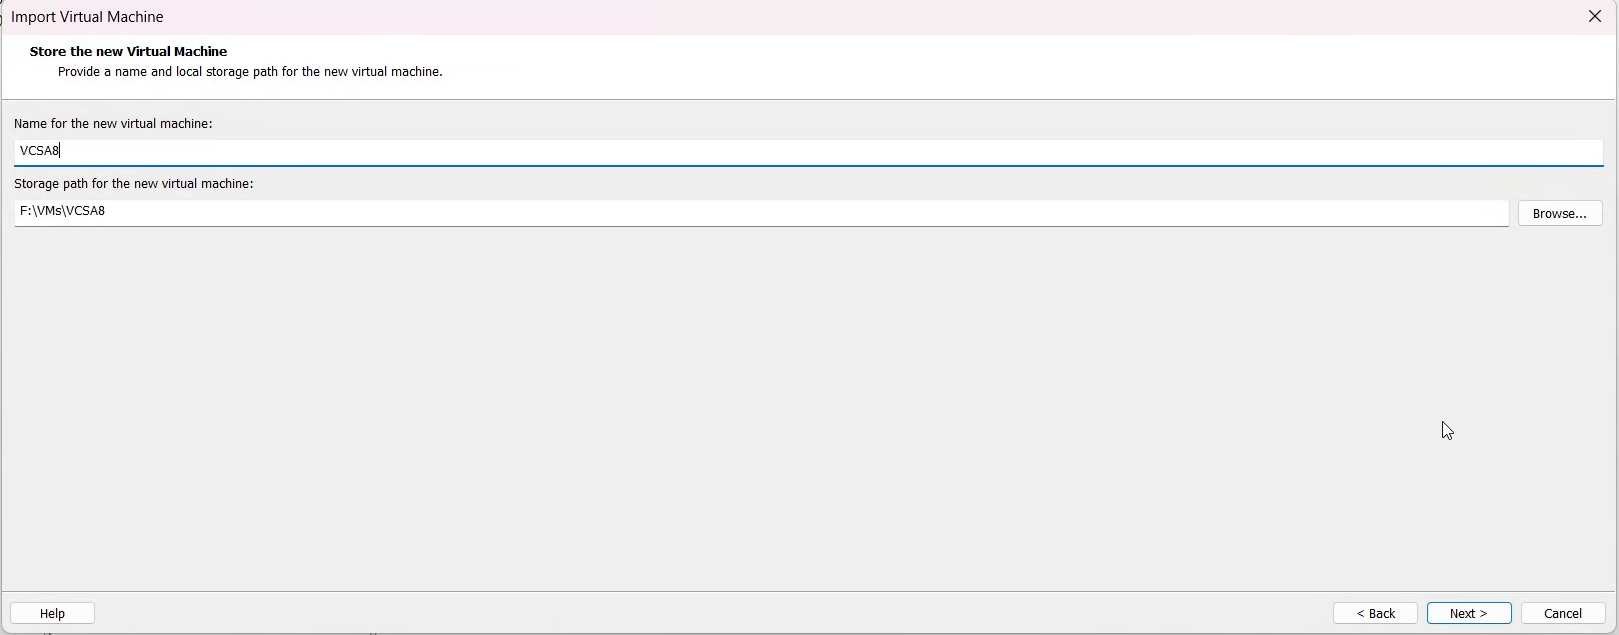
- enter the VM name (in my case vcsa8)
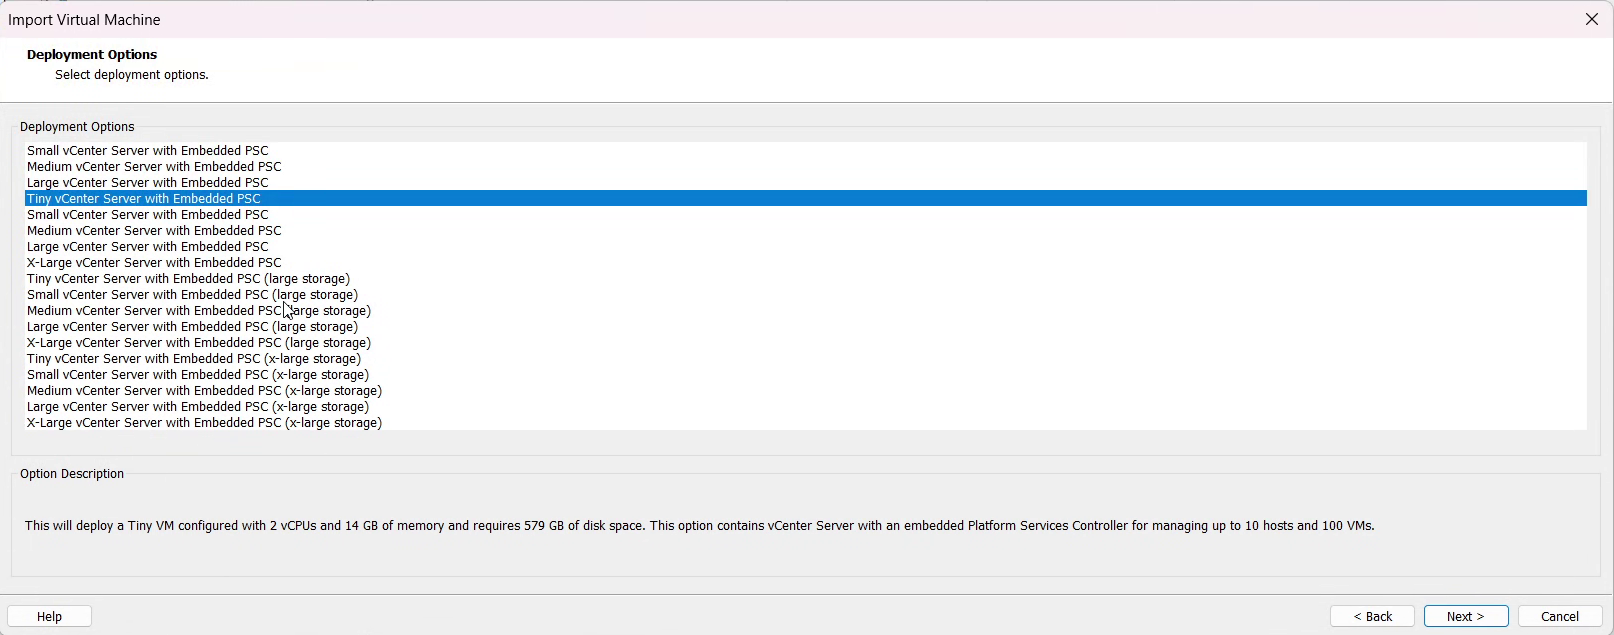
- select the Tiny vCenter Server with Embedded PSC and Click on Next
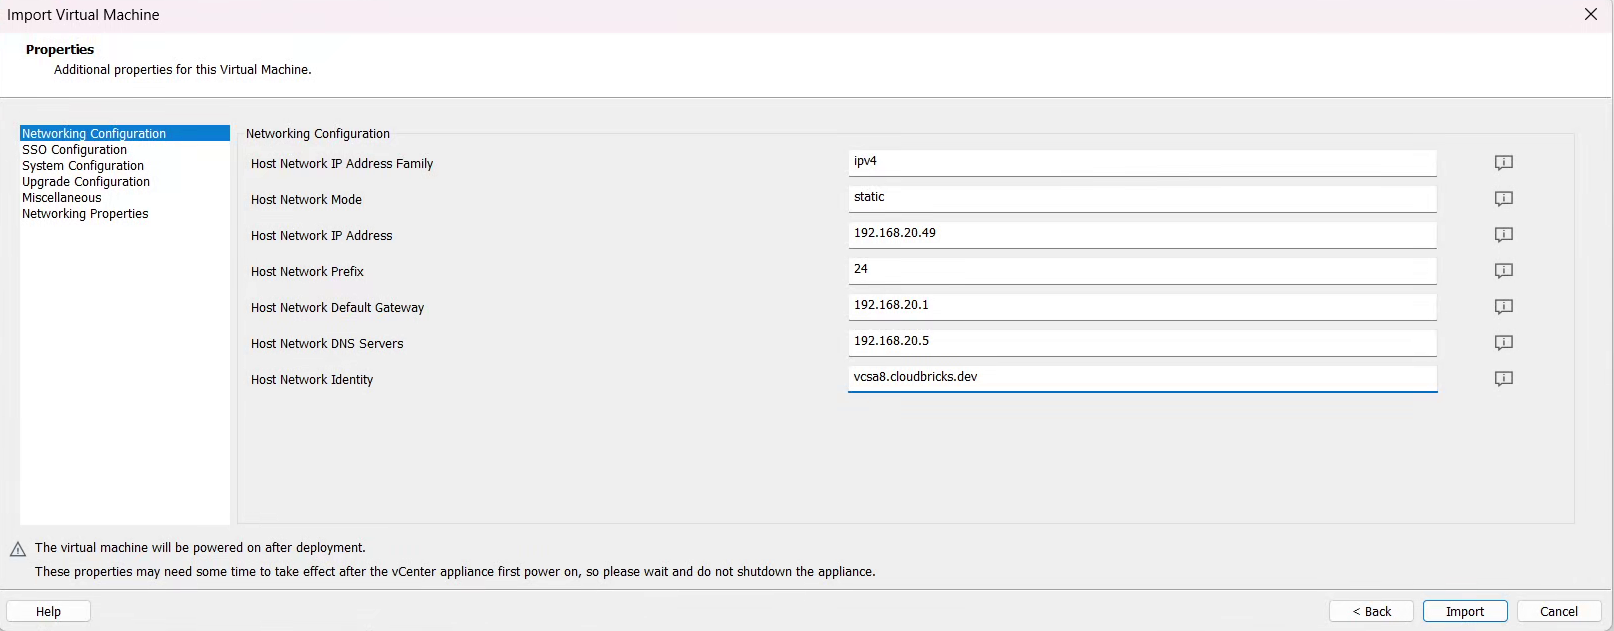
- Provide the network configuration, as per the lab config and Click on Next
- Enter the SSO Password
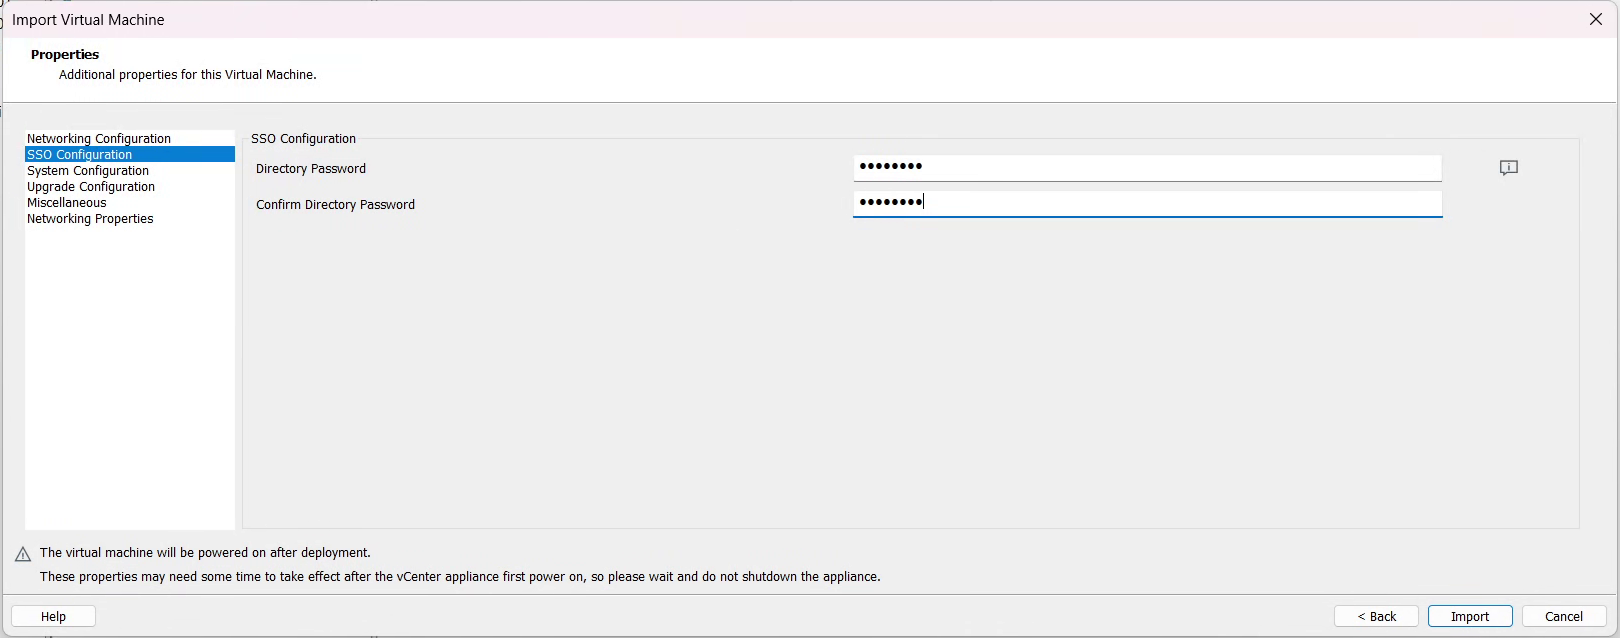
- Enter the root Password

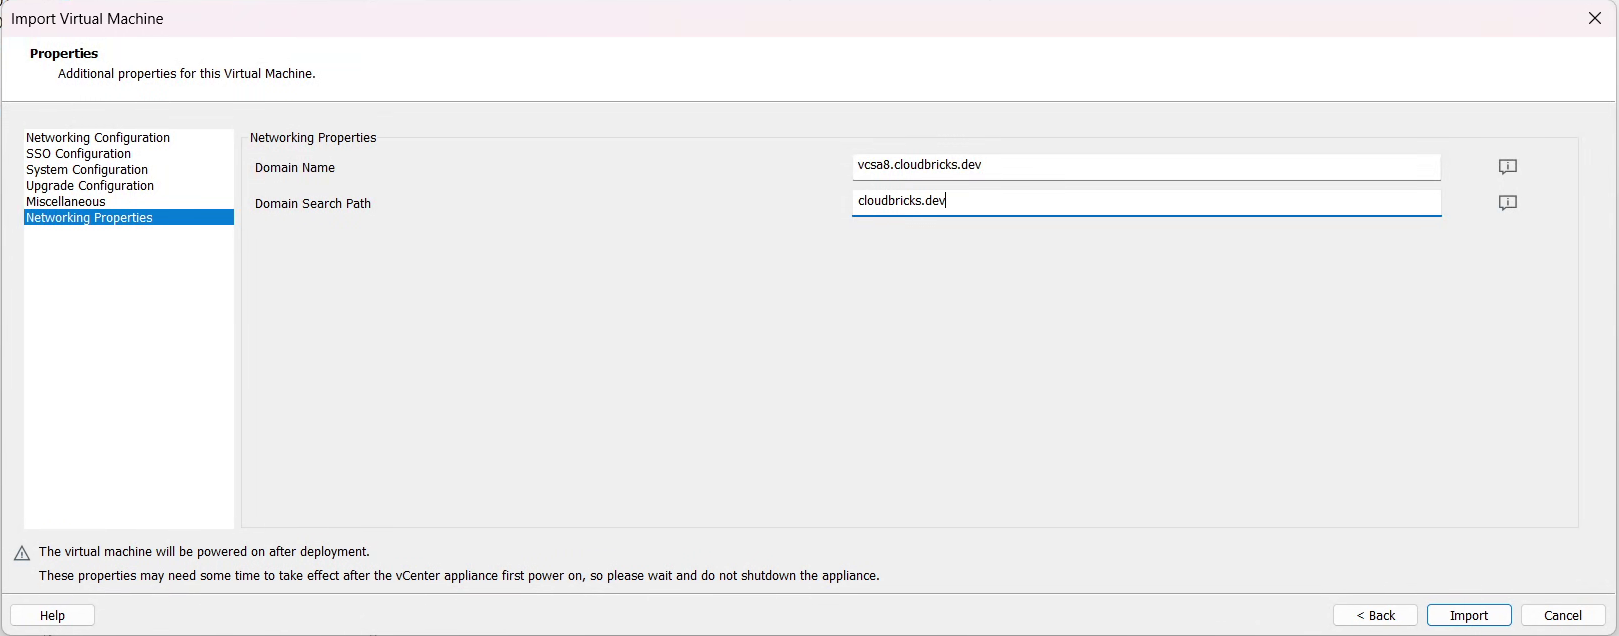
- Provide the FQDN and Domain Search Path
- Wait for the completion OVF import into workstation

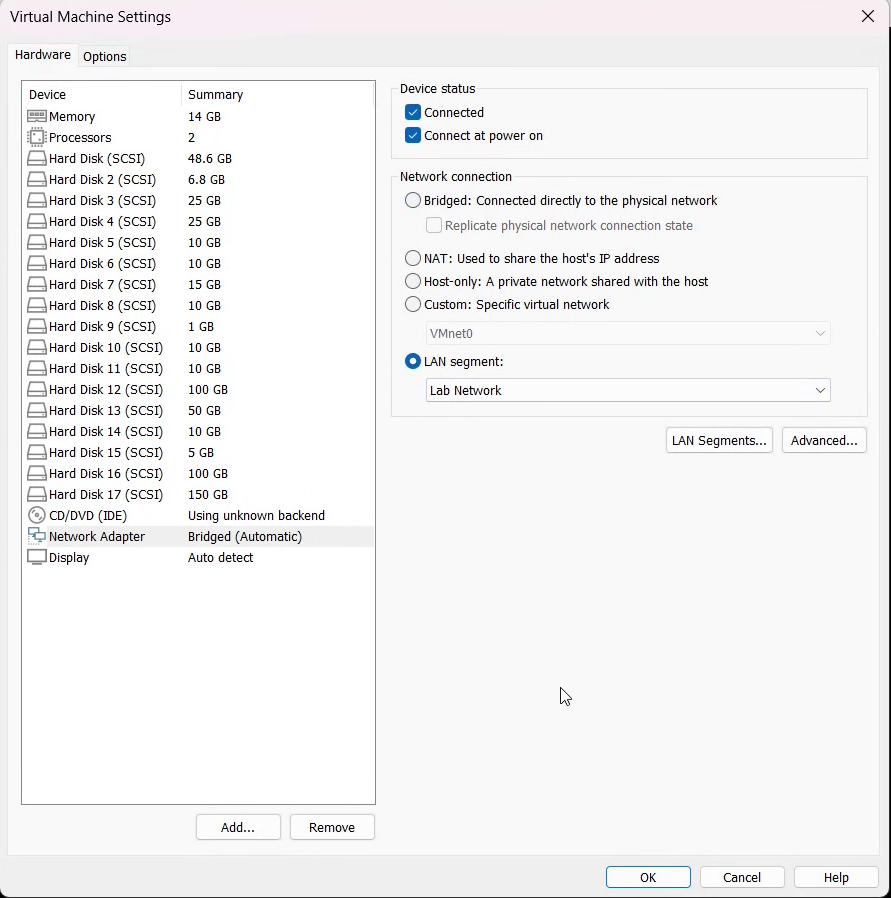
- Change the network adapter connection to "LAN Segment"
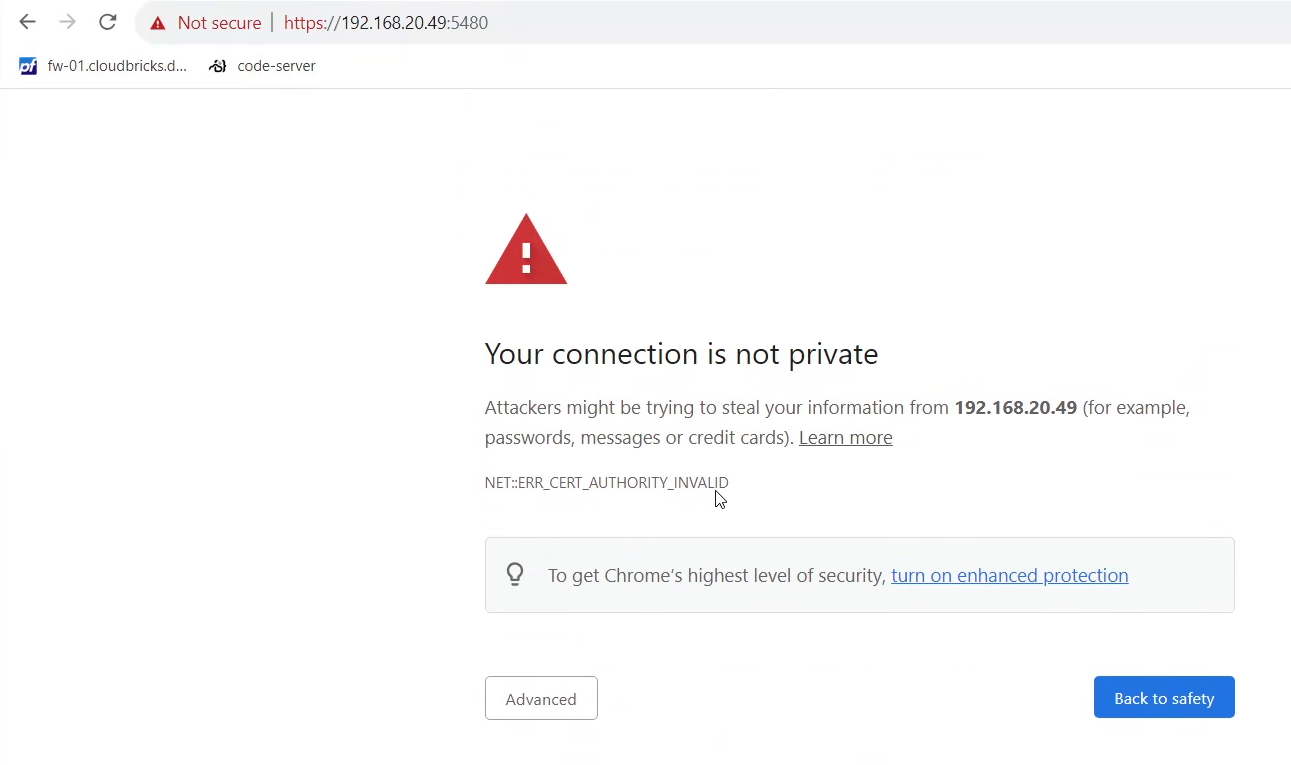
- Post completion, wait for the boot completion and access the IP and Port 5480 e.g: https://192.168.20.49:5480
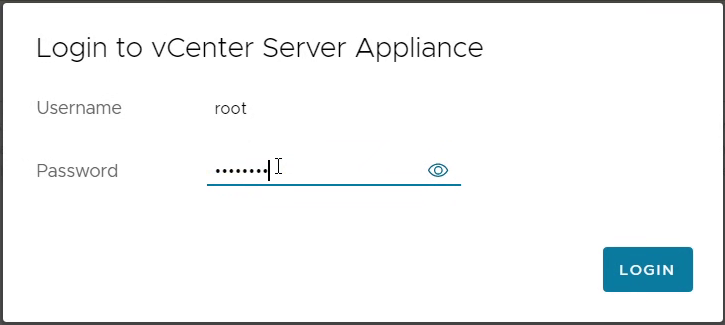
- Login to Appliance using the root credentials
- Wait for the installation to finish

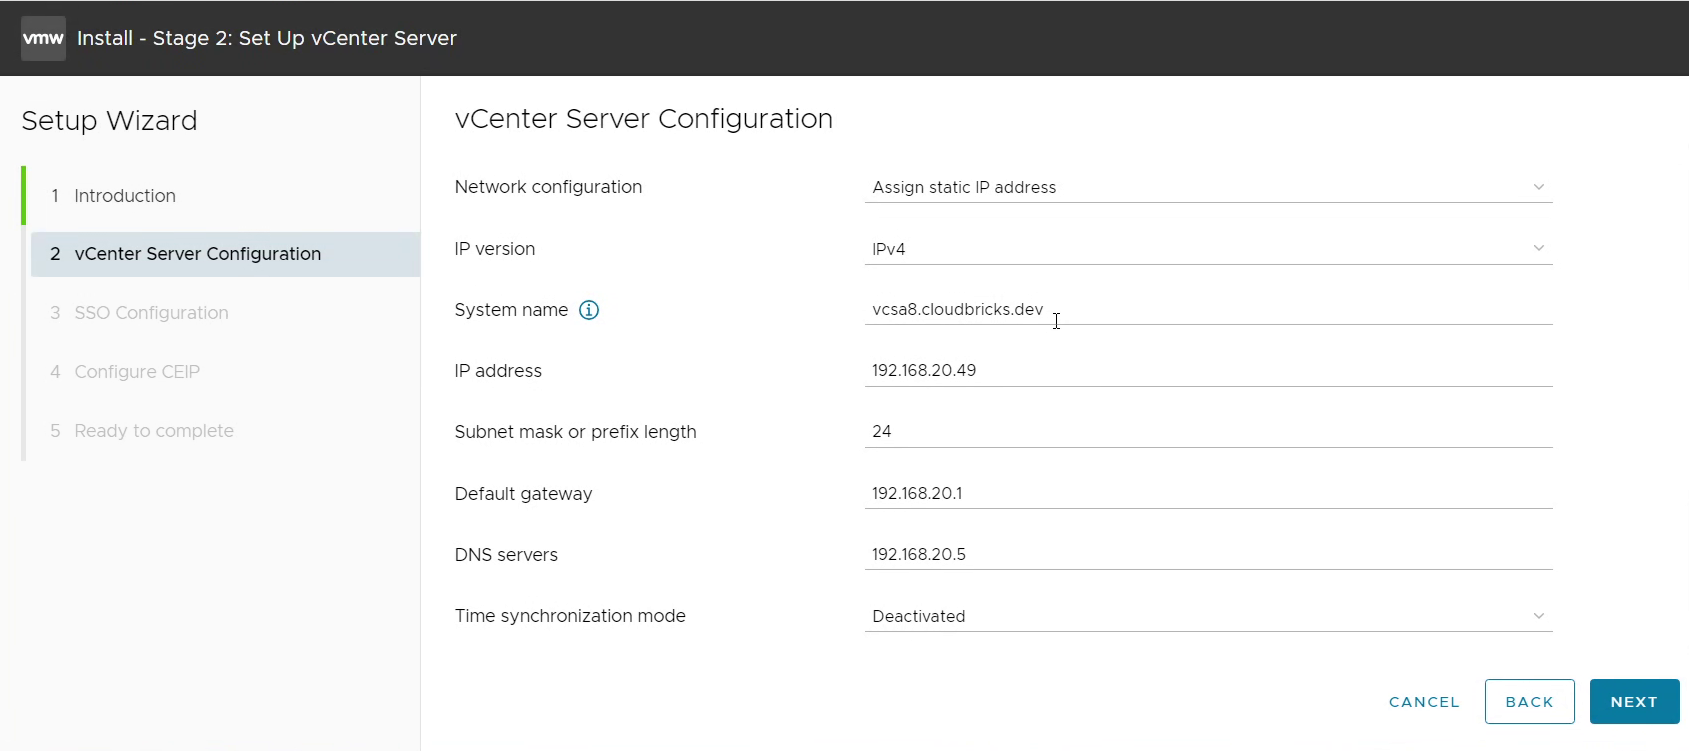
- Click on Next in the Stage2 of the installation

- validate the details, and modify if necessary and click on Next
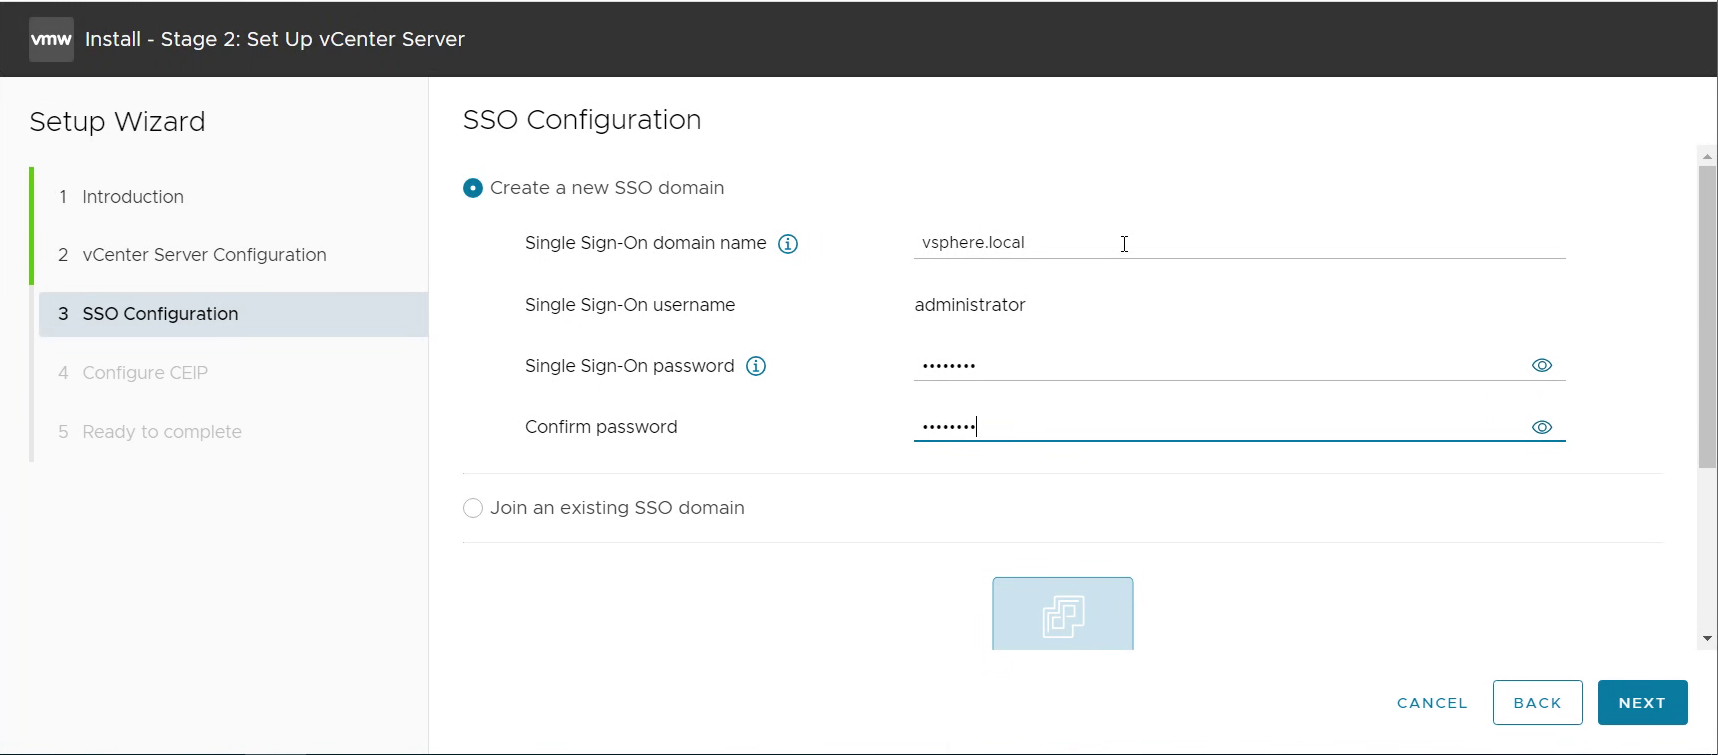
- provide the SSO domain name and SSO Password and click on Next
- Wait for the installation to complete
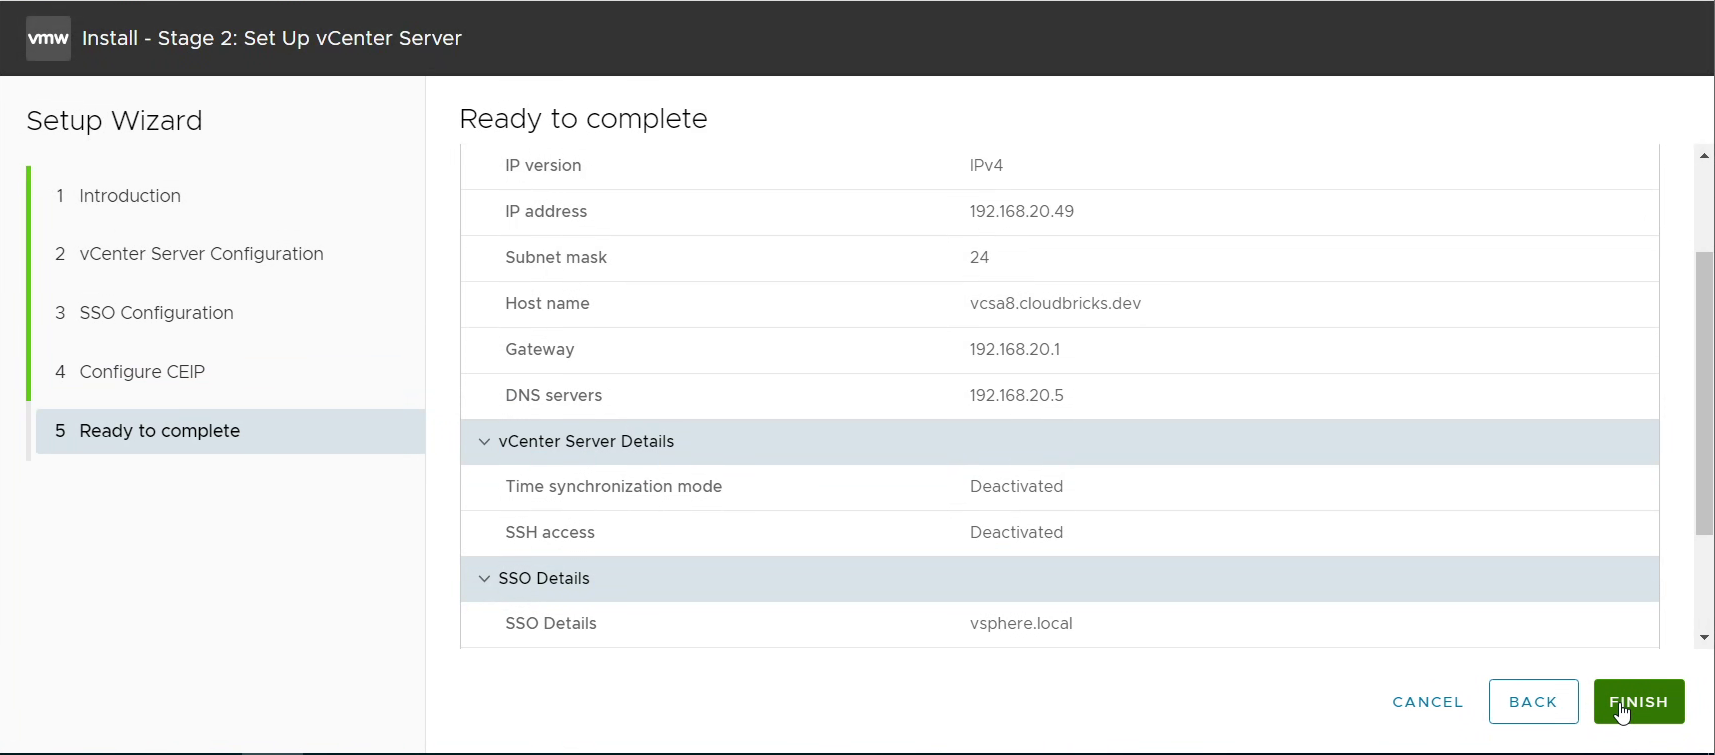
- Installtion is Complete Now. The vCenter Server can be accessed with Given IP/URL
